
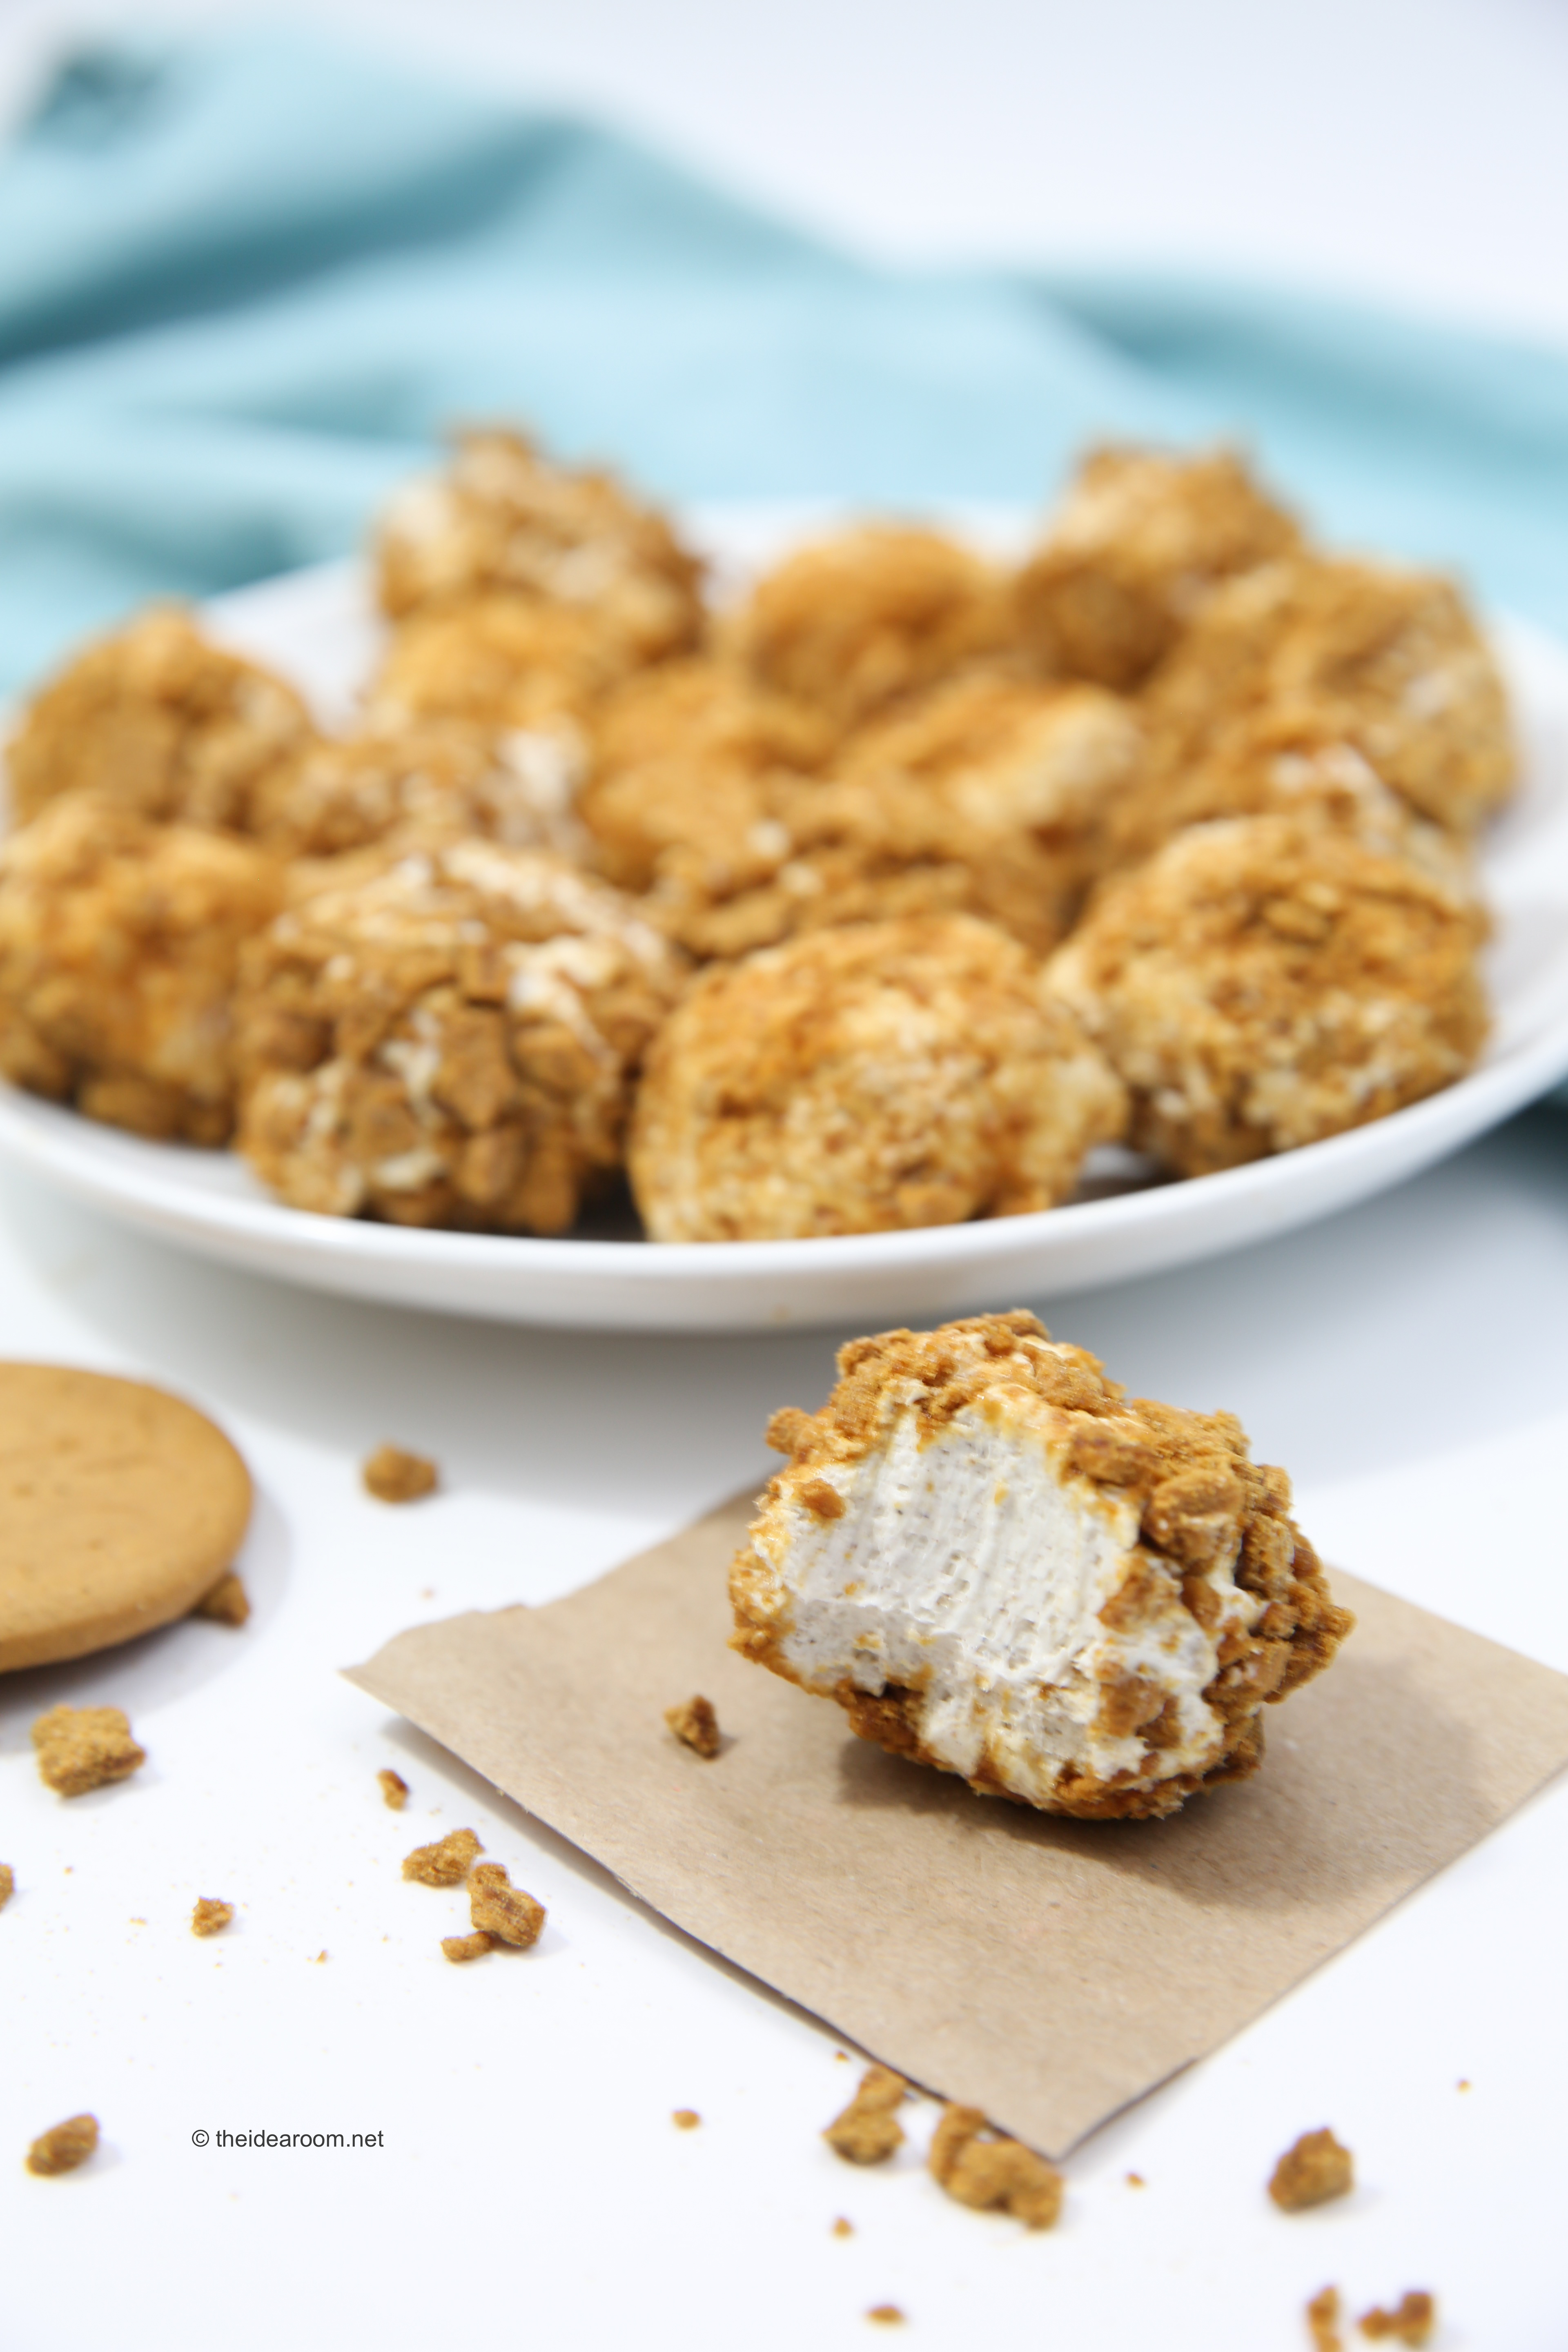
How to Make Gingerbread Cheesecake Bites

Unique White Elephant Themes and Gift Ideas
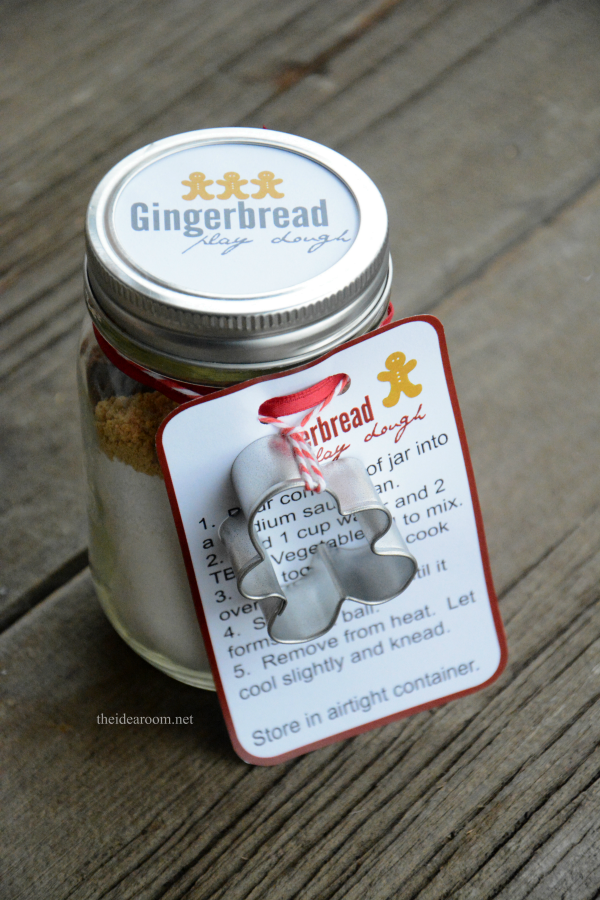
How to Make Gingerbread Playdough Recipe with Gift Kit
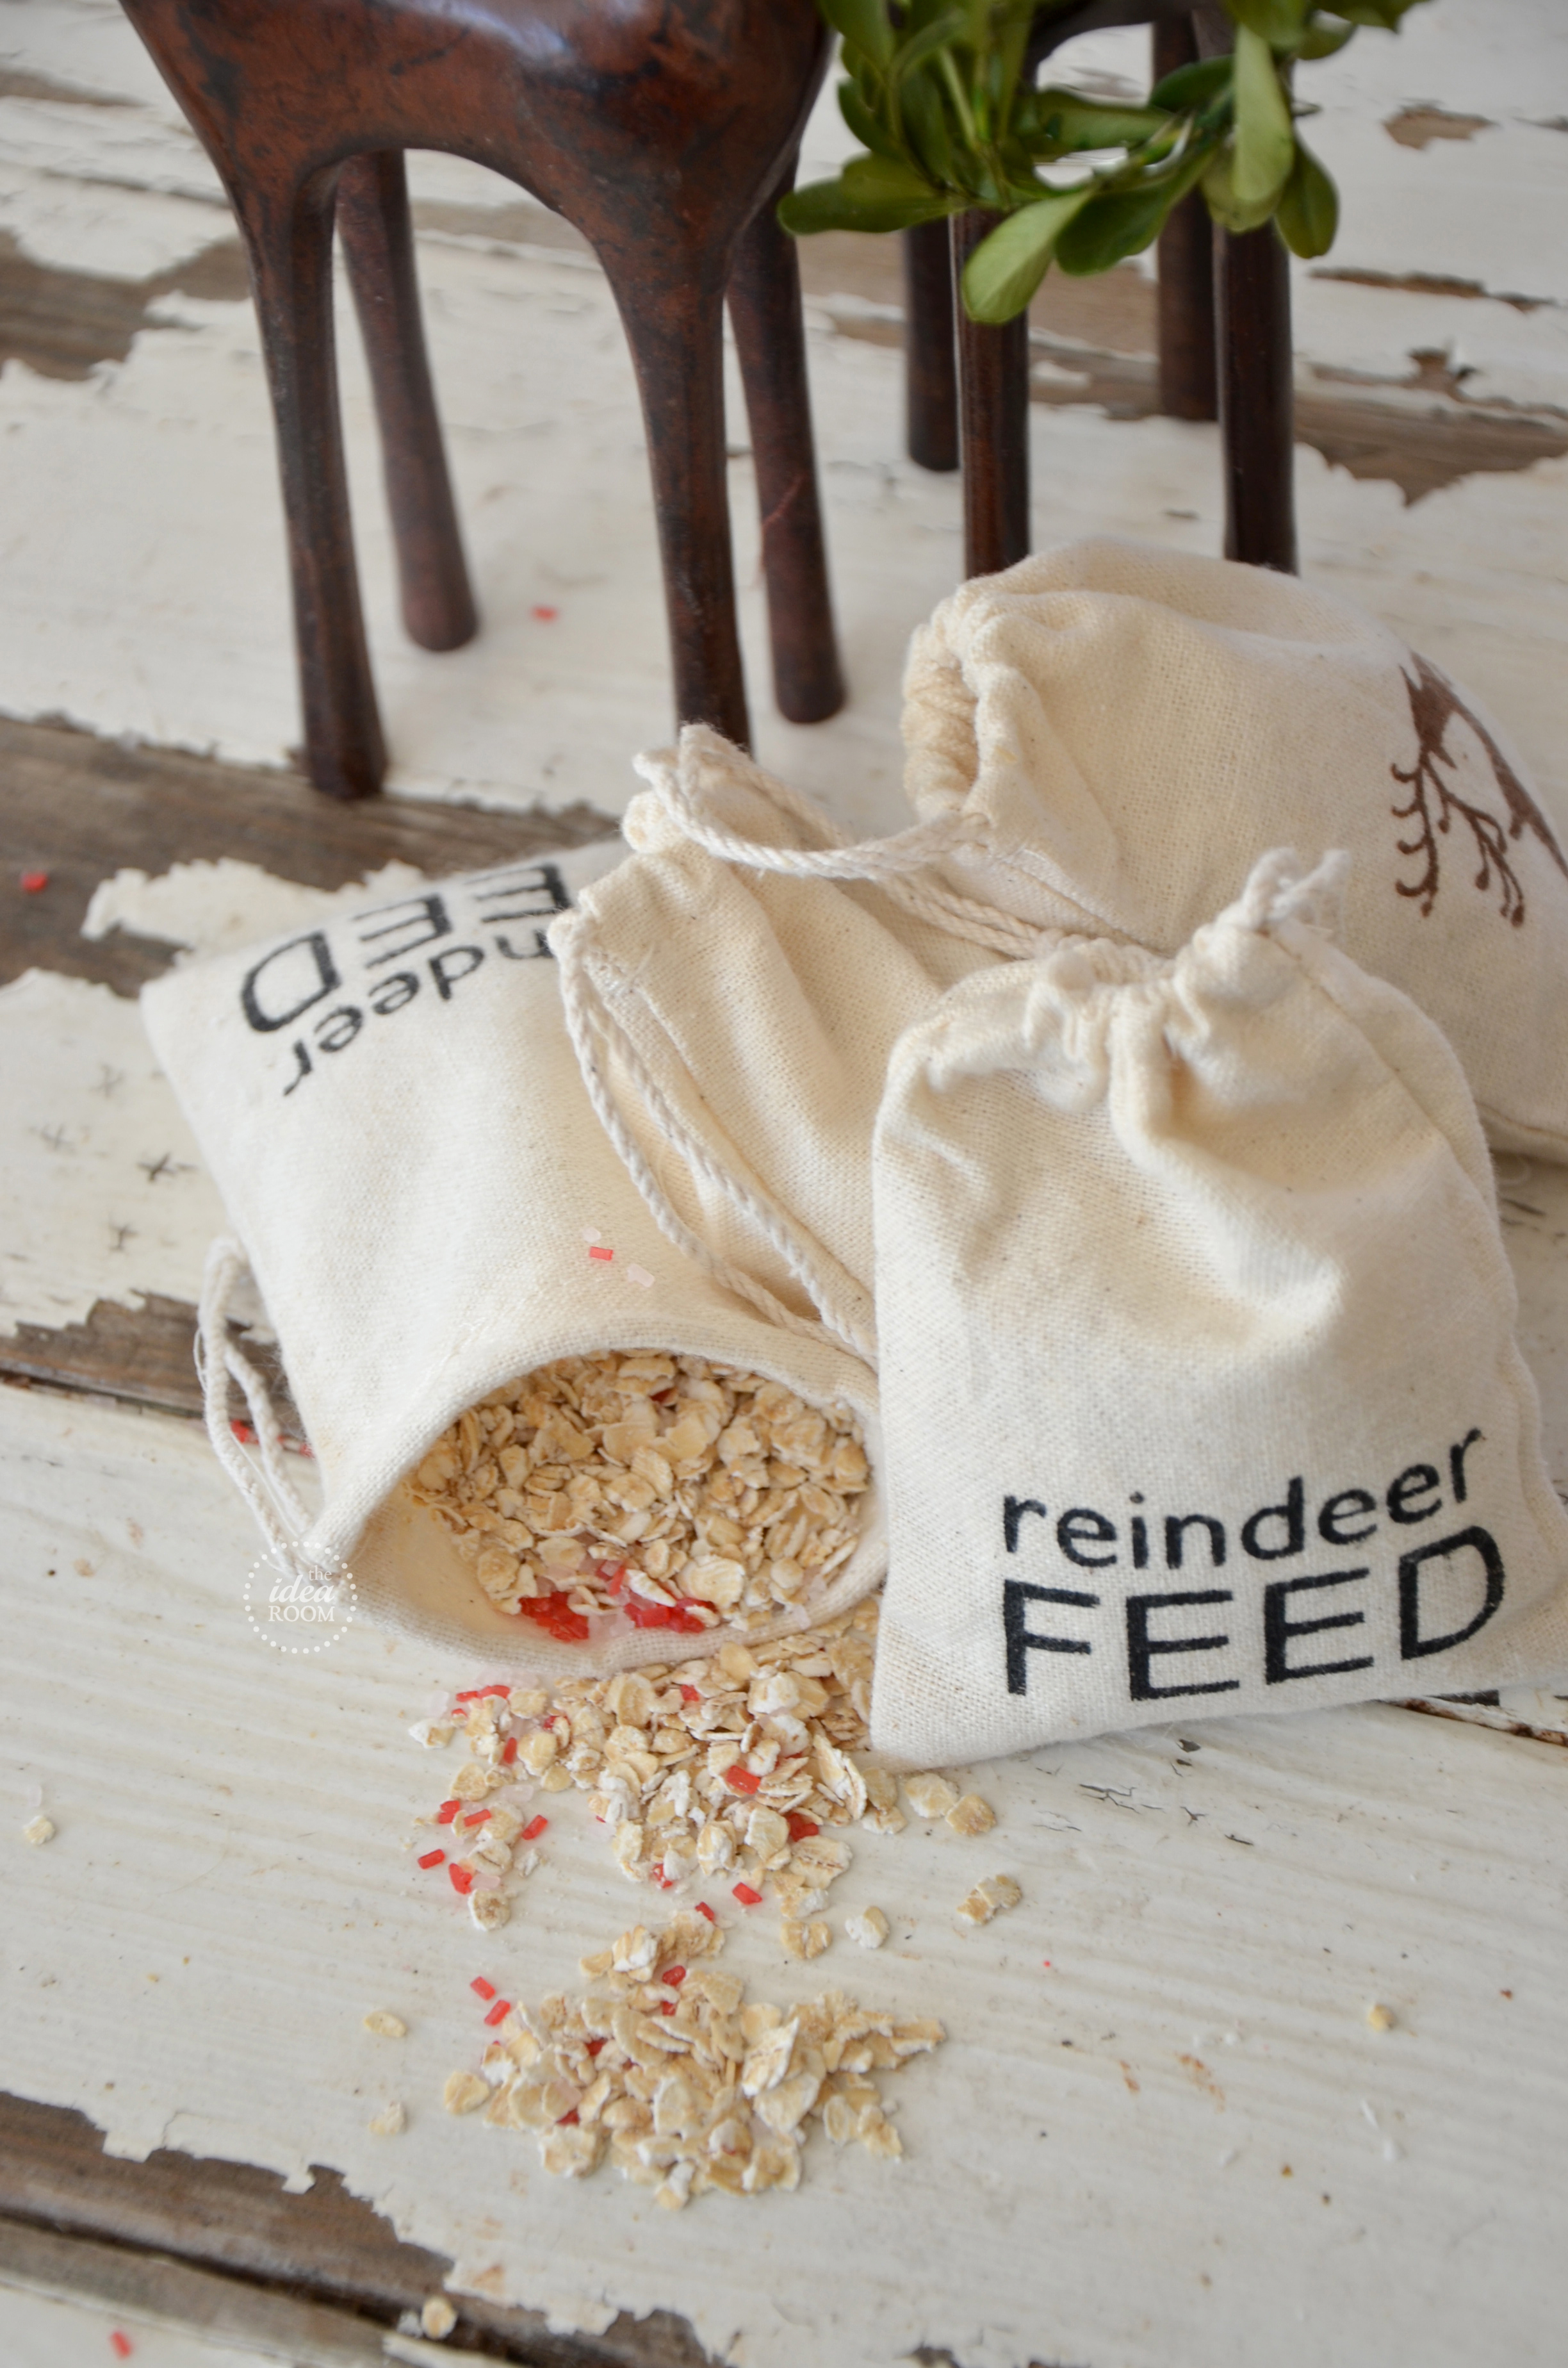
How to Make Reindeer Food
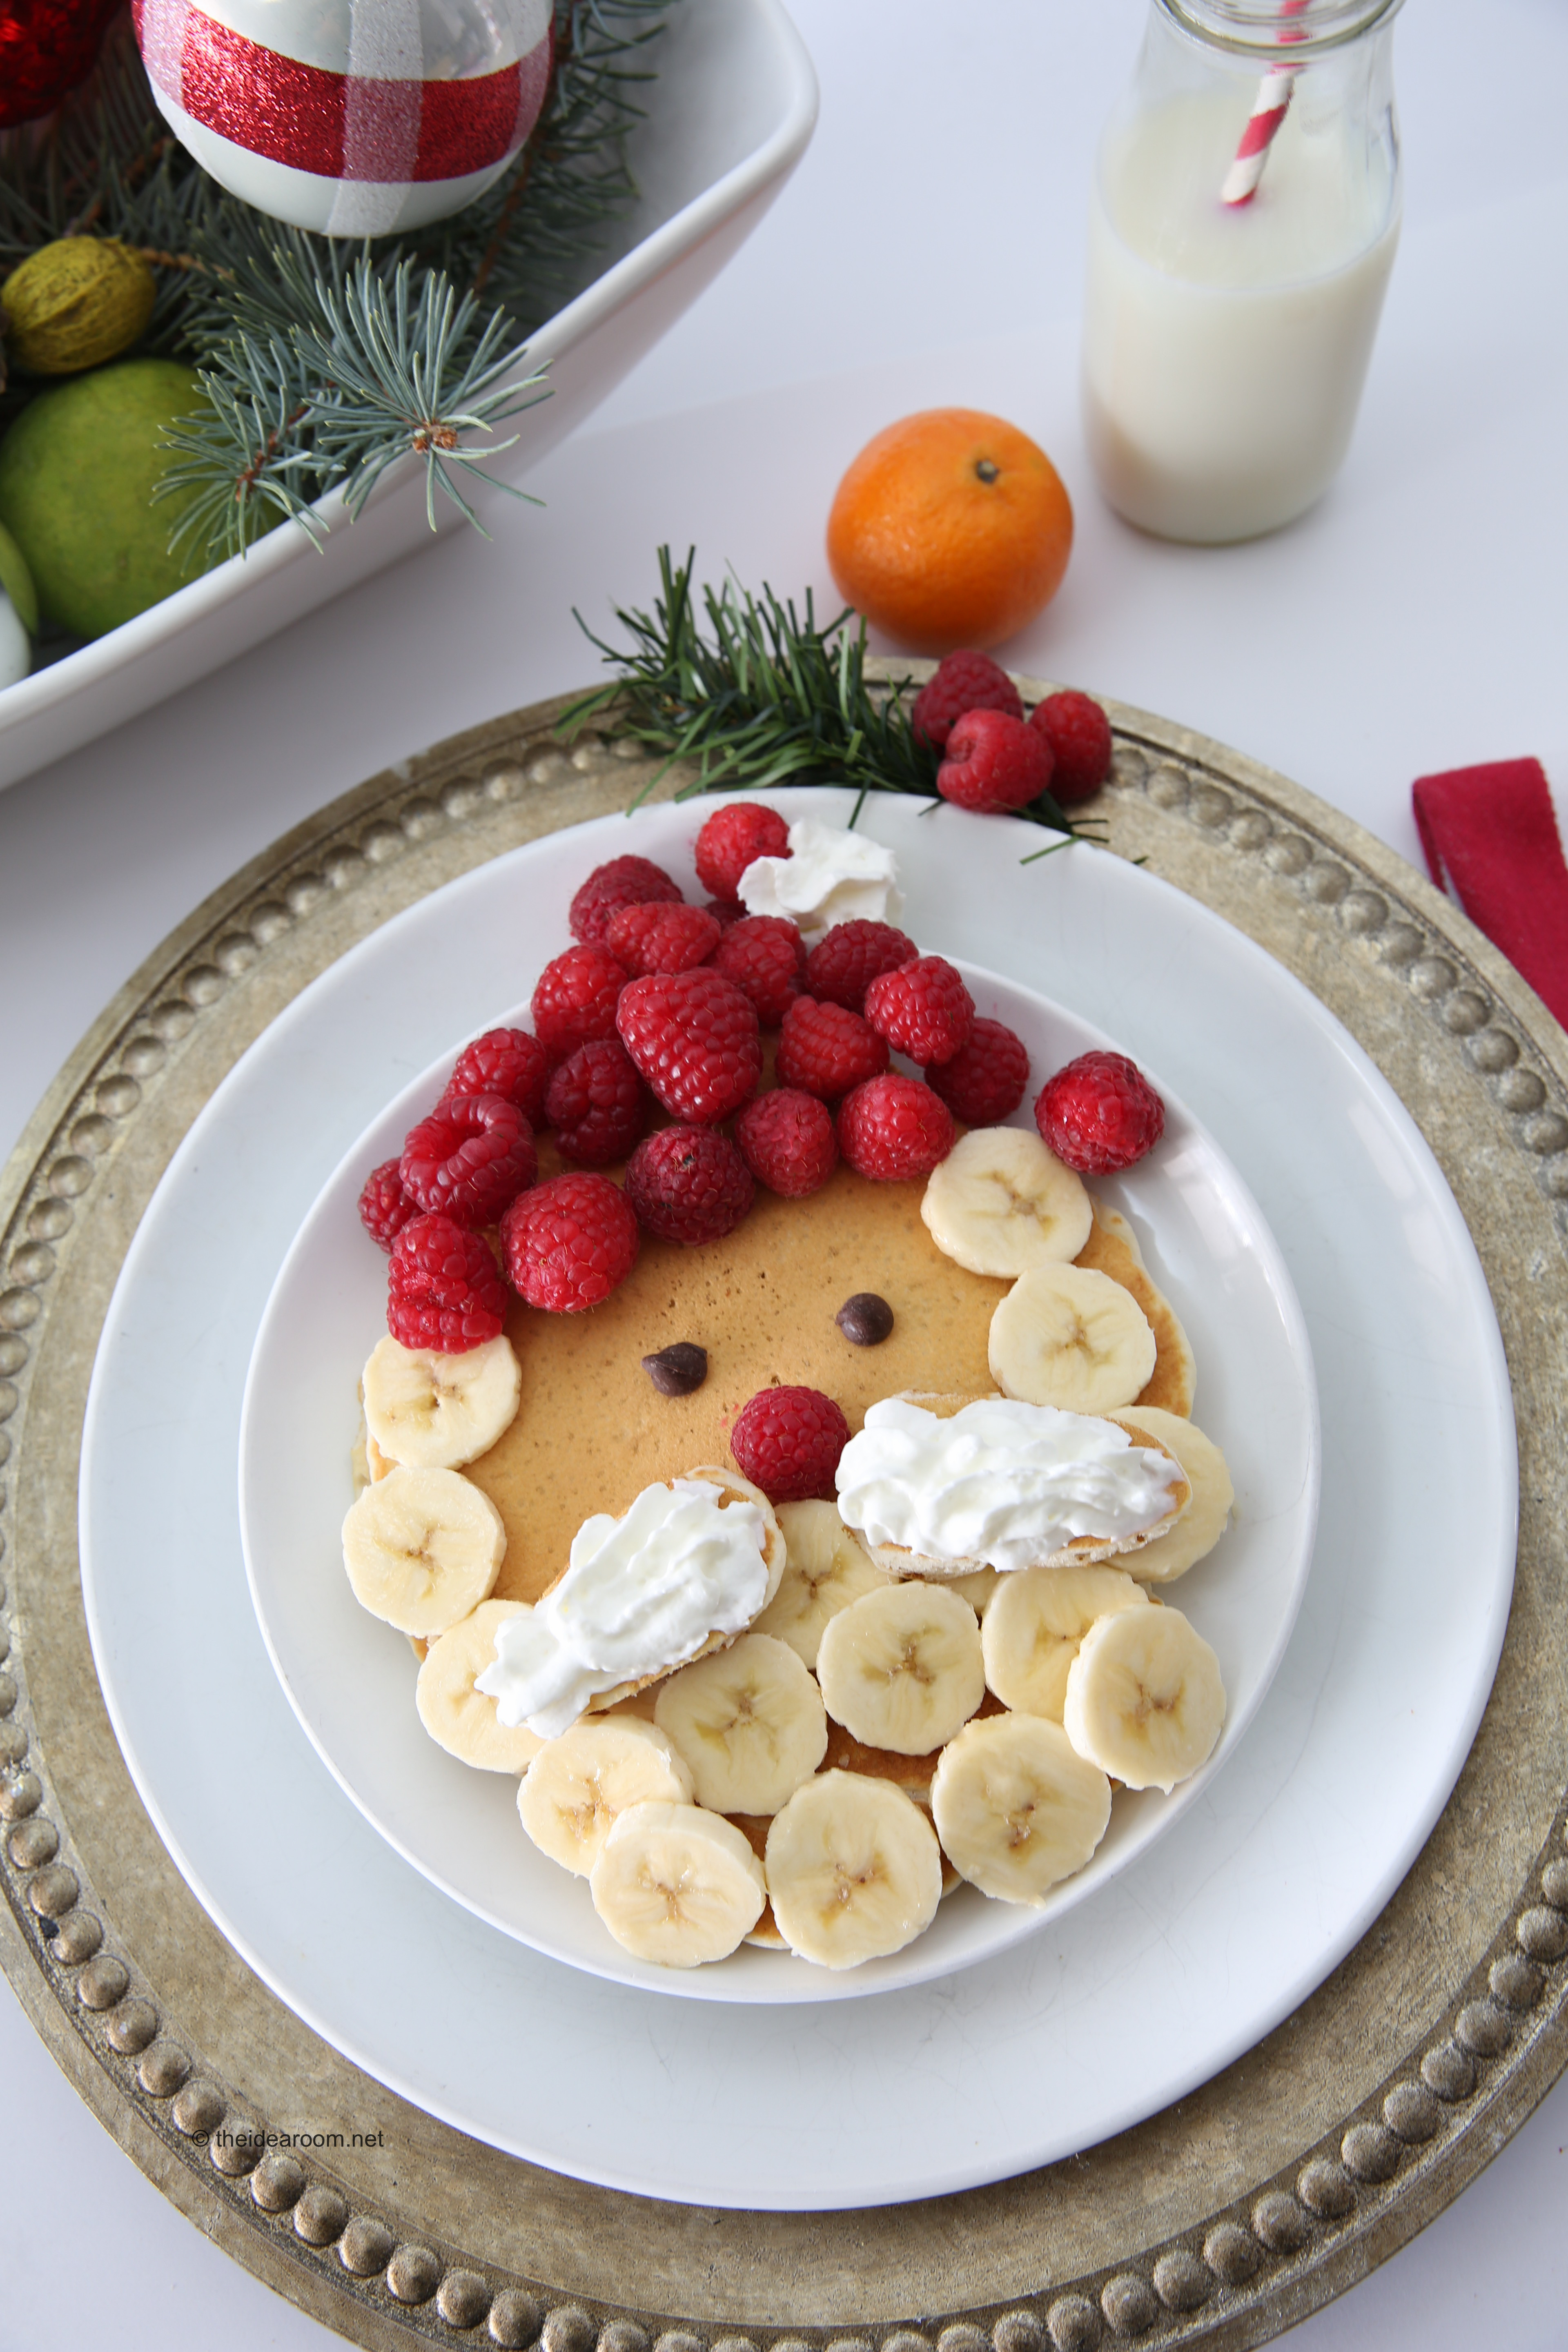
How to Make Santa Claus Pancakes
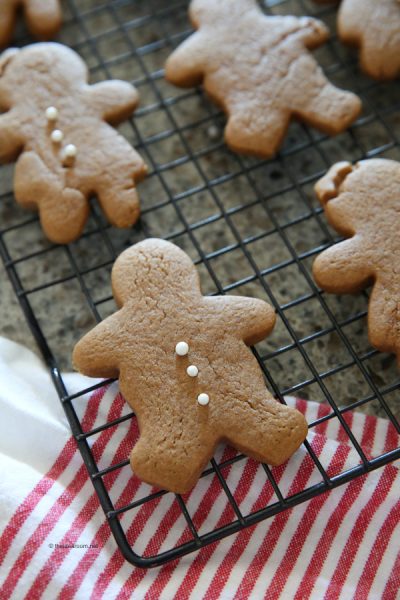
How to Make Soft Gingerbread Cookies Recipe
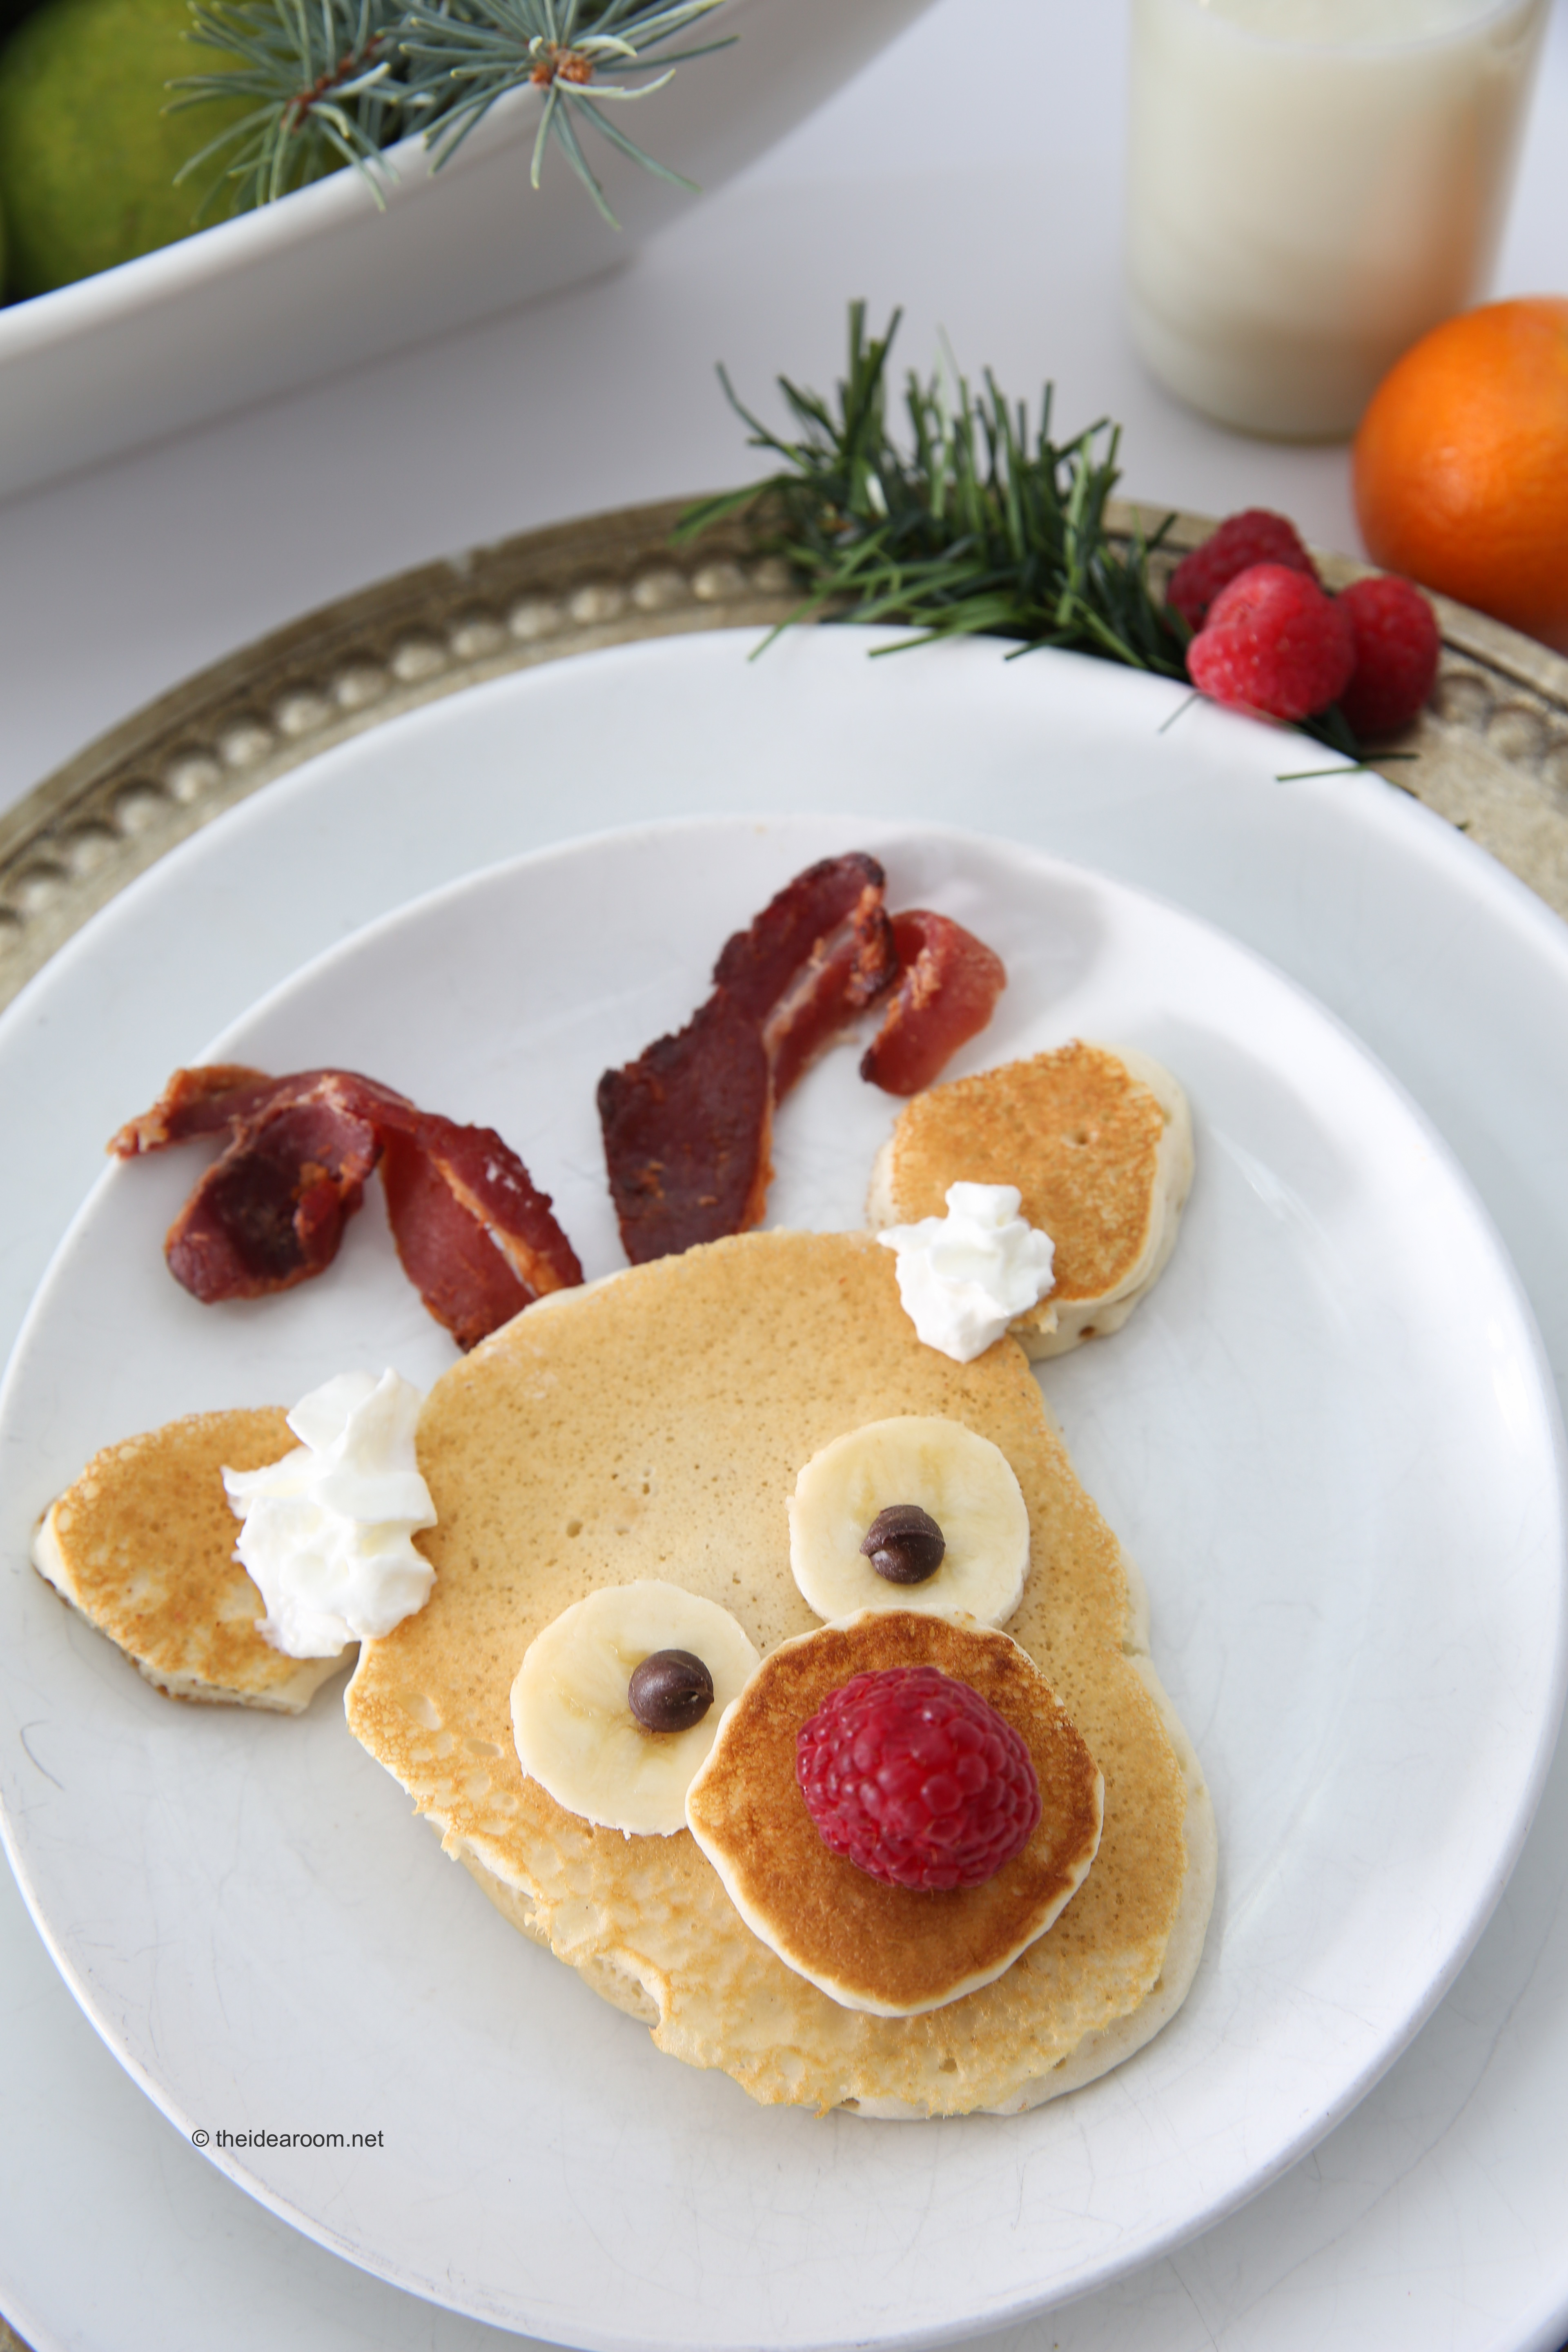
How to Make Reindeer Pancakes
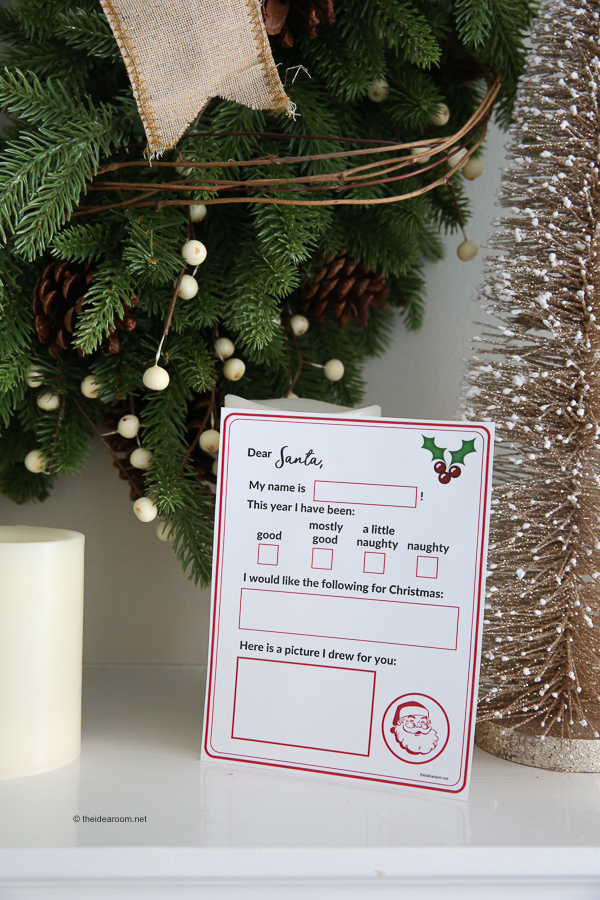
How to Write Santa and Free Printable Santa Letters
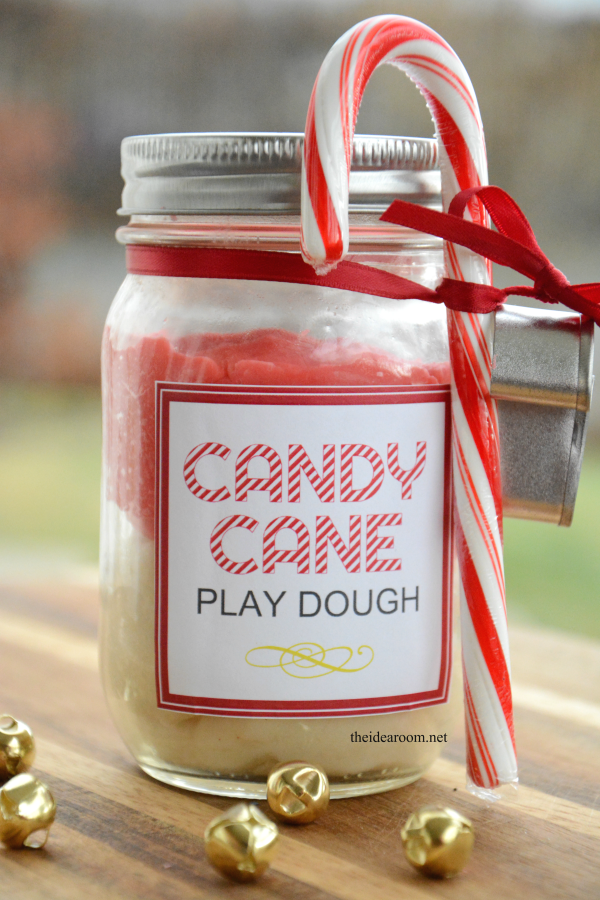
How to Make Candy Cane Playdough
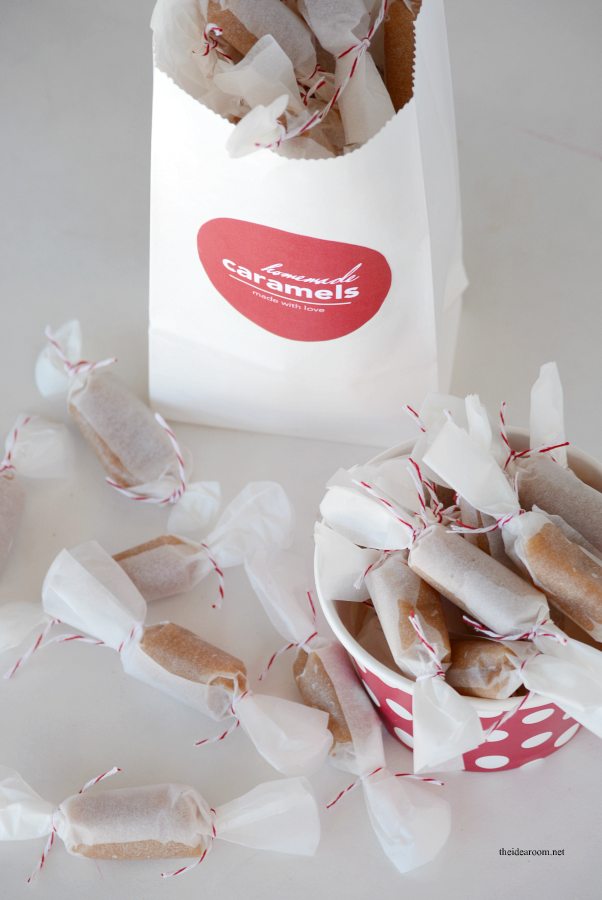
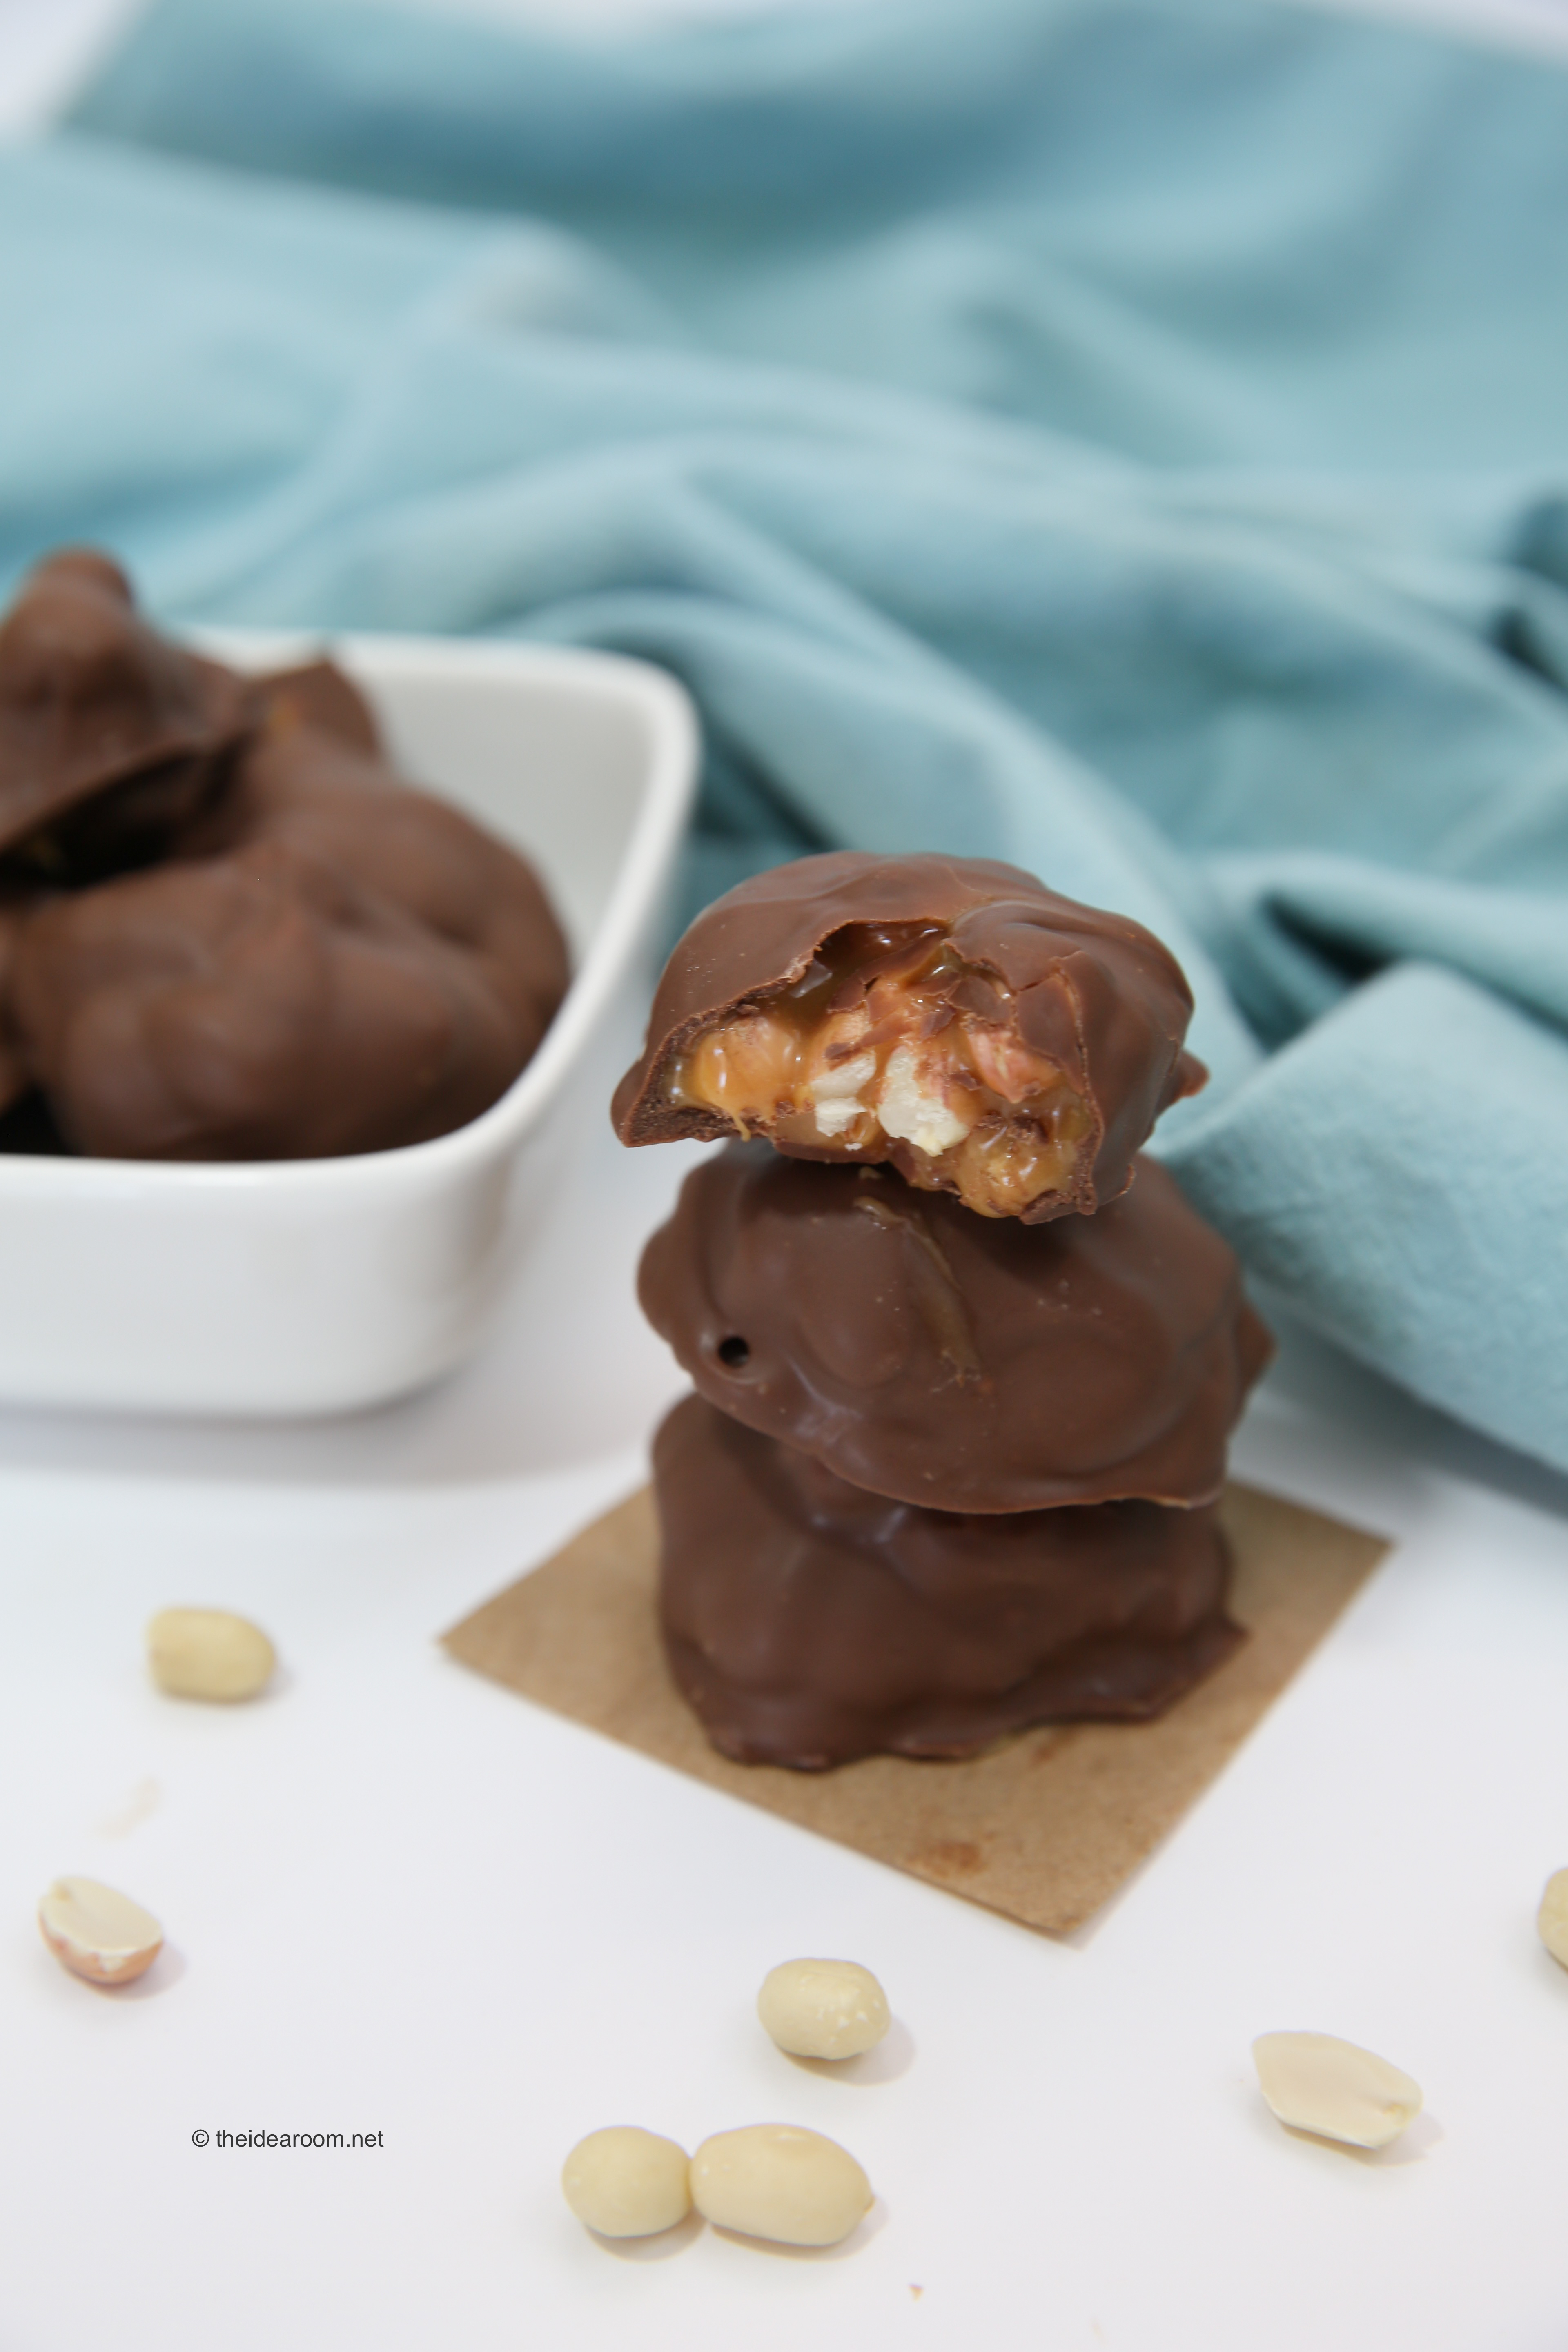
How to Make 6 Minute Homemade Caramels
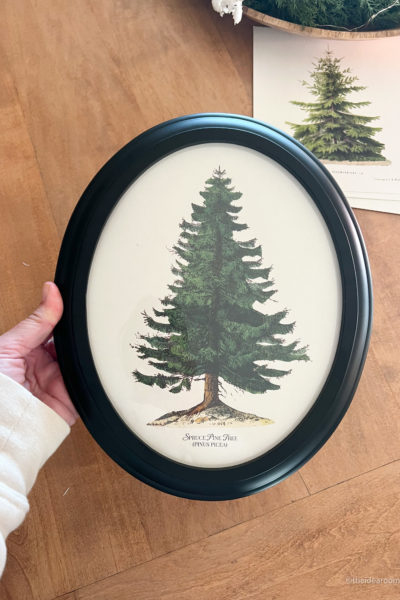
How to Make Picture of a Tree: Evergreen Art Dupe
- 1
- 2
- 3
- …
- 18
- Next Page »


