
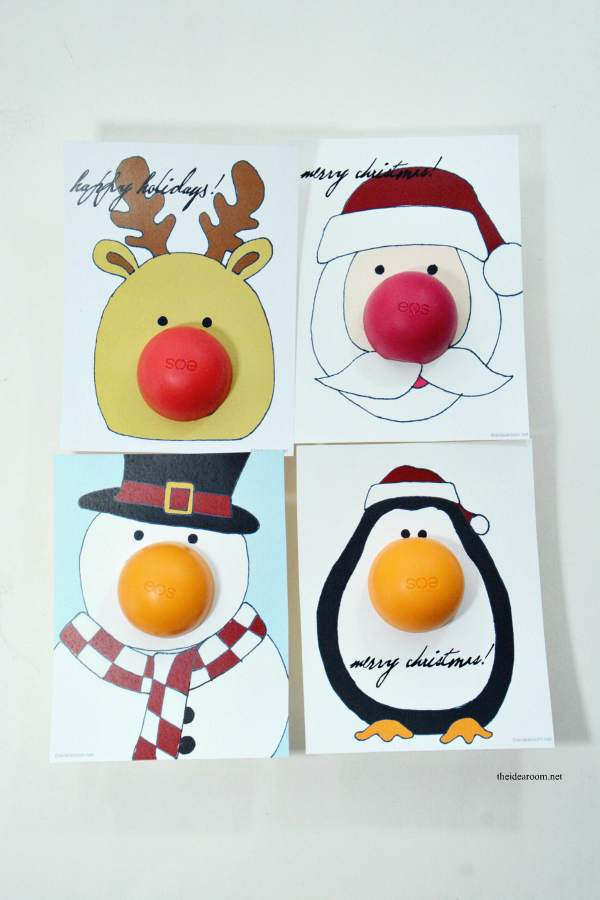
EOS Christmas Gift
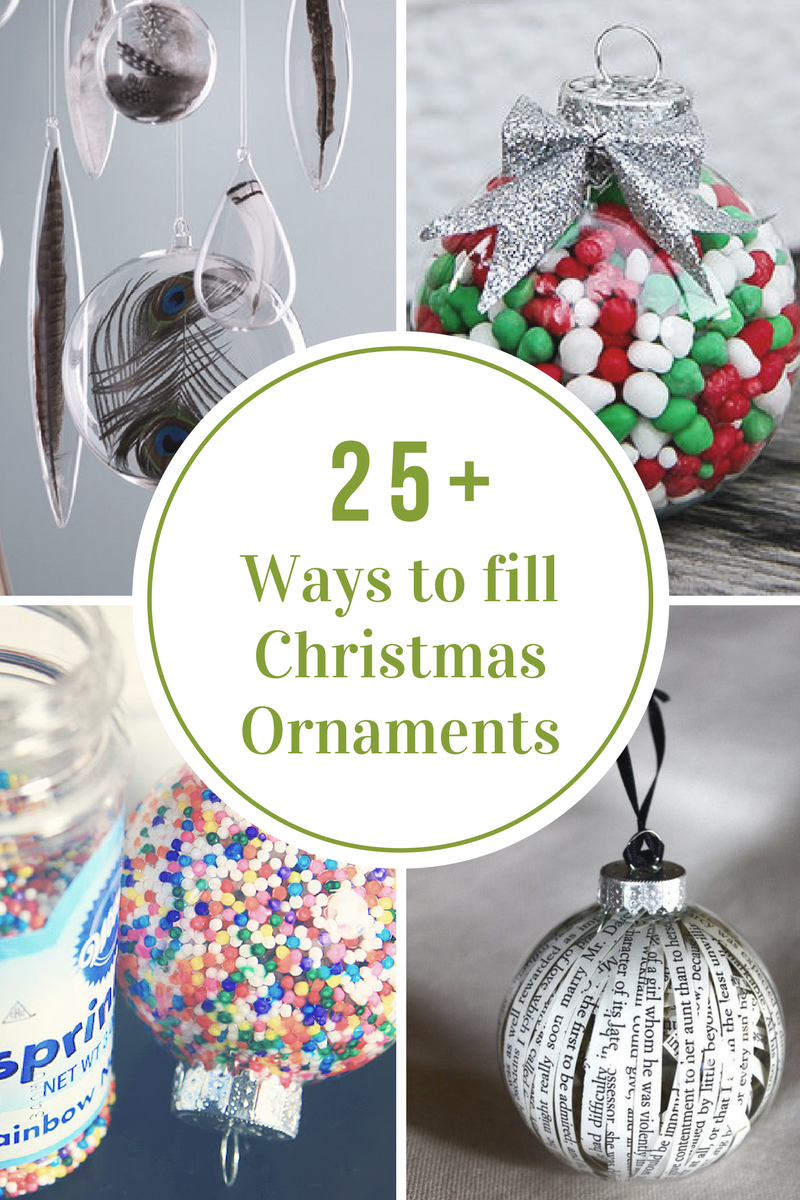
25+ Beautiful Ideas for Filling Clear Plastic Ornaments
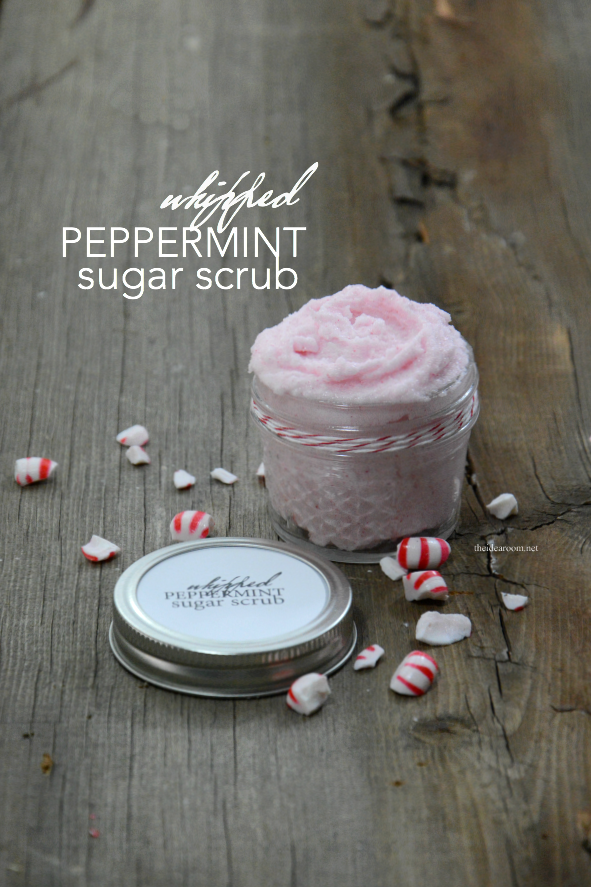
How to Make a Whipped Sugar Scrub Recipe
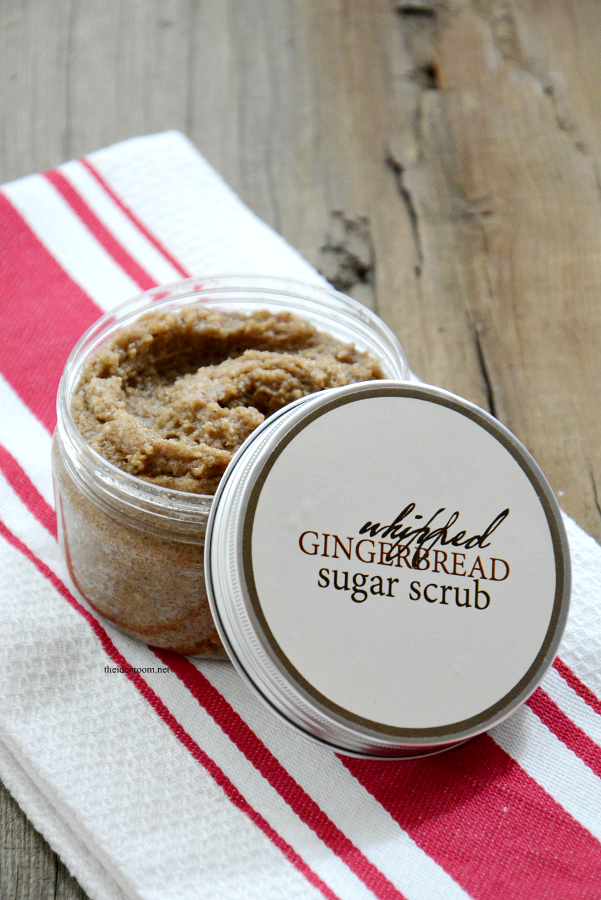
How to Make Whipped Gingerbread Sugar Scrub
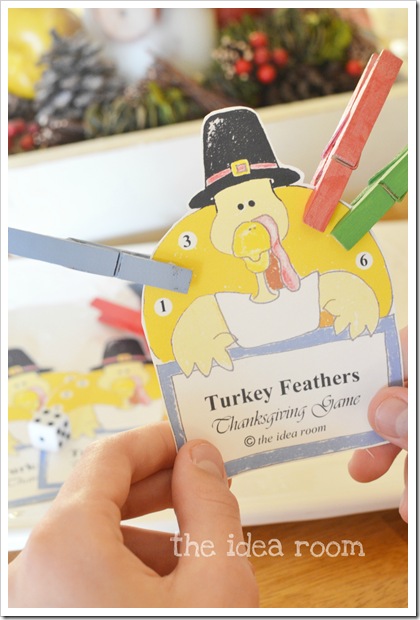
Free Printable Thanksgiving Game For The Whole Family

How to Make Christmas Money Gift Ideas
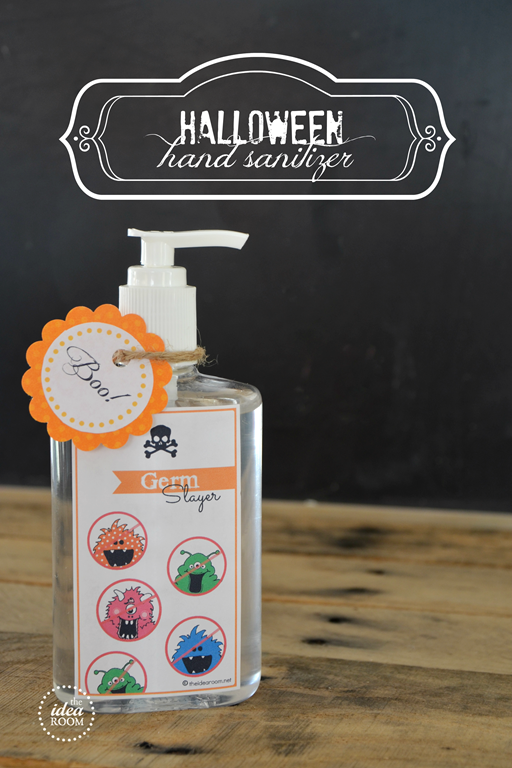
Halloween Gift: Germ Slayer Hand Sanitizer
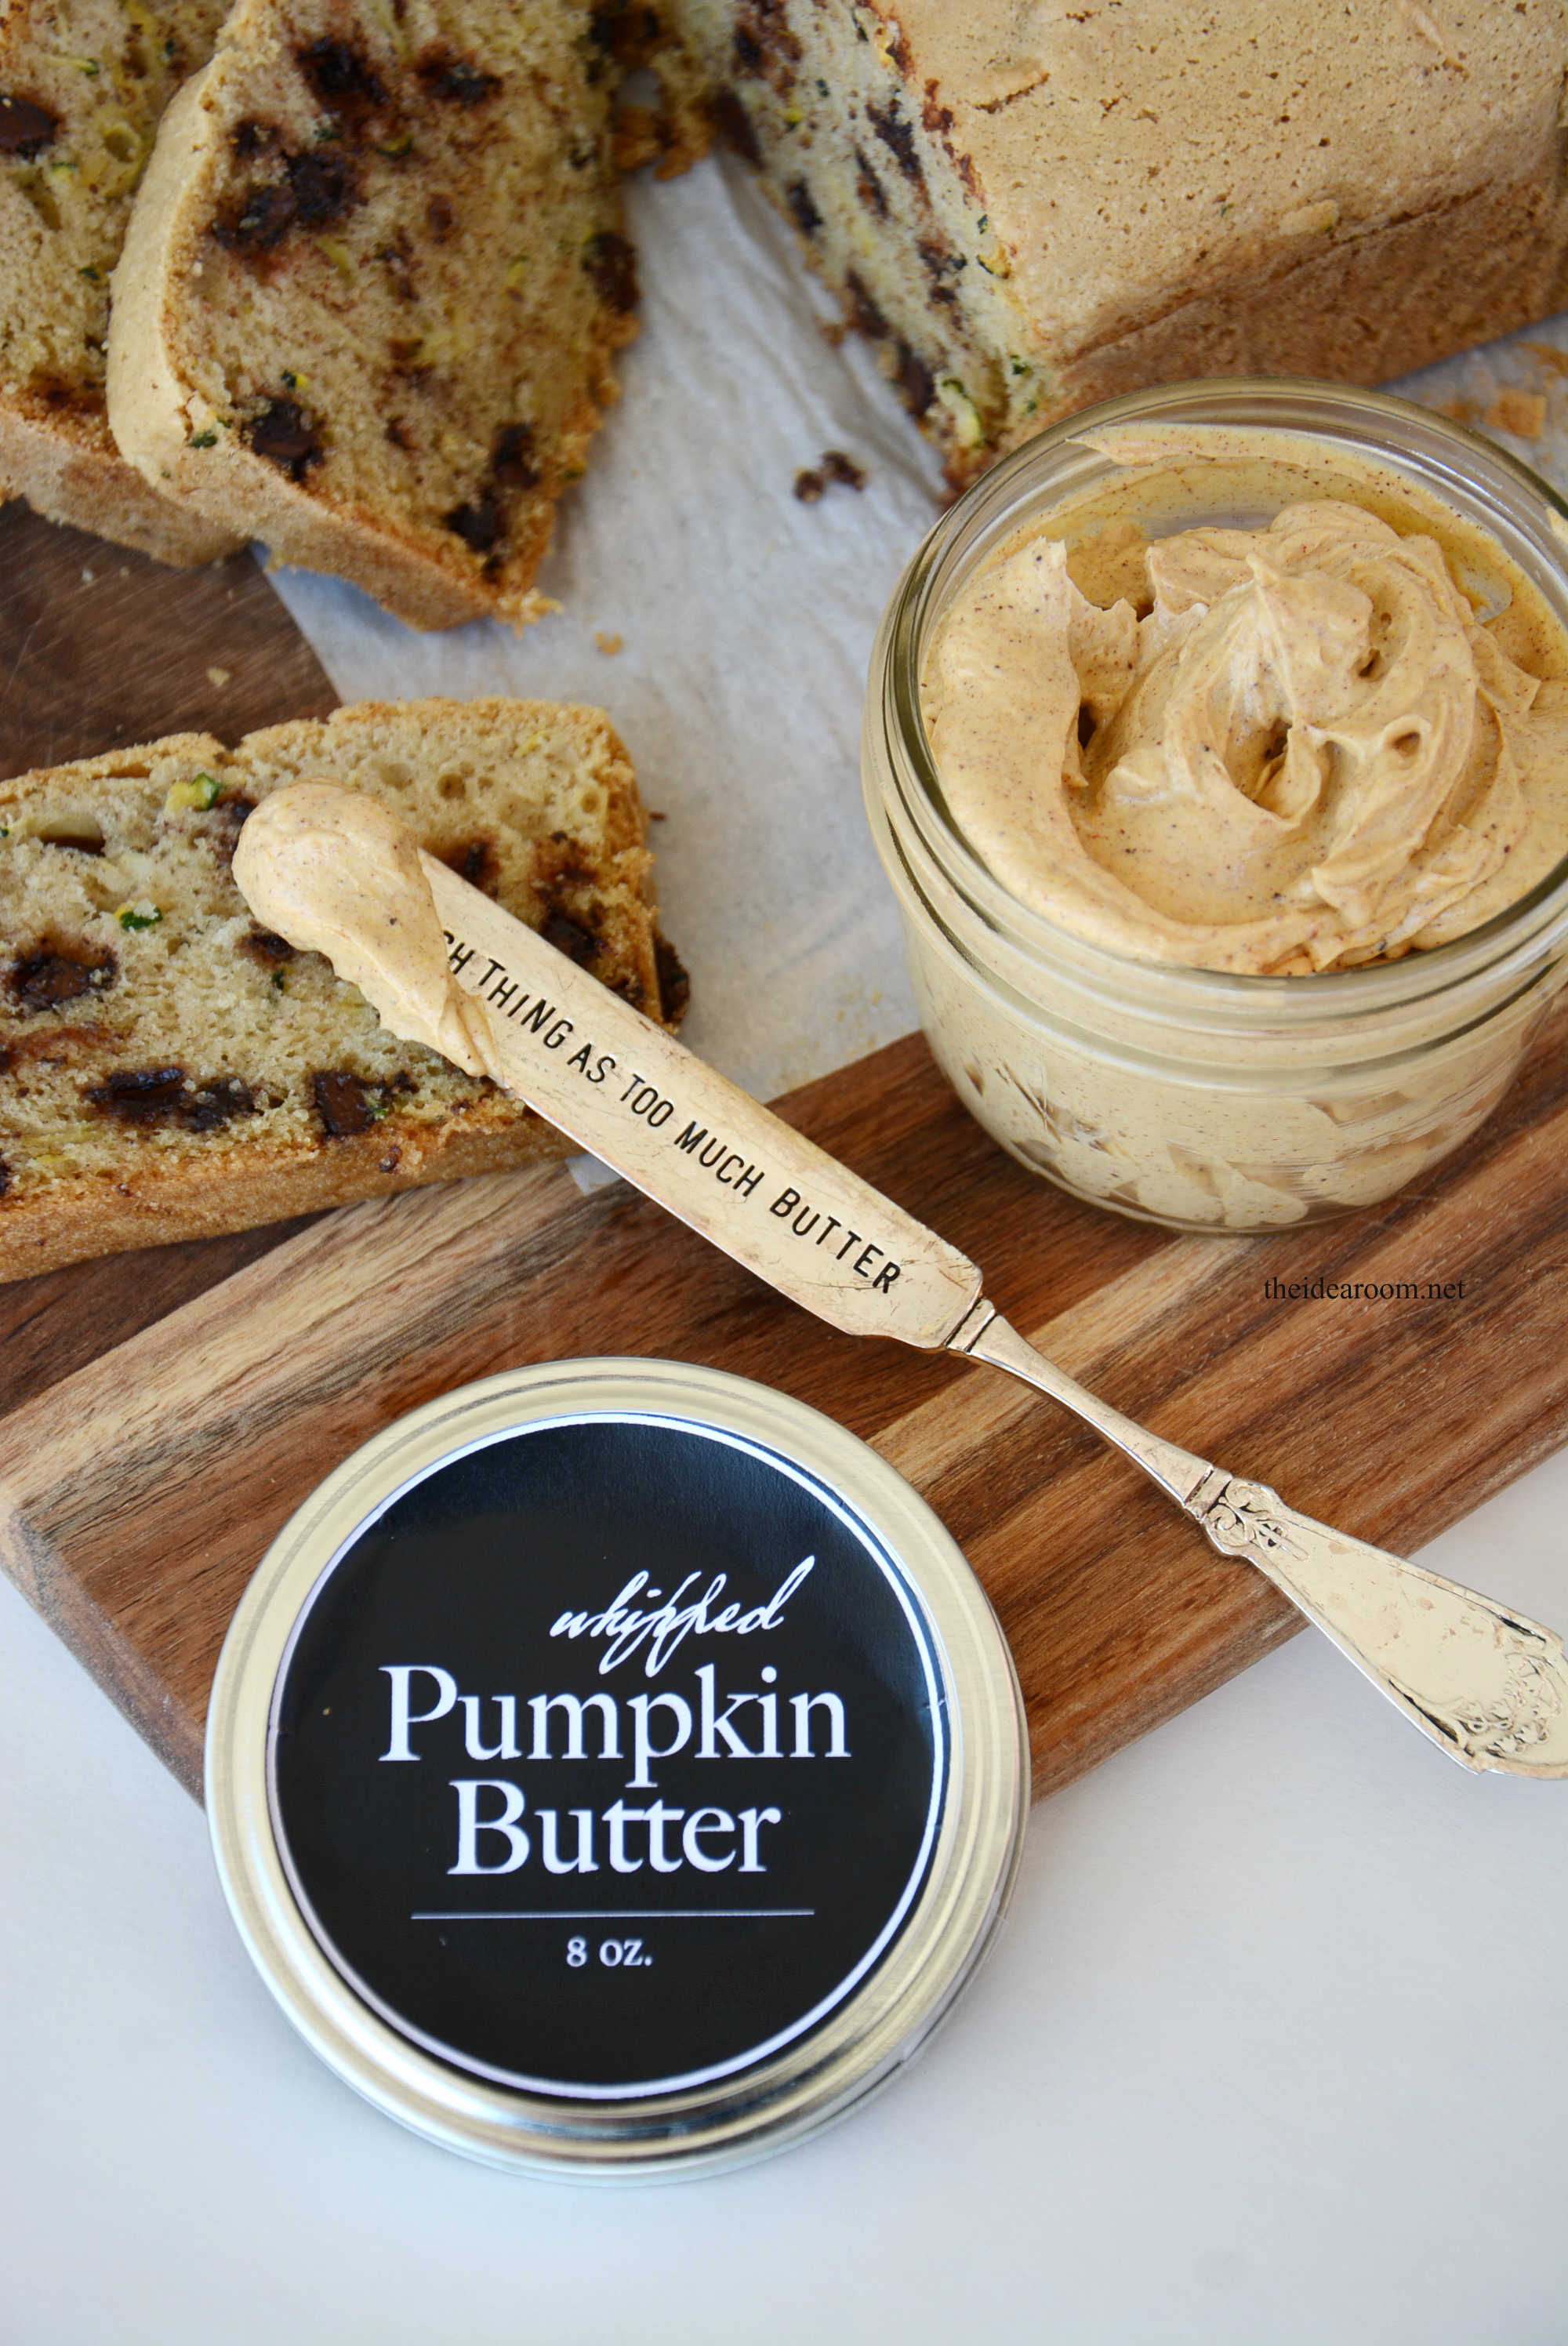
Whipped Pumpkin Butter
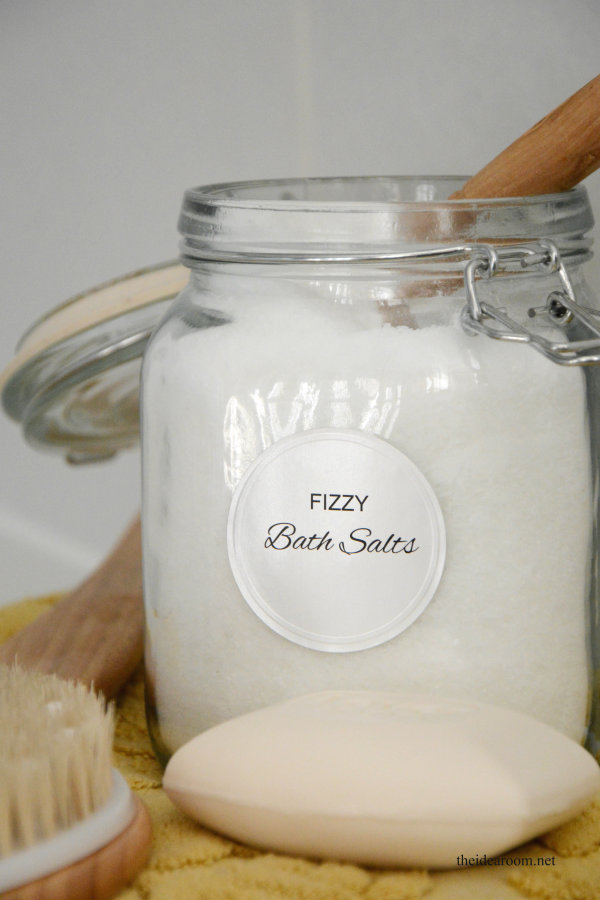
How to Make Fizzy Bath Salts

Lemon Poppy Seed Bread + Strawberry Swirl Bread
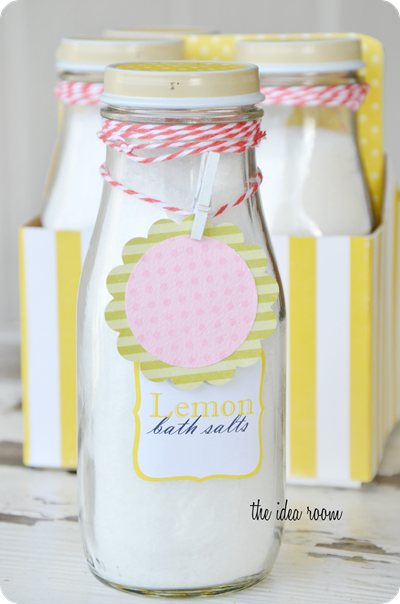
How To Make Homemade Bath Salts
- « Previous Page
- 1
- 2
- 3
- 4
- 5
- …
- 14
- Next Page »


