
Learn how to make a beautiful Fourth of July Flag Sign DIY with this easy tutorial. Create rustic patriotic décor perfect for Independence Day, Memorial Day, and summer decorating.
FLAG SIGN
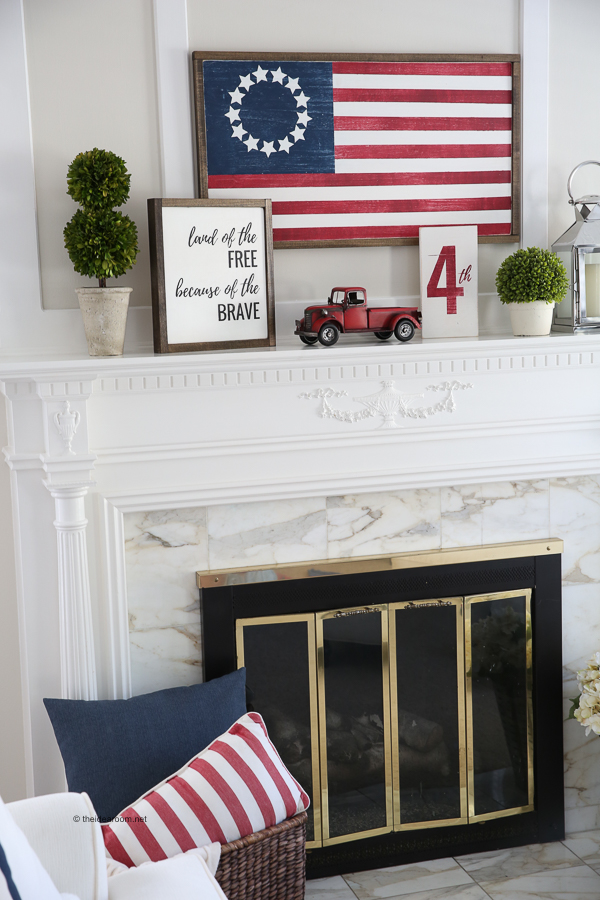
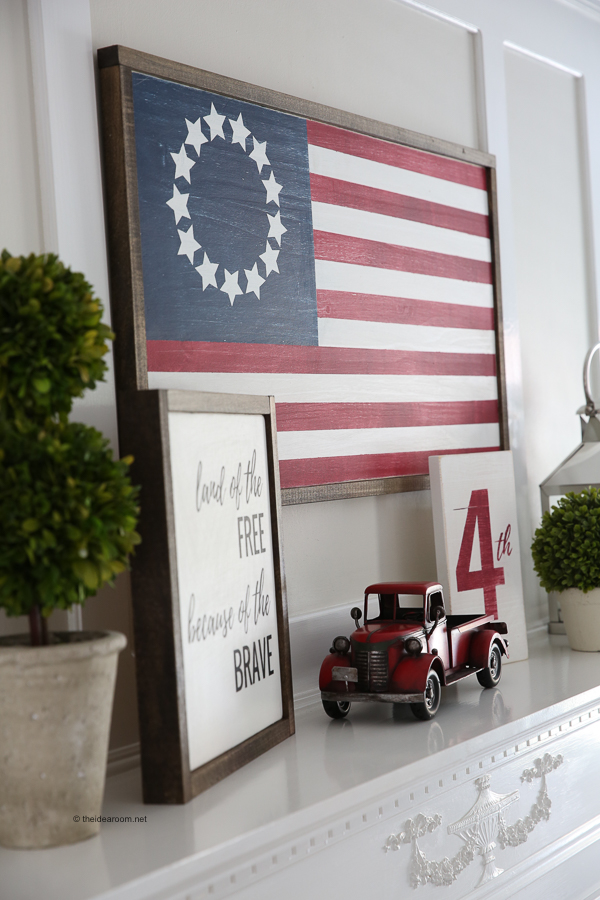
Last week I shared with you a Summer Mantle Hop that I was part of where I shared my Fourth of July Mantle. I had several of you interested in how I made this Farmhouse Wood Flag Sign, so today I am going to share how I made it. You can make one too!
I just LOVE the Fourth of July Holiday…don’t you? It has been my favorite since I was a little girl. It might have something to do with the fact that my birthday is on the 2nd of July and the 4th of July and my birthday always got wrapped up into a few days of celebration! We always have something fun planned and something to look forward too.
DIY WOOD SIGNS
I had created a wooden flag out a pallet a couple of years ago that I put up on the back porch to celebrate Independence Day. So, I wanted something a little classier to go inside my home over the fireplace. I LOVE how it turned out! I only wish I had made it sooner!
Why You’ll Love This DIY Flag Sign
- Budget-friendly and easy to make
- Perfect for Fourth of July, Memorial Day, and Veterans Day
- Great farmhouse-style patriotic décor
- Beginner-friendly project
- Makes a thoughtful handmade gift
HOW TO MAKE A WOODED SIGNS
SUPPLIES:
- 1 piece of wood (mine was 17 inches x 32 inches)
- 2 side pieces (17 inches x 1.5 inches x 3/4 inches)
- 2 side pieces (33.5 inches x 1.5 inches x 3/4 inches)
- painter’s tape (1 inch in width)
- white paint
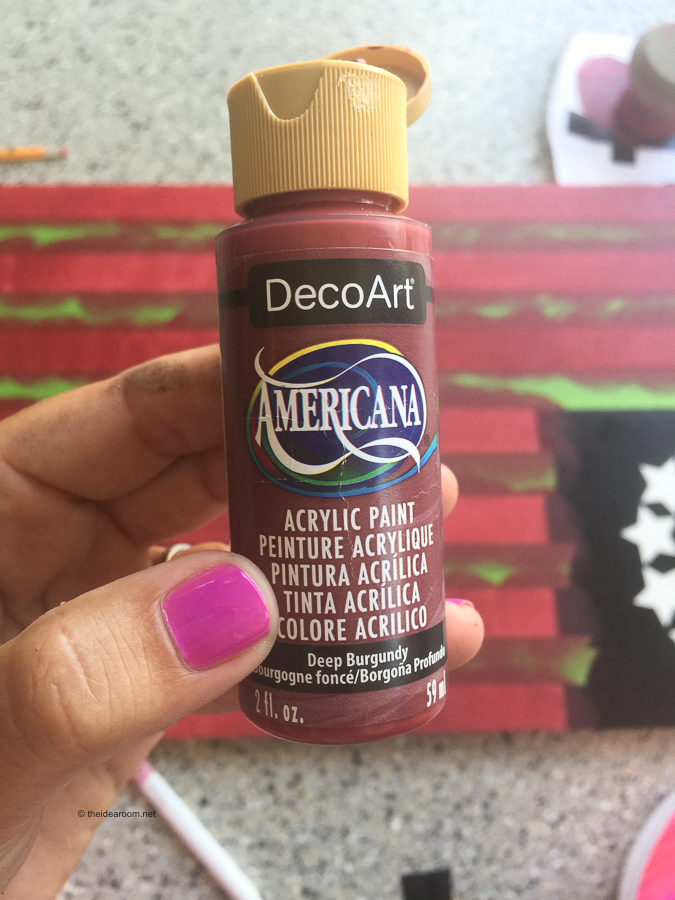
- red paint (I used this one)
- blue paint (I used this one)
- paint brushes/roller (I use this one)
- sand paper
- nails/staples
- star stencil (download the svg file I used for mine here)
- stain (I use this one)
- stain rag
- picture hanger (I used this one)
DIRECTIONS:
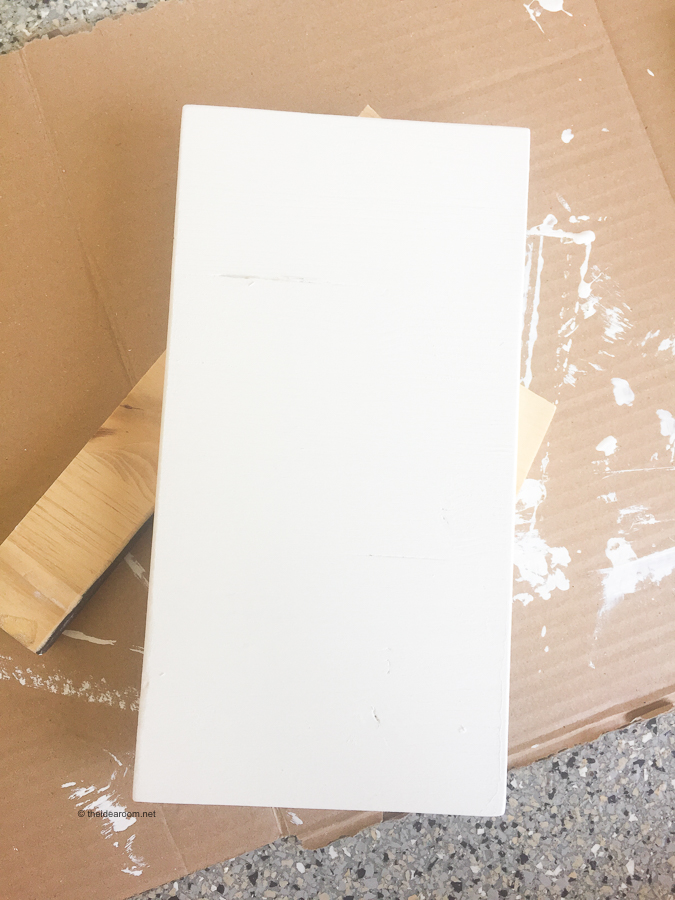
1. Cut your wood to your desired measurements, or use the measurements I did.
2. Measure out the 13 stripes so that they spread out evenly over the length of the board. It worked out to be roughly about 1 and 3/8 inches for each stripe.
3. Measure this on each side of the board and then tape off every other stripe with your painter’s tape. I used two strips of tape so that the whole 1 and 3/8 inch is completely taped off.
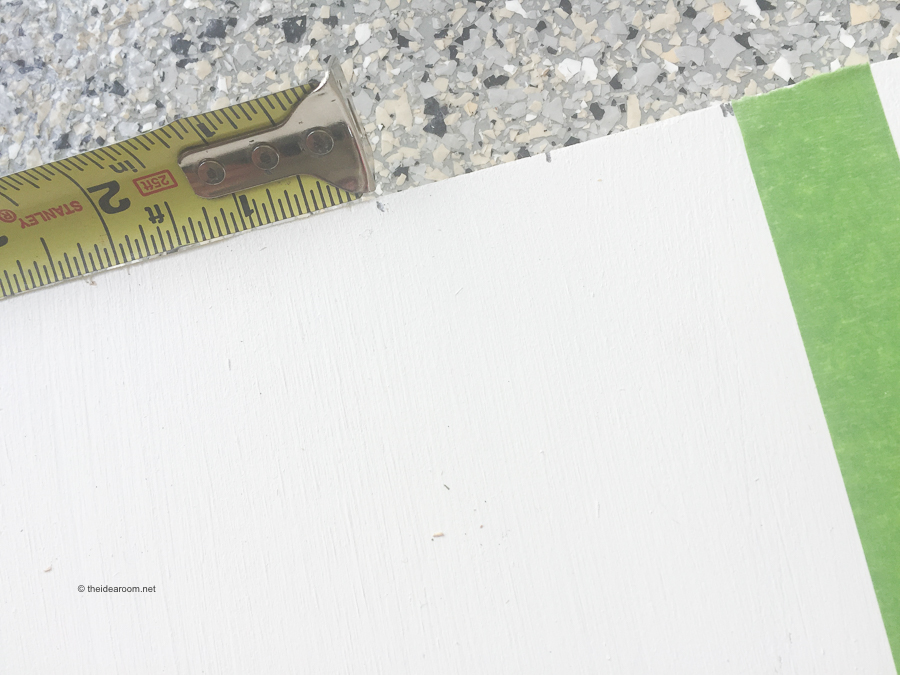
4. The top stripe needs to be red so be sure to leave that first stripe without any tape and then start taping every other stripe.

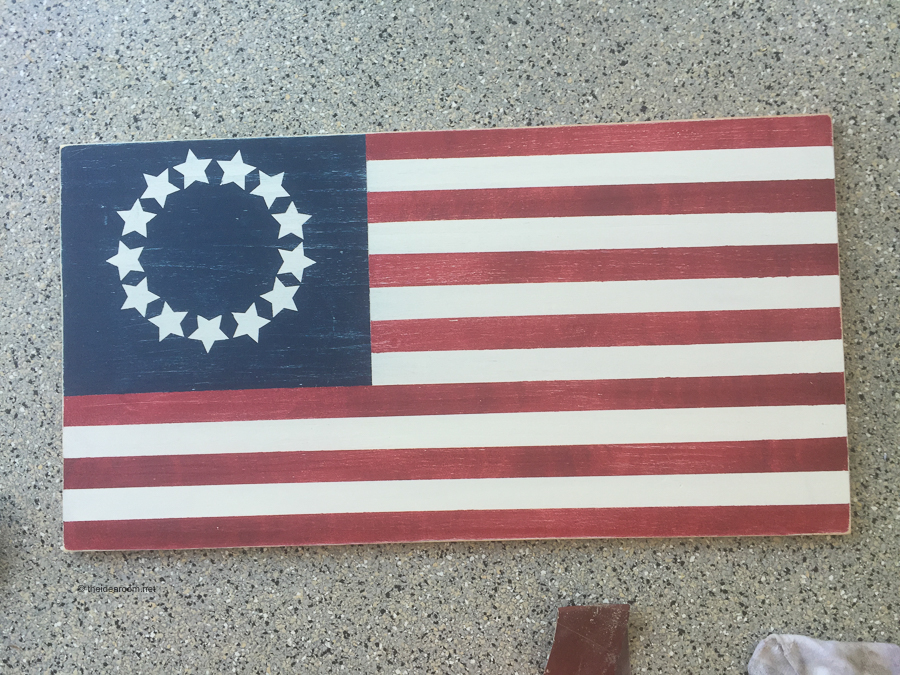
5. Be sure to leave room for the blue part of the flag that holds the stars. It should measure down to the 7th stripe with the 8th stripe going all the way across the board. The blue square should measure about 9 and 1/4 inches tall and 12 and 3/4 inches.

6. Paint your red stripes. I like to use a small sponge brush when I do the stripes and sponge the paint on. This gives it a little bit of an uneven look which adds a little bit of distress to the overall look of the flag.
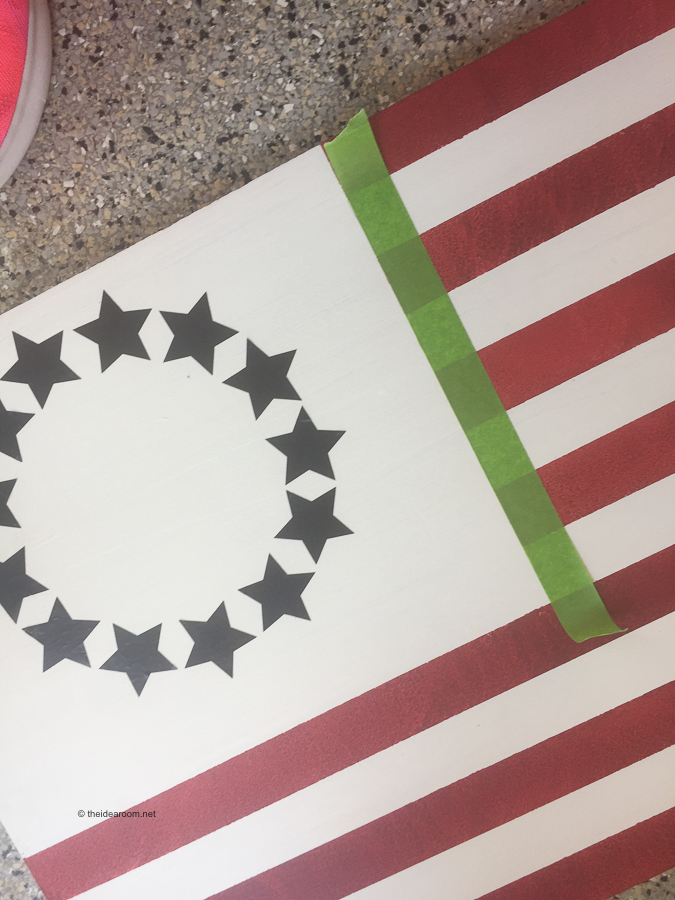
7. Carefully peel up the tape before the paint fully dries. If the paint is fully dry it can pull up in unwanted areas.
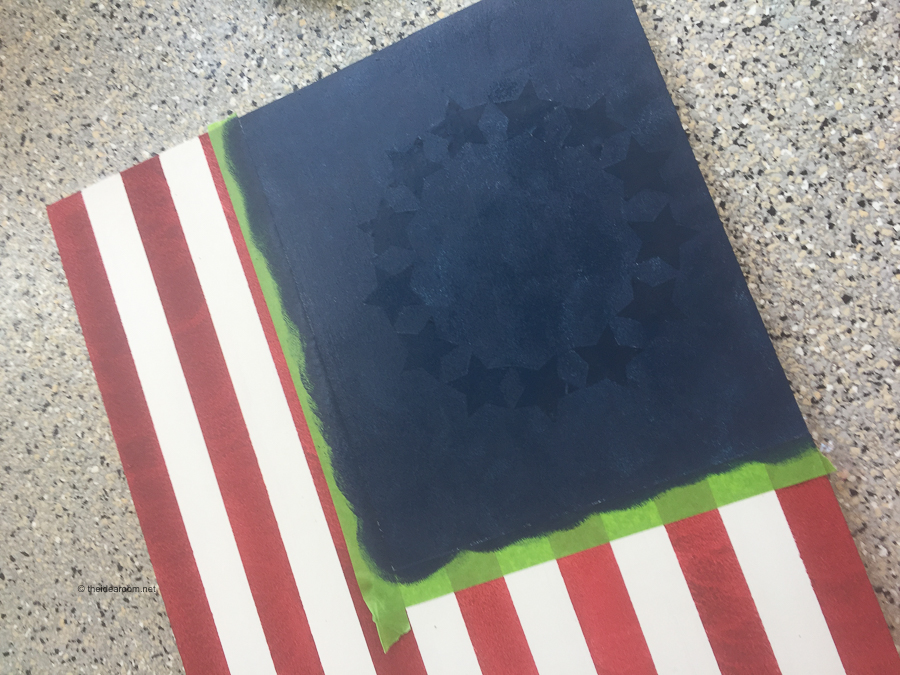
8. When the red paint has dried, you can place your star vinyl stickers on the flag or wait to stencil white stars over the blue paint depending on what you use. I used vinyl stars so I put them on the white board before I painted it blue. I used this svg pattern, click on the link to download it and cut it on your own cricut or silhouette machine.
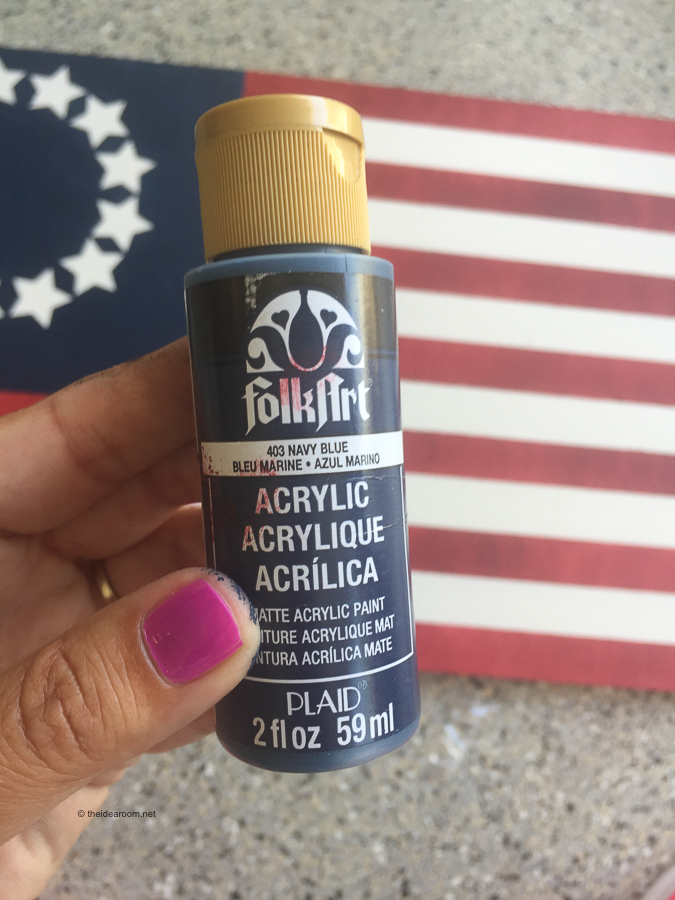
9. Paint your square blue. Pull up the tape before it is completely dry.
10. Peel off each vinyl star very carefully.
11. Let the sign dry completely at least a few hours so that the paint will not smear when you sand it.
12. Sand the sign down roughly on the edges as much as you want it to have a distressed look. Run the sand paper over the entire flag so that it looks a little worn and aged. Again, do this to your own personal preferences.
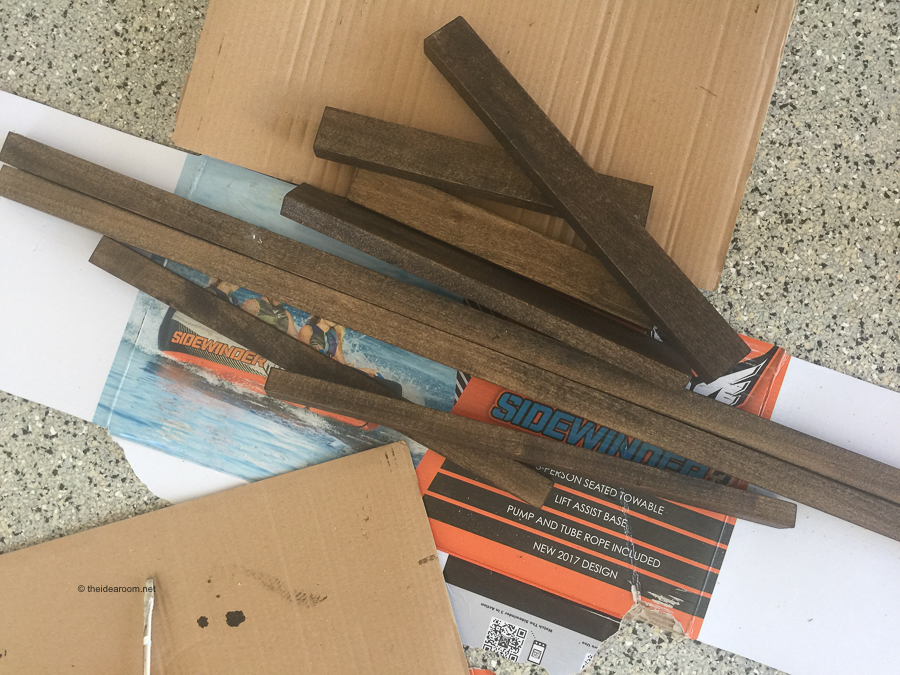
13. While the paint is drying, you can cut your side pieces for your sign frame. You will need to cut two different lengths of your frame using the measurements above. Two will be the top and bottom frames and two will be the sides of the frame.
14. Stain them with your favorite color of stain and let them dry. I used this stain.
15. After the stain has dried and the sign is sanded, you can nail or staple the frame onto the flag.
16. Add a picture hanger to the back of the sign and hang in your home!
FLAG SIGN
This sign is so easy to make even though it seems a little complicated. Just take it step by step and you will be so glad you made one! I love making signs and have made several for my home lately.

I will share with you my cut file for the “Land of the FREE because of the BRAVE” sign HERE. That one is not as time consuming, but harder to make if you don’t have a vinyl cutting machine. I suppose you could print out the file and then cut out the letters and make your own stencil too. The old way is tried and true!
FOURTH OF JULY DECORATIONS
Sharing some fourth of July decoration ideas and some just for fun idea.
- Wood Flag Sign
- Fourth of July Banner
- Patriotic Hot Dog Trays
- Fourth of July Bottle Labels
- 4th of July Mantle
- 4th of July “Blast” Printable
- Fourth of July Gift Idea
- Stars and Stripes Sign
- 4th of July Hostess Gift
- Red, White and Blue Italian Sodas
- Printable 4th of July Sign
Happy sign making! Thanks so much for stopping by! xo


Love your blog
Thank you so much Jamie! I am so glad to have you following along! Thanks for the sweet comment!
this is super cute!!
Thank you!
I love this flag AND how generous you were with excellent directions! Thank you! I have one question. When you say to download the stars I always get several pop-up downloads. Sometimes they are good and other times they are not. How do I know which one is yours?
Thank you again for sharing!
Anne- Not sure what you mean by pop up downloads. So sorry.
Okay, I need to make one. How cute!
Becca- Thank you!
Ok, I need to make this!! It is super cute & looks easy to do! Thank you for sharing this great idea!
Kristyn- Thank you. It really is a simple project.
Very nice! You refer to the stars link and when I click on it nothing happens. Maybe it is just me? Thank you for sharing the flag and the excellent instructions for making it.
Nancy- I will add that back in. Thank you for making me aware of this.
Hi Amy … I look forward to your ideas … love the flag …
Curious … where did you get the “4th” on your mantel? That is very fun mantel piece
Julie- I made that with my Cricut Machine. I forgot to mention that. Thank you.
I can’t get the link to the stars to work either. I noticed you posted this in 2017 so is it because Im so slow.”}
Linda- I am looking into it. Thanks for letting me know!
You say the 8th stripe should go all the way across, but the picture shows the 9th? Does it matter?
JoAnne- No, it shouldnt matter. Thank you for letting me know.
Hi there! Love this board! Working on it now, but it looks like the link for the stars isn’t working again? Unless it’s me. Any chance it could be fixed/reposted? Thanks so much for this awesome project and easy directions!
Looking into seeing if I still have this link. Thanks for letting me know that isn’t working.
Hello. The board size for the Flag sign and Land of The Free …are the same size?? 17x 32??
Thanks
No, the Land of the Free Instructions are here: https://www.theidearoom.net/land-free-fourth-july-wood-sign/