
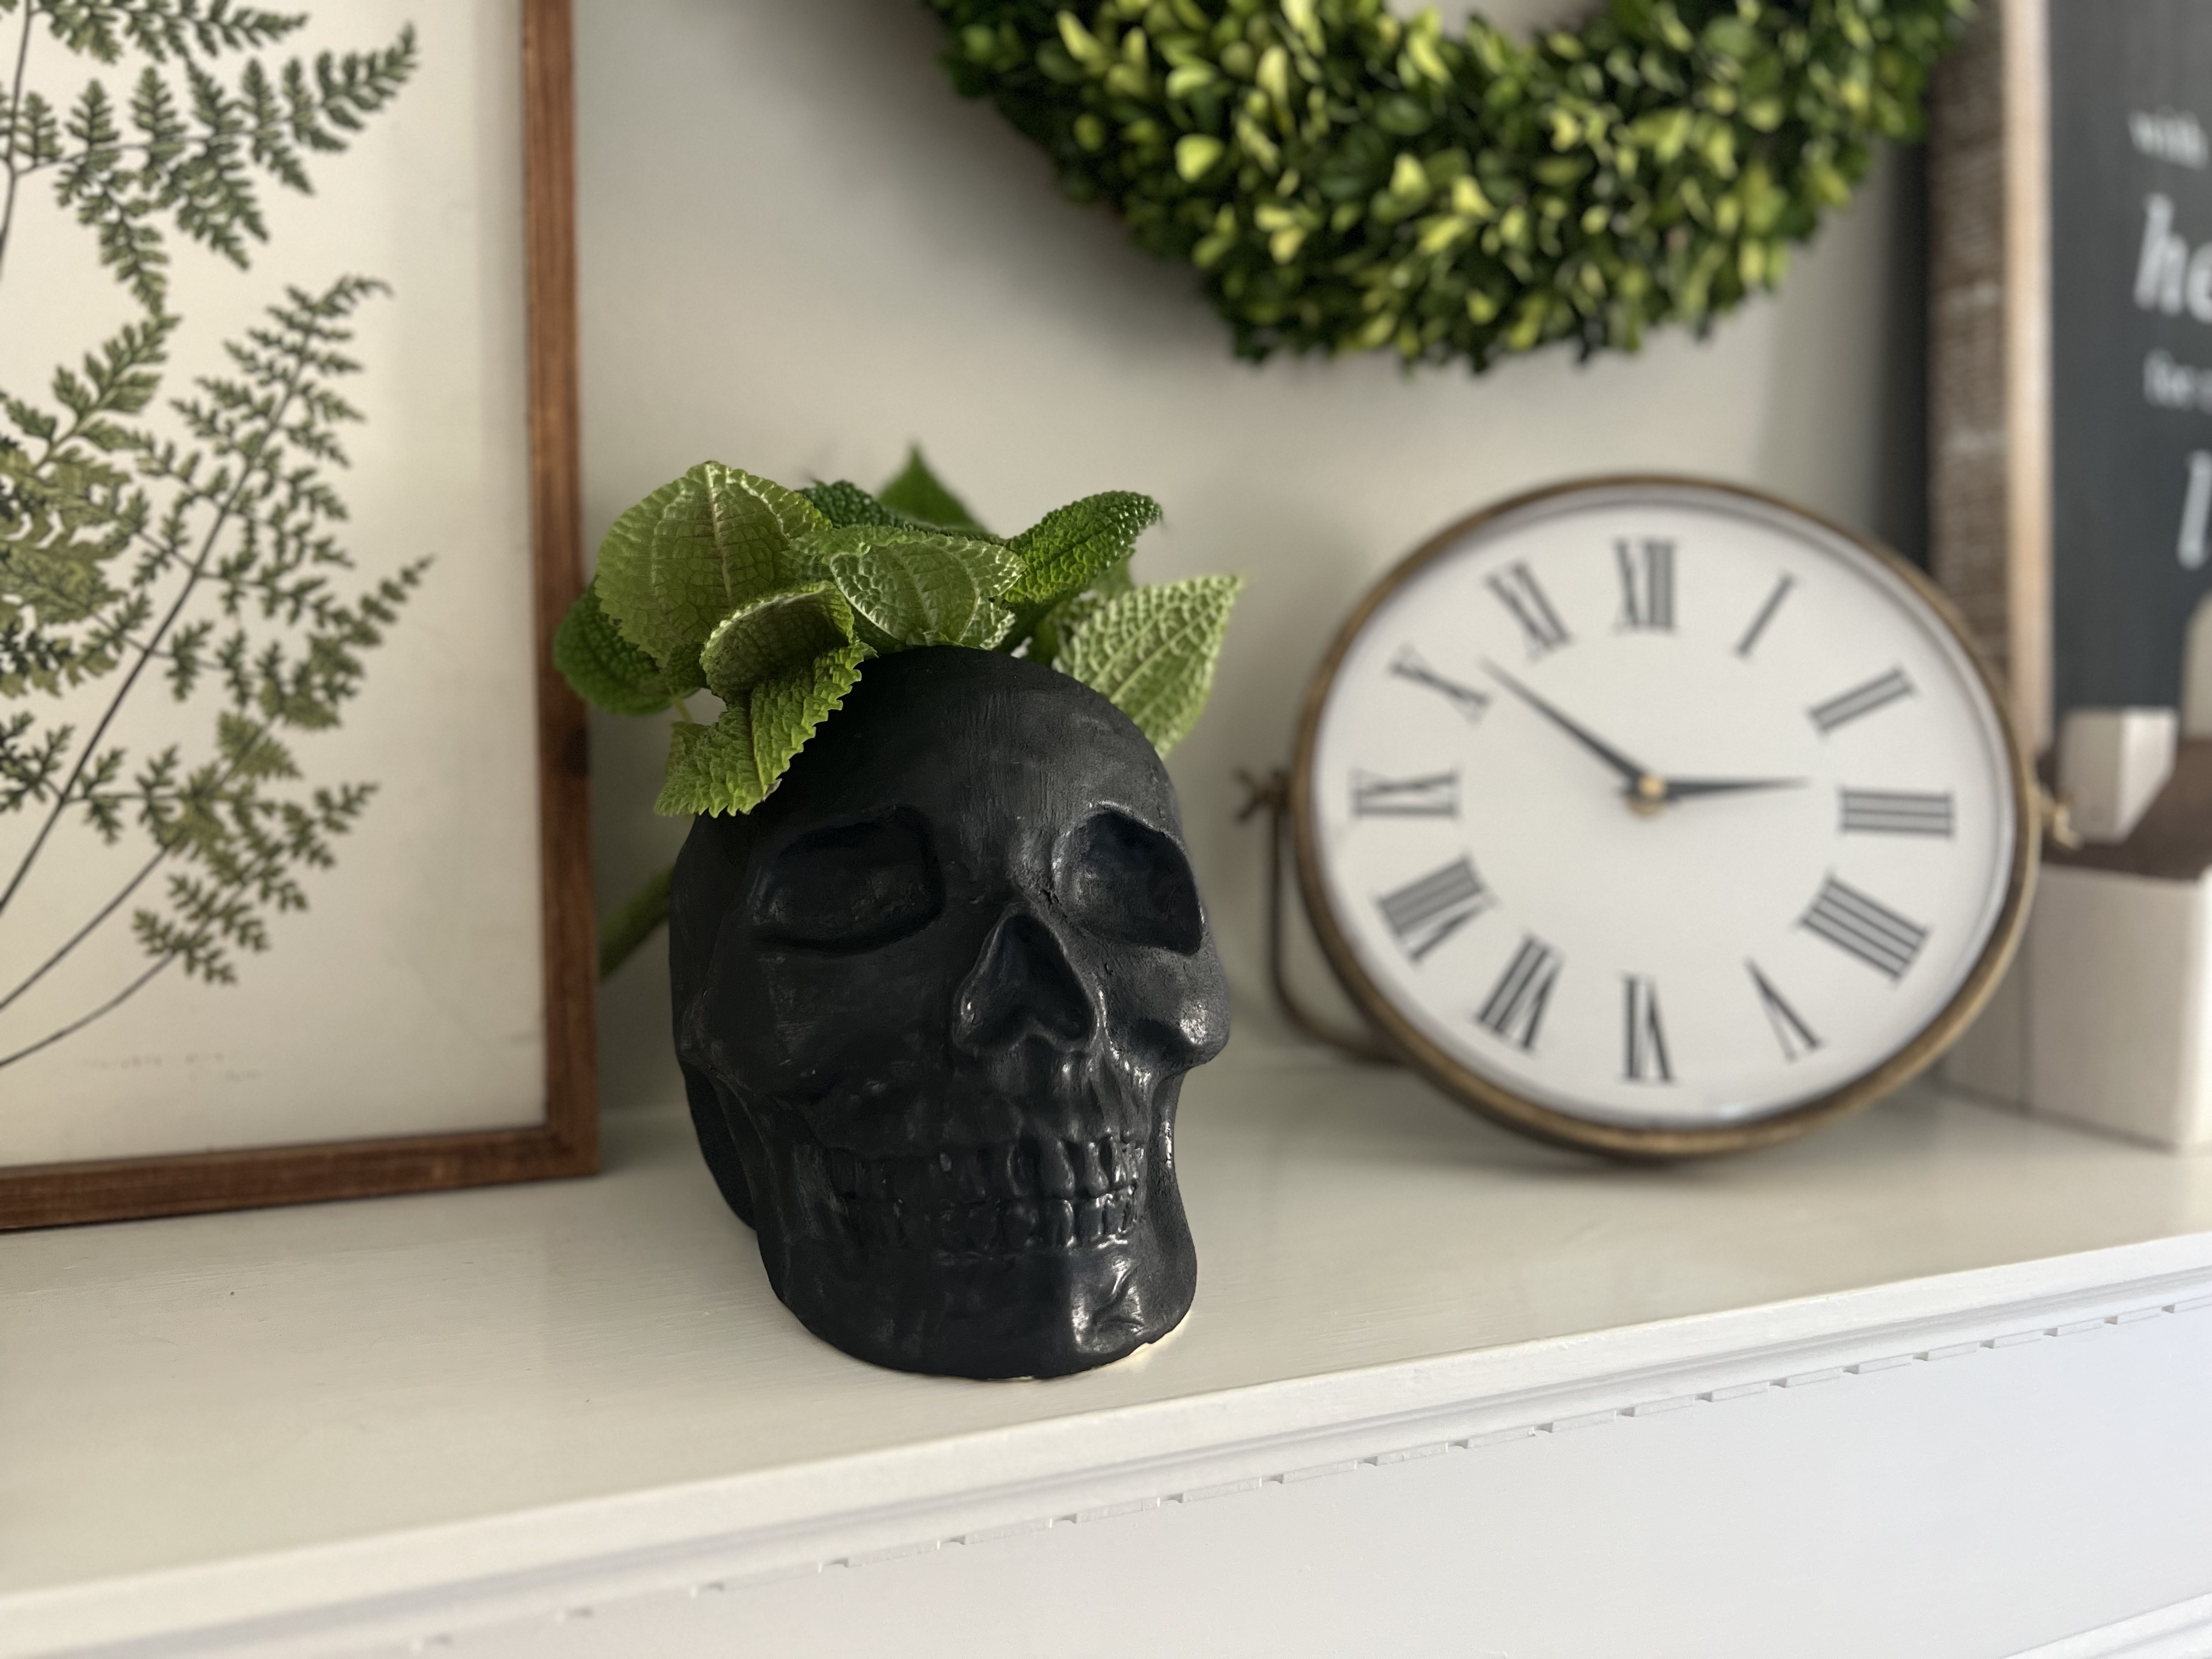
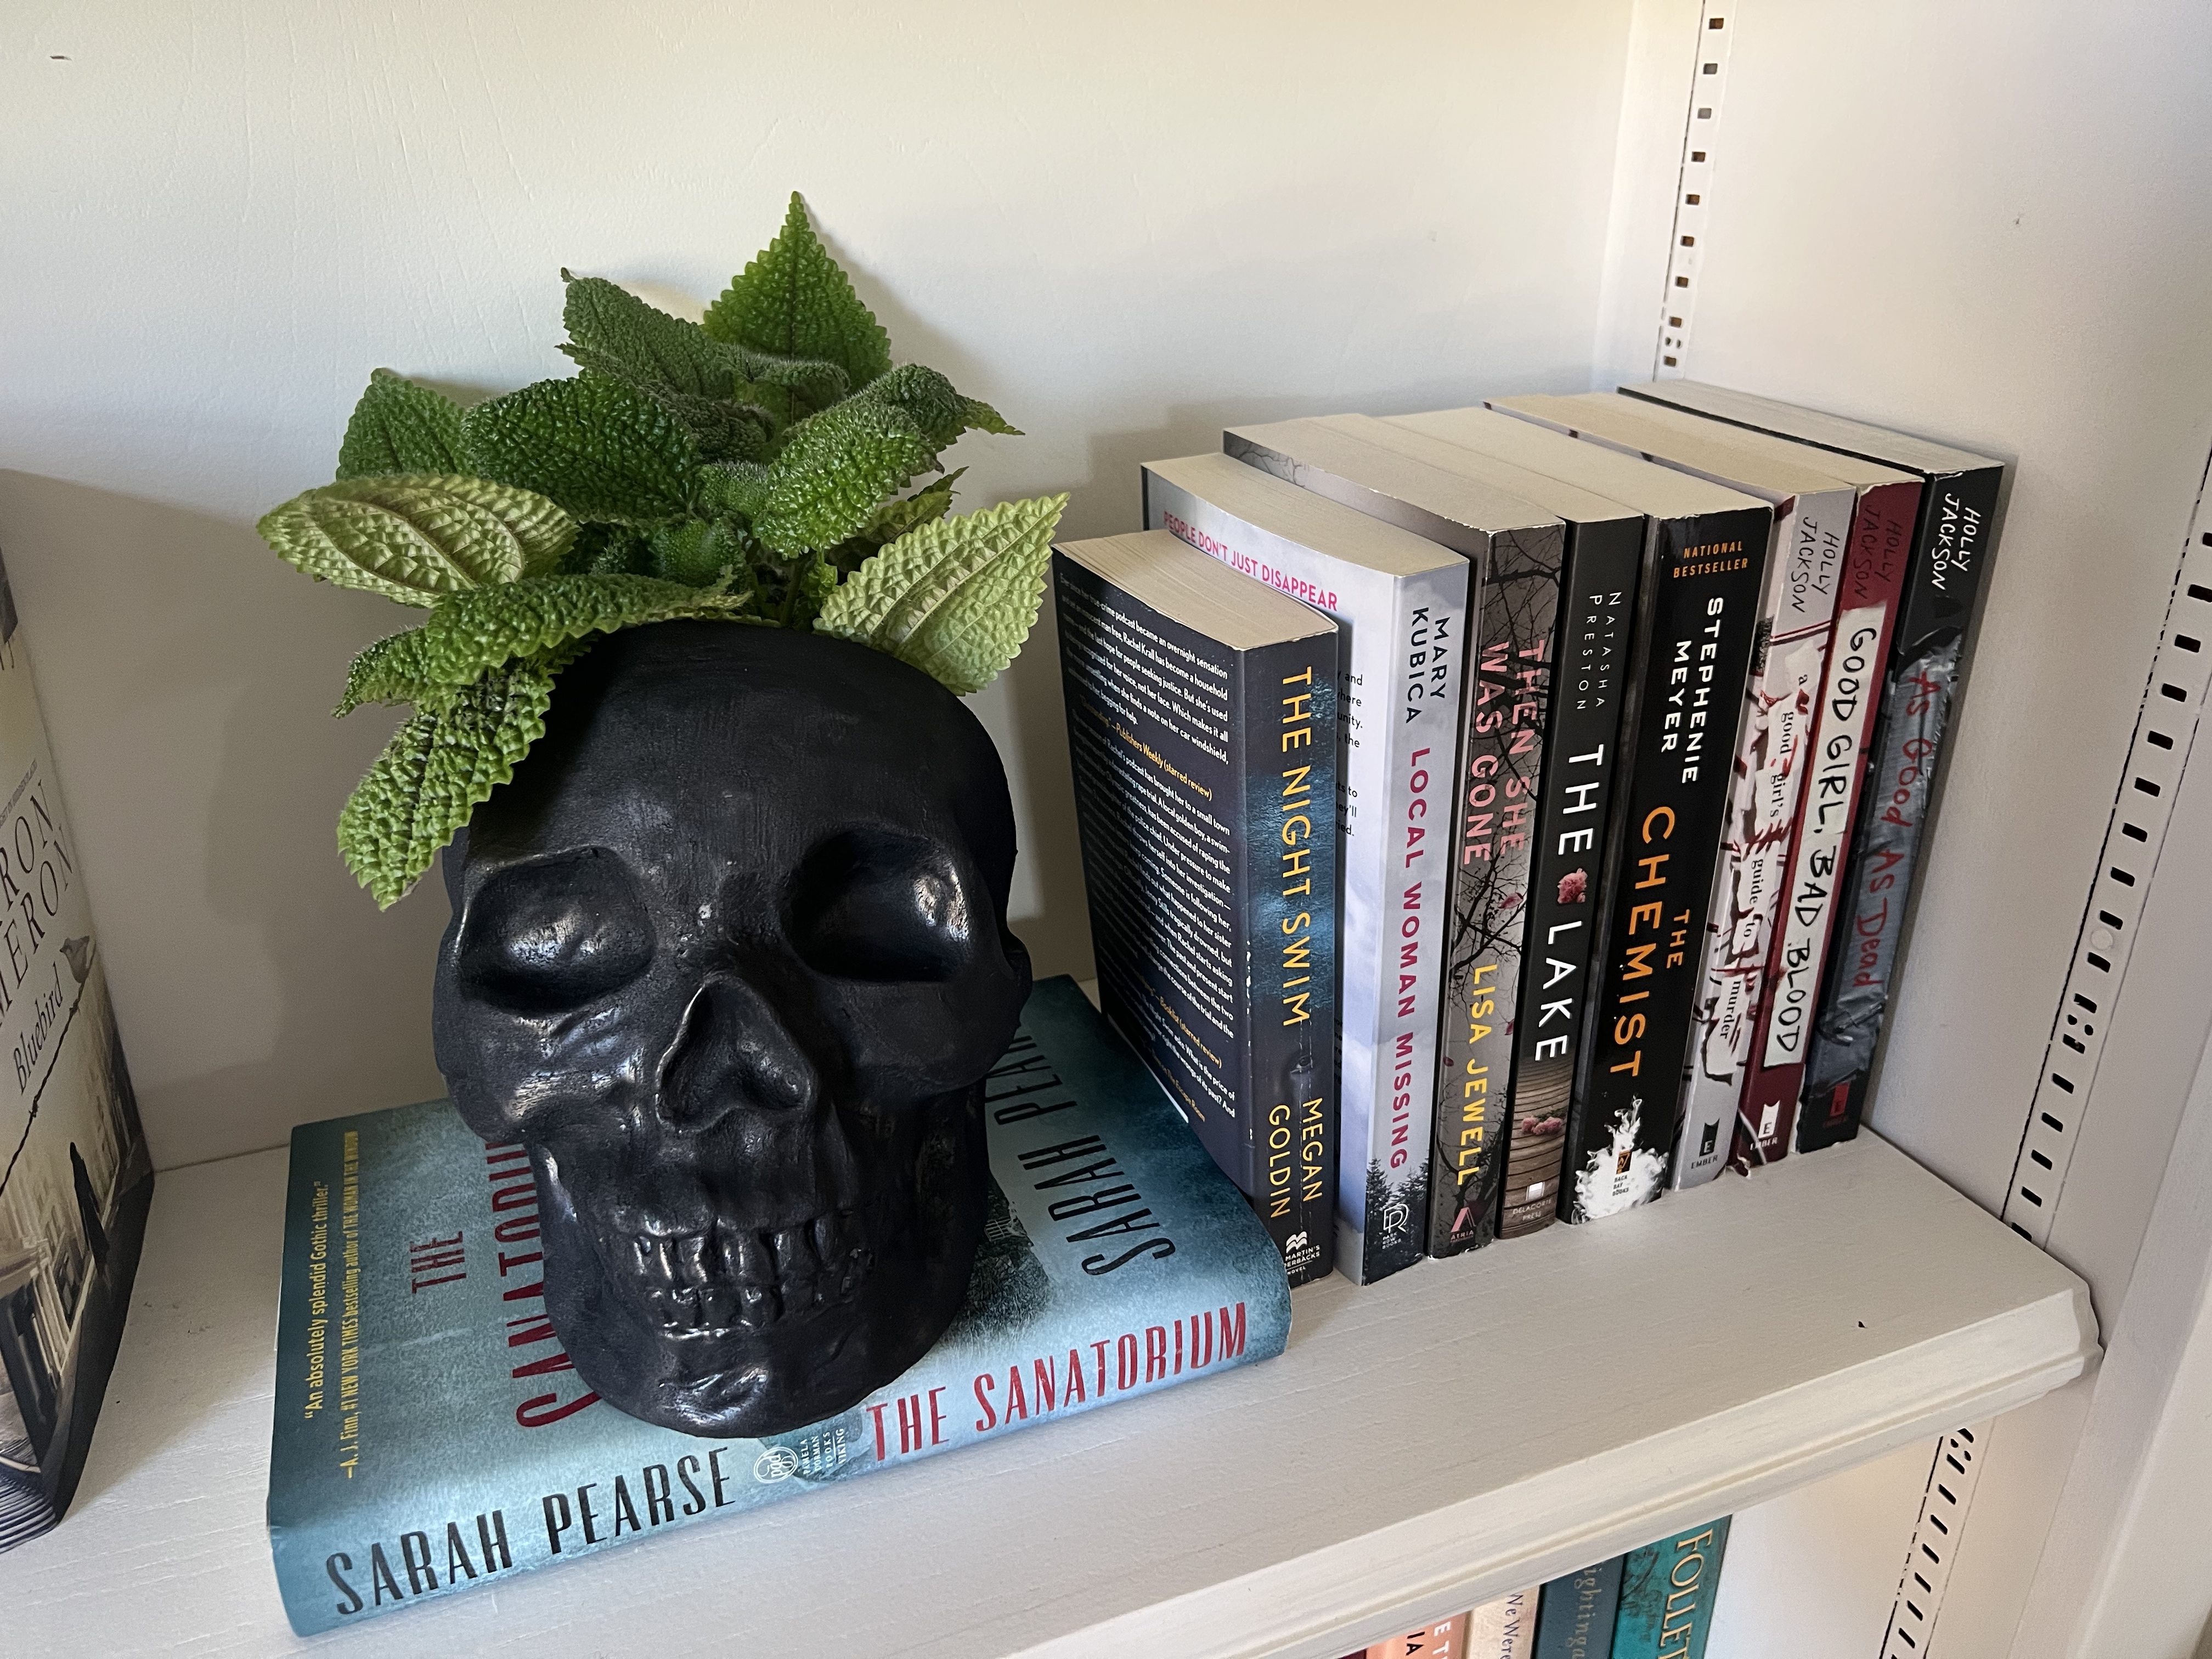
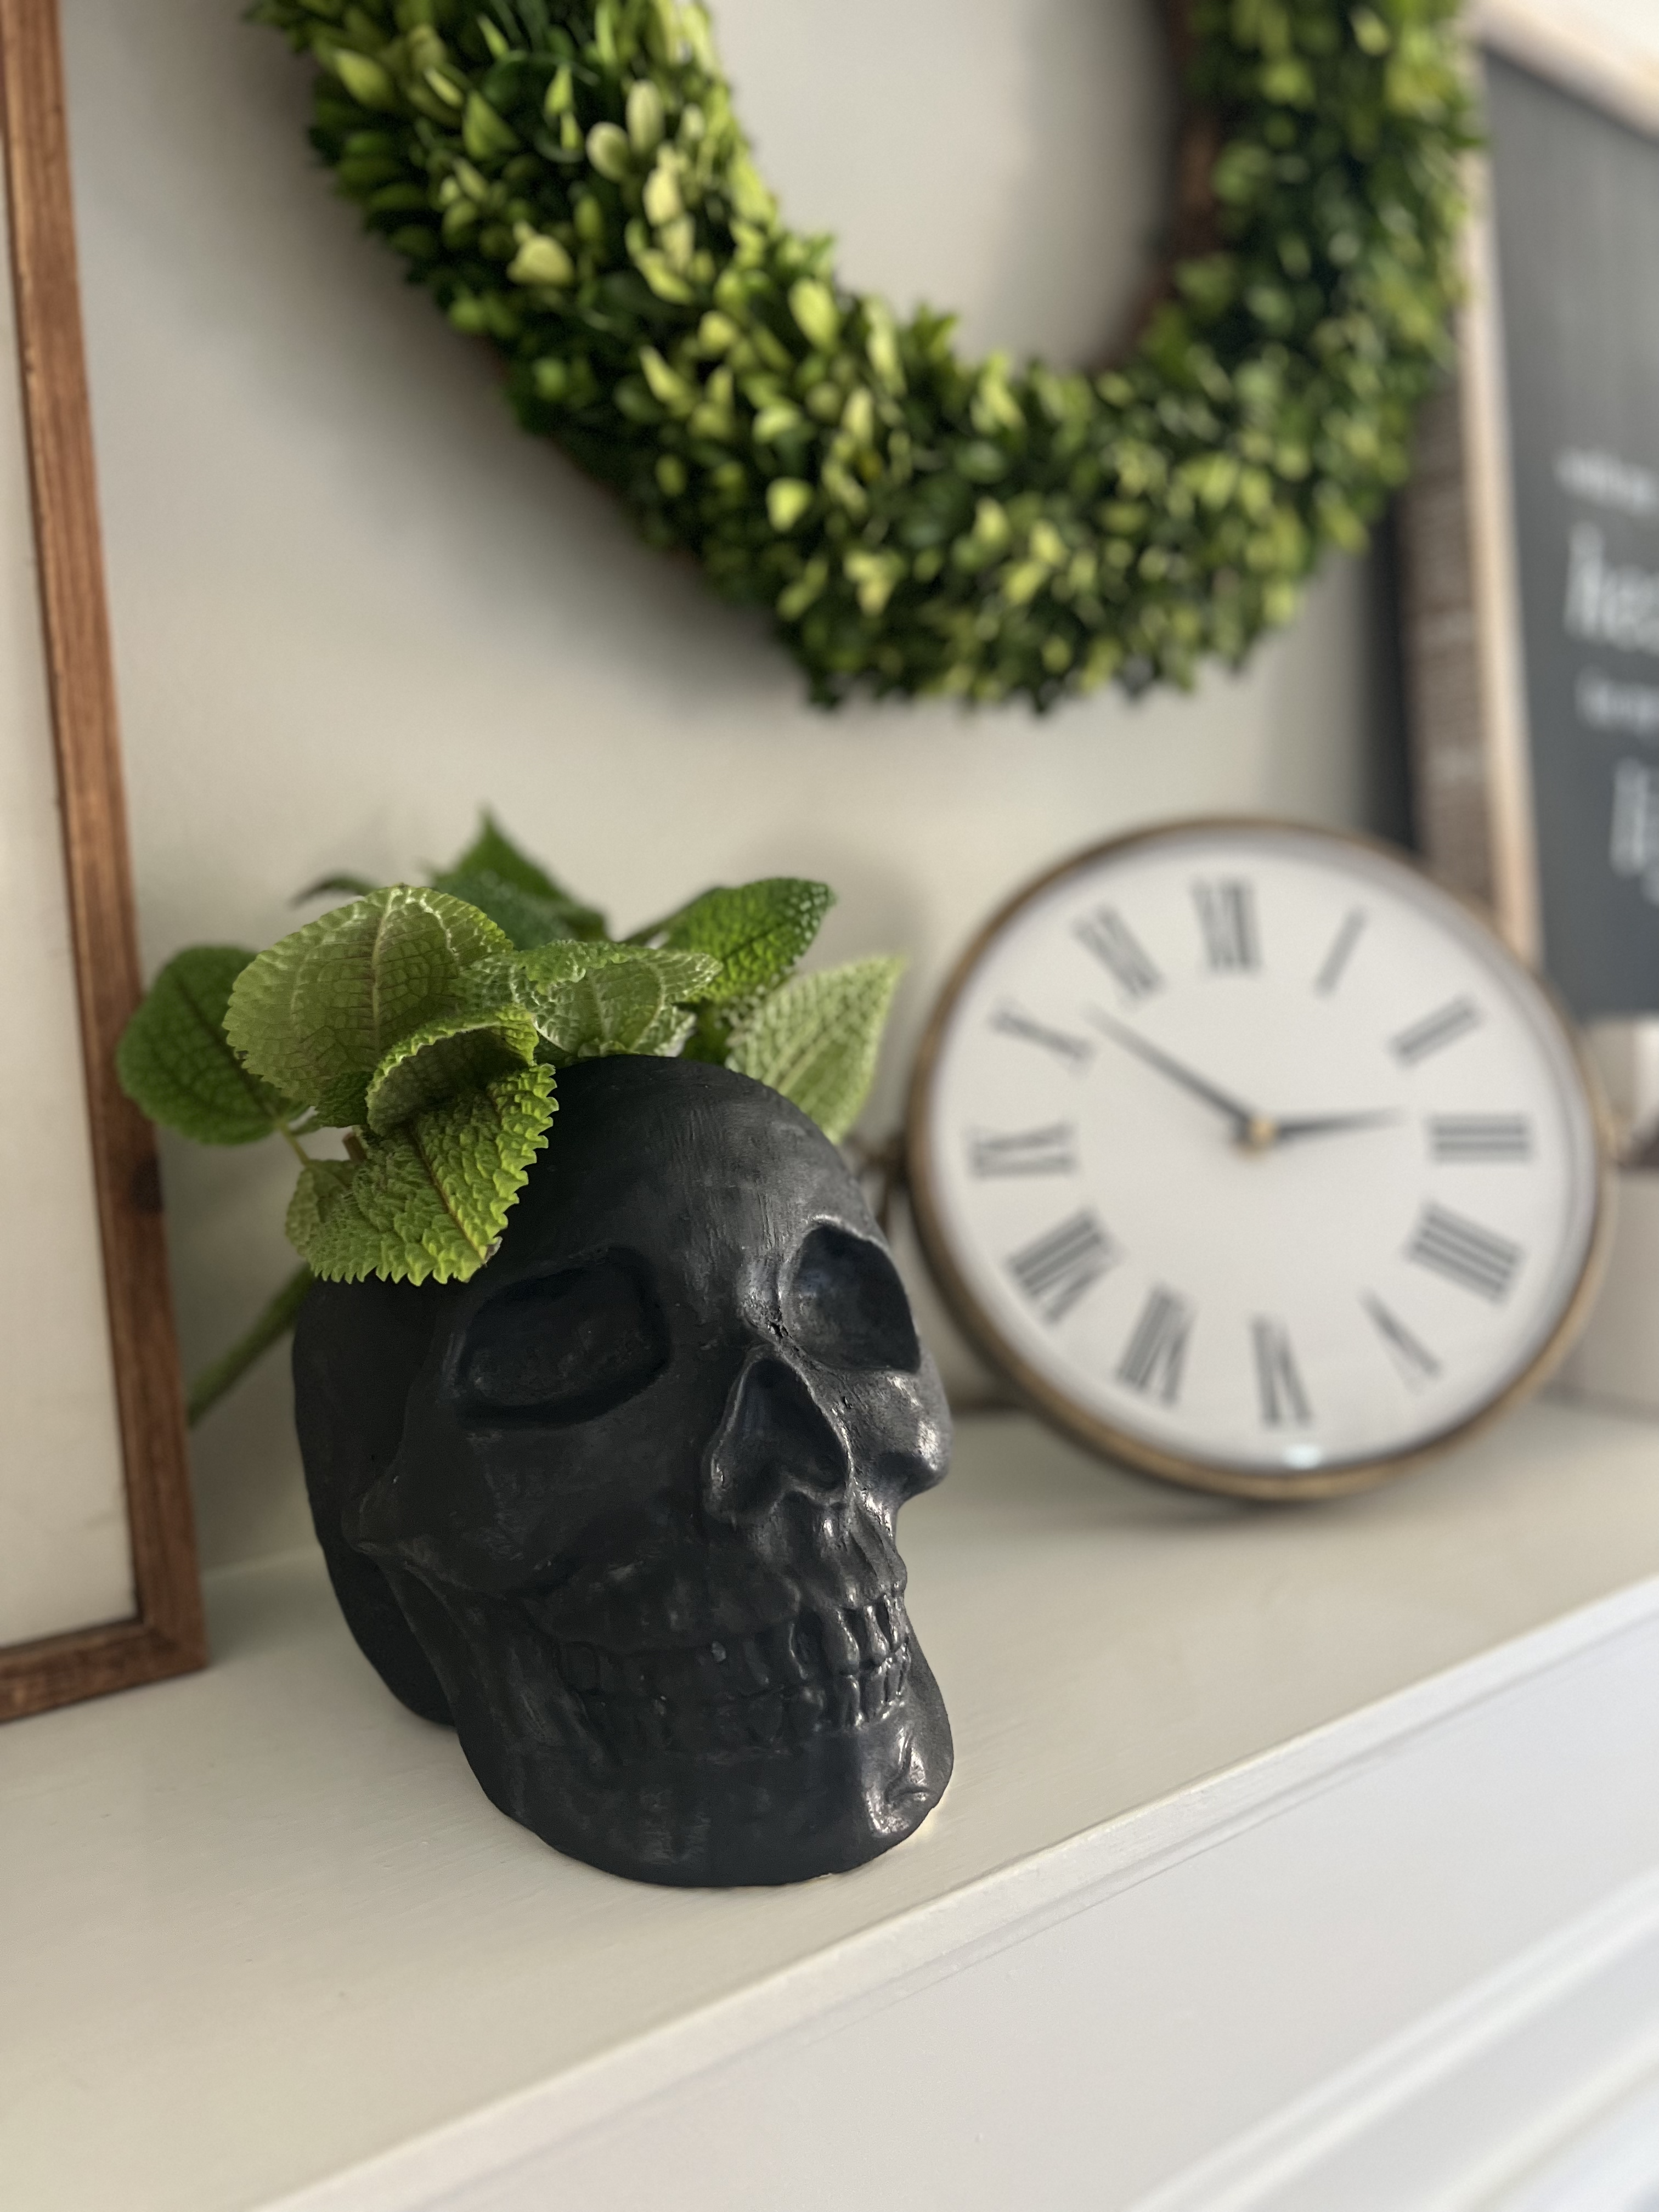
DIY SKULL PLANTER
I love the fun look of these skull planters. It adds a nice, classier touch to my halloween decor. And isn’t as cartoony or plastic-y looking like some halloween decorations can look. I love to find a few new pieces to add each year and I retire some of my older out of date decor.
WHERE CAN I BUY SKULL HEAD PLANTER?
This post was inspired by a couple of different skull heads that I was looking for to add to my halloween decor. I loved the look of the “classier” skull and knew I wanted to paint a less expensive skull to give me the same look as the inspiration pieces. Here are the pieces I was looking at.
- West Elm Skull Head Planter
- Pottery Barn Skull Bowl
- Target Skull Candle Holder

If you prefer the look of these others skulls I shared, you can easily recreate them with the painting technique I share below! Aren’t they so fun? I think I need to create another one in white and use it as a Halloween skull bowl!
WHAT PLANTS LOOK GOOD IN A SKULL HEAD PLANTER?
I prefer to use plants that tend to hang over the edge of the planter for a nice rounded look. These would be plants that tend to be lower and having a “spilling” effect.
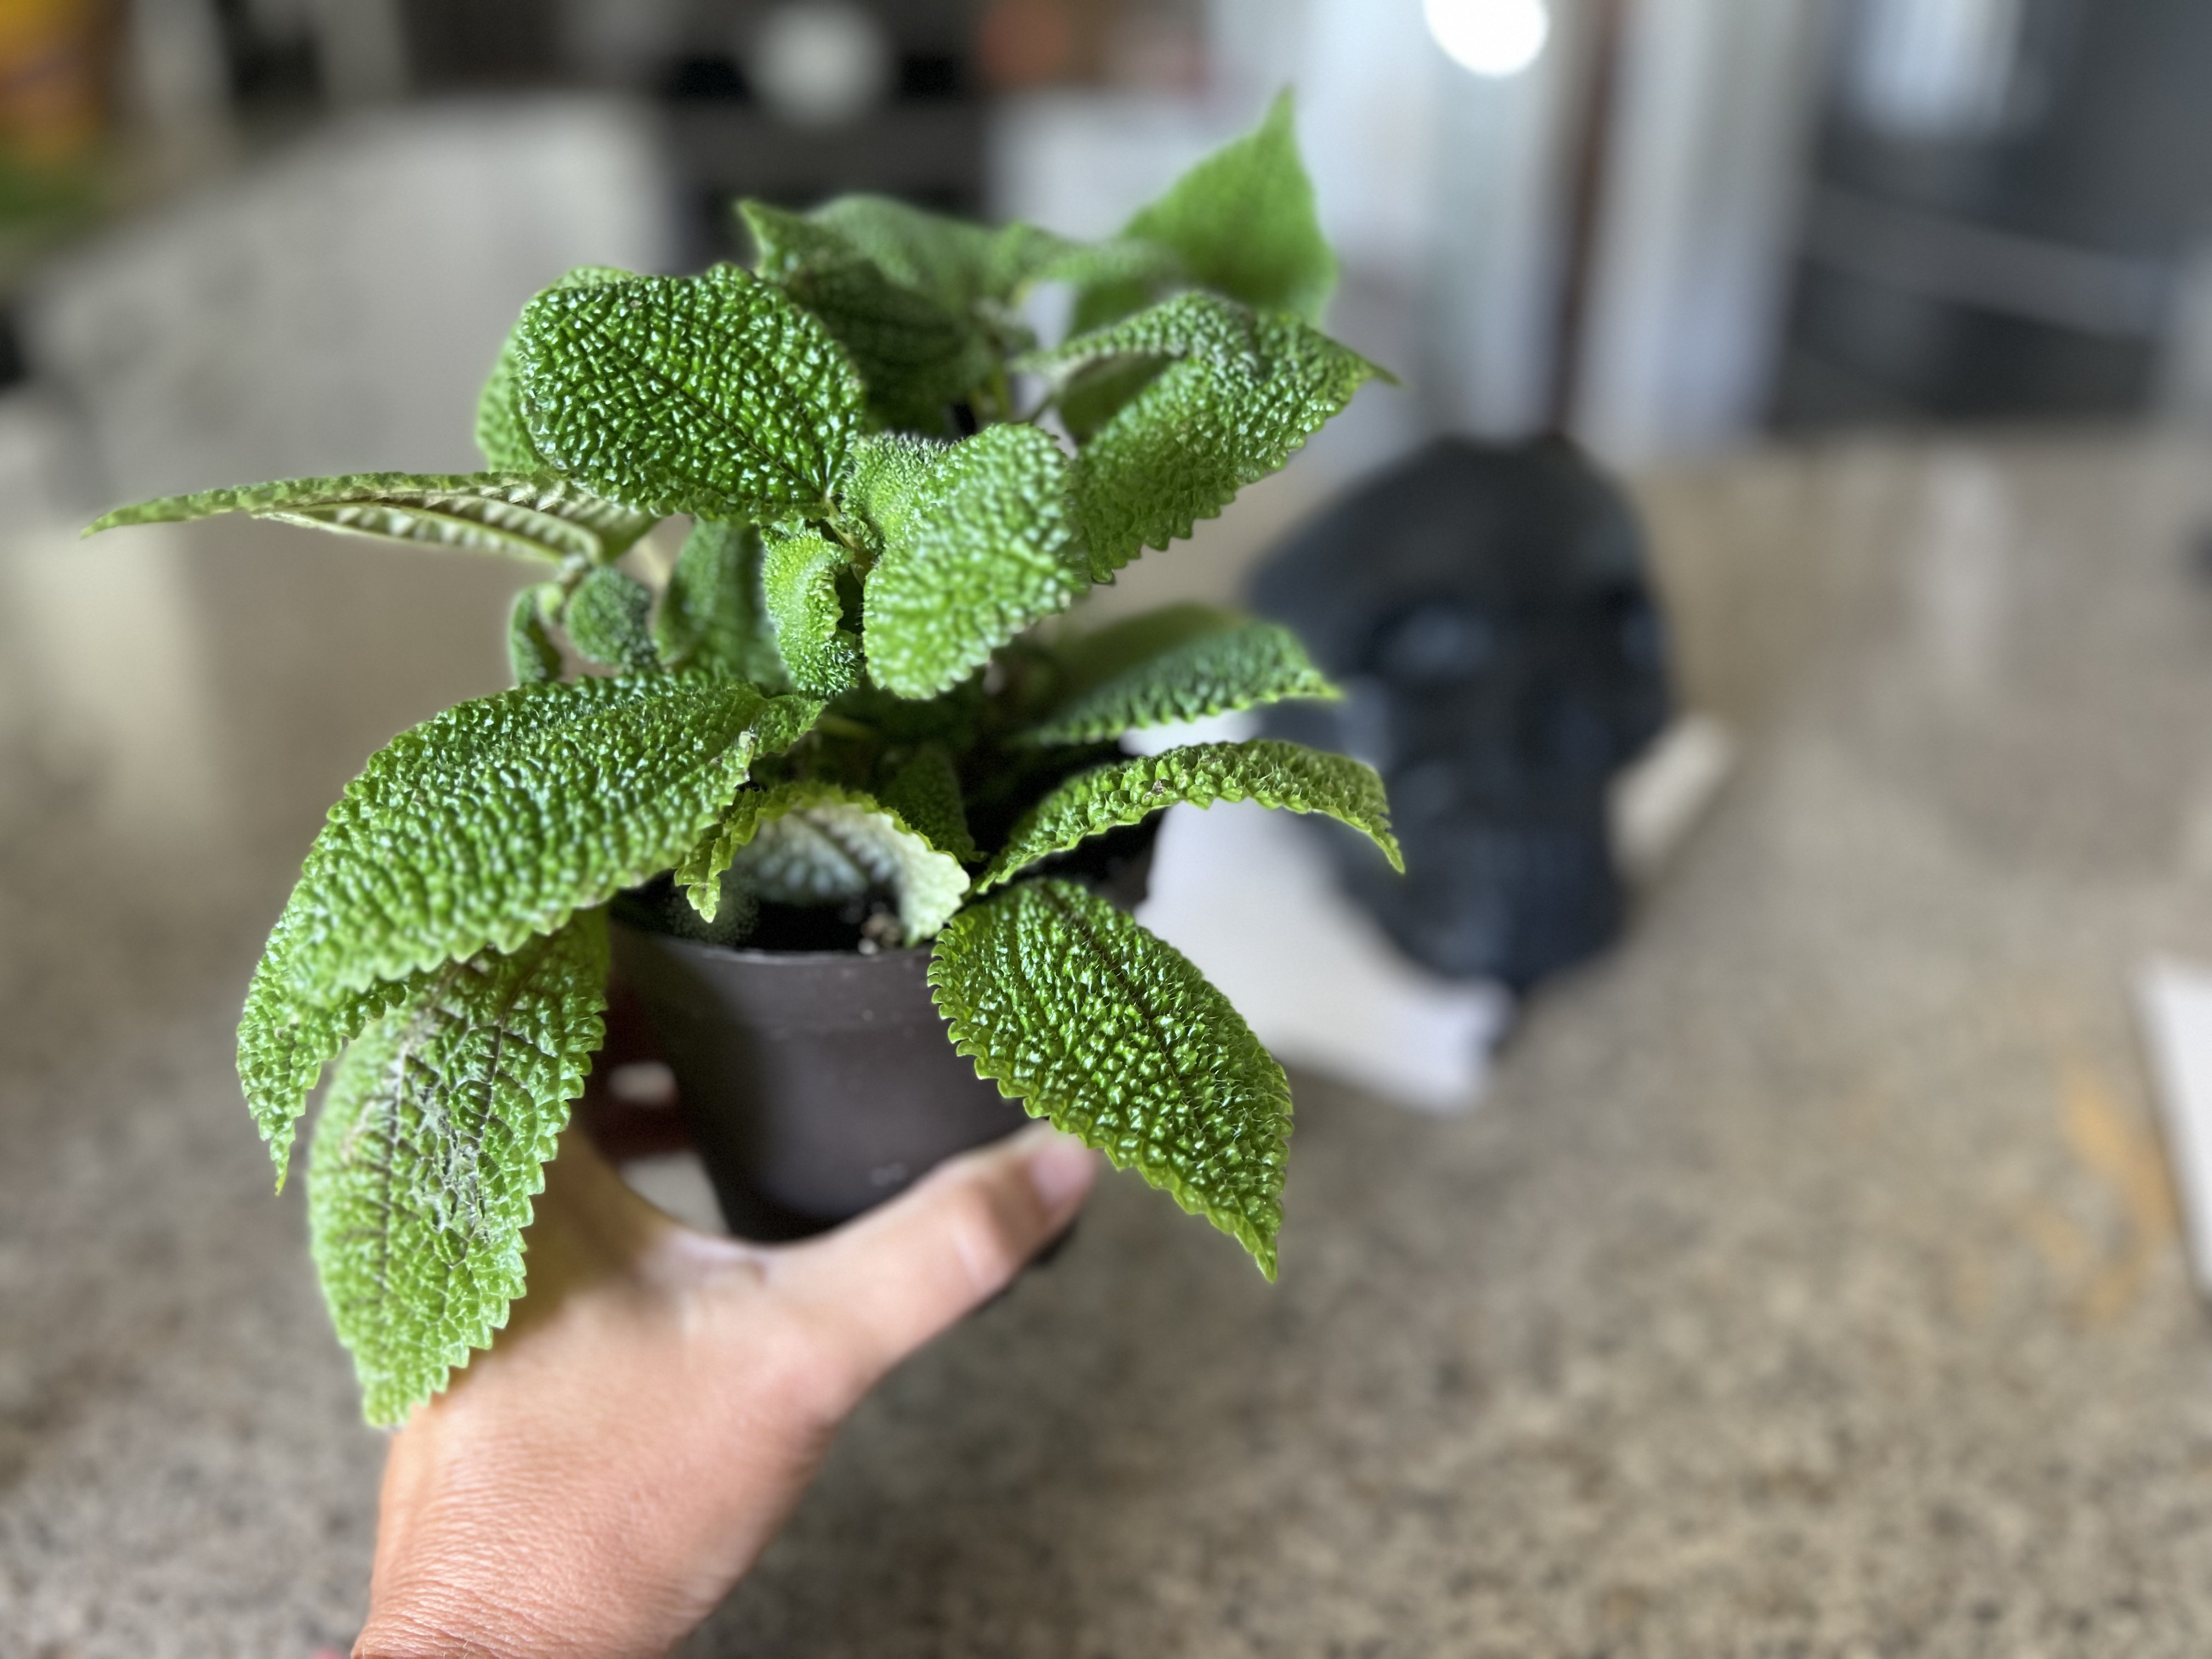
Some plants will definitely look better in a head planter than others will, but it really just depends on the look you are going for. Some of the more common plants used in head planters are the following:
You will also want to consider the light levels of the plant you are using. Will the skull head planter be in an area that will get enough sunlight for your particular plant?
HOW TO GET THAT MATTE PAINT LOOK OF POTTERY BARN DECOR?
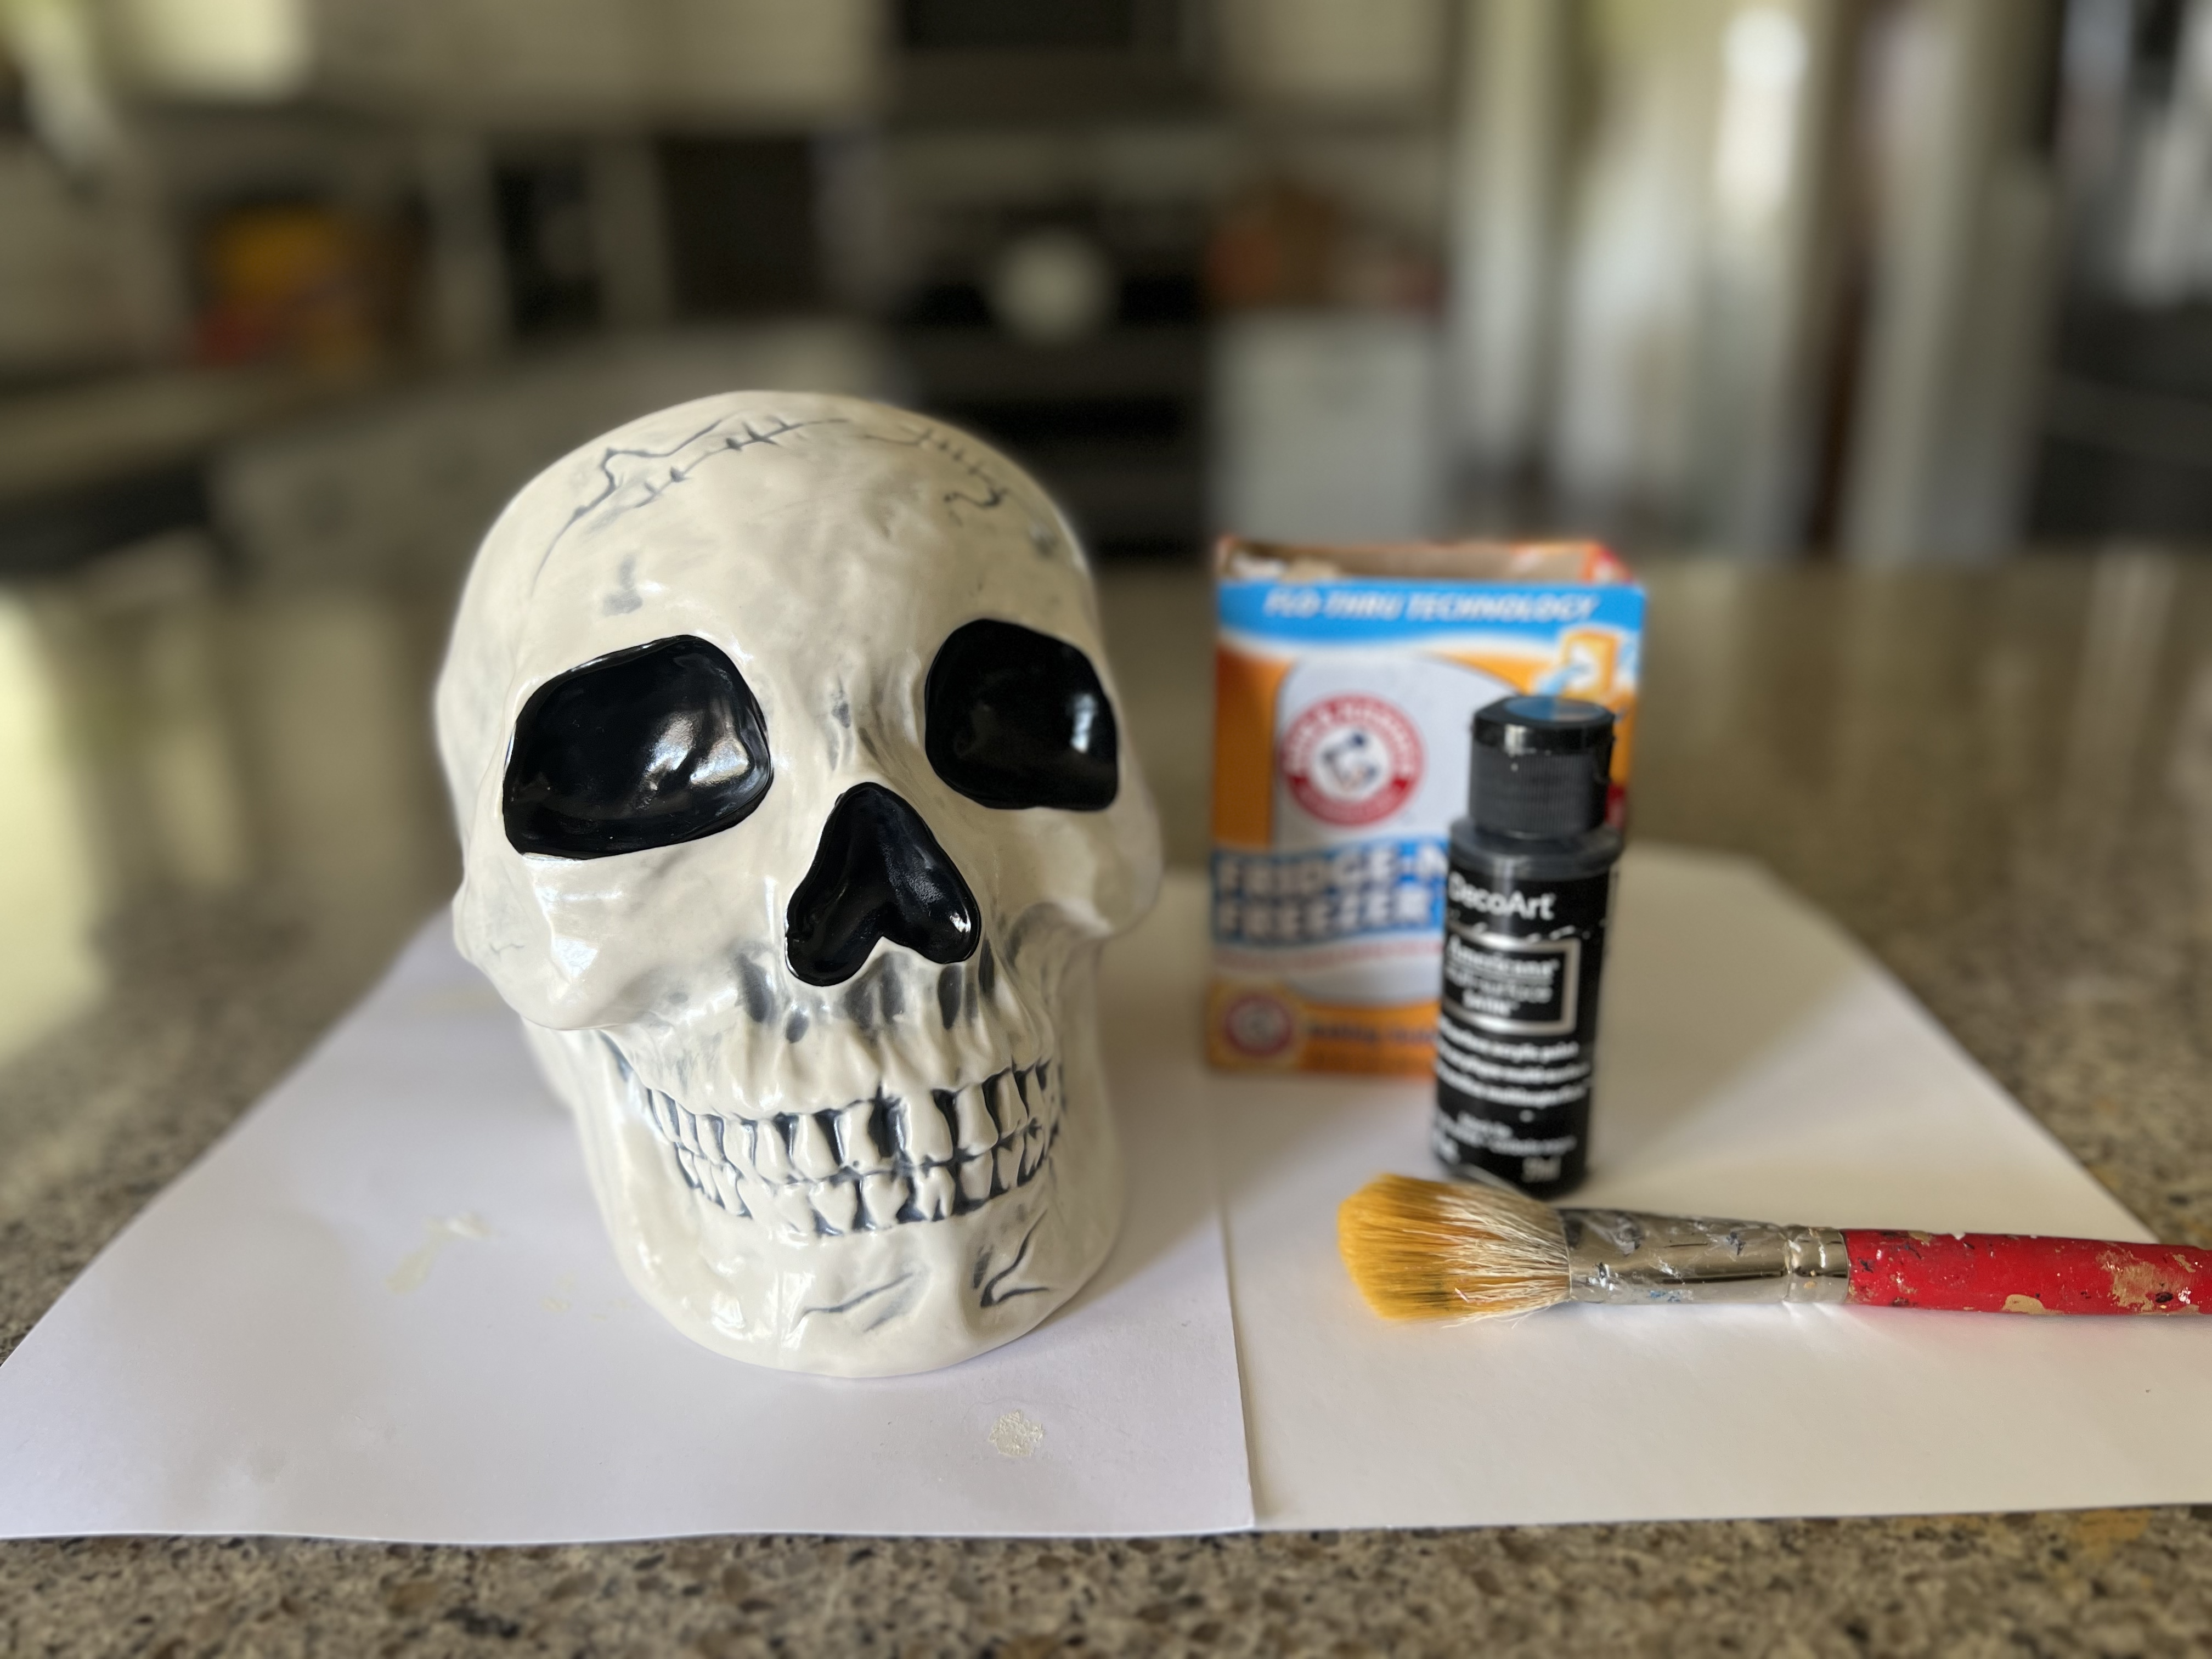
The popular vases and terra cotta pumpkins from Pottery Barn have a matte finish with a sandy or grainy texture that makes it look more antiqued than a regular paint. This is an easy look to achieve. There are a couple different mediums you can mix into your paint. You just need to take paint in your preferred color that has a matte or satin finish. Then mix in baking soda. The more you mix in the grainy the final product. Just mix enough so that the paint still goes on smoothly instead of clumping.
If you don’t want to use baking soda, you can replace it with flour, sand or baking powder.
SUPPLIES FOR SKULL HEAD PLANTER
You will need a few supplies to make your DIY skull planter dupe. Here are the ones I used:
- skull head (I used this one)
- black matte paint
- baking soda
- paint brush
- plant (I used a 4 inch potted plant, 15 oz. to fit this exact skull)
- potting soil
HOW TO MAKE A SKULL HEAD PLANTER?
Sharing the very simple skull head planter instructions here:
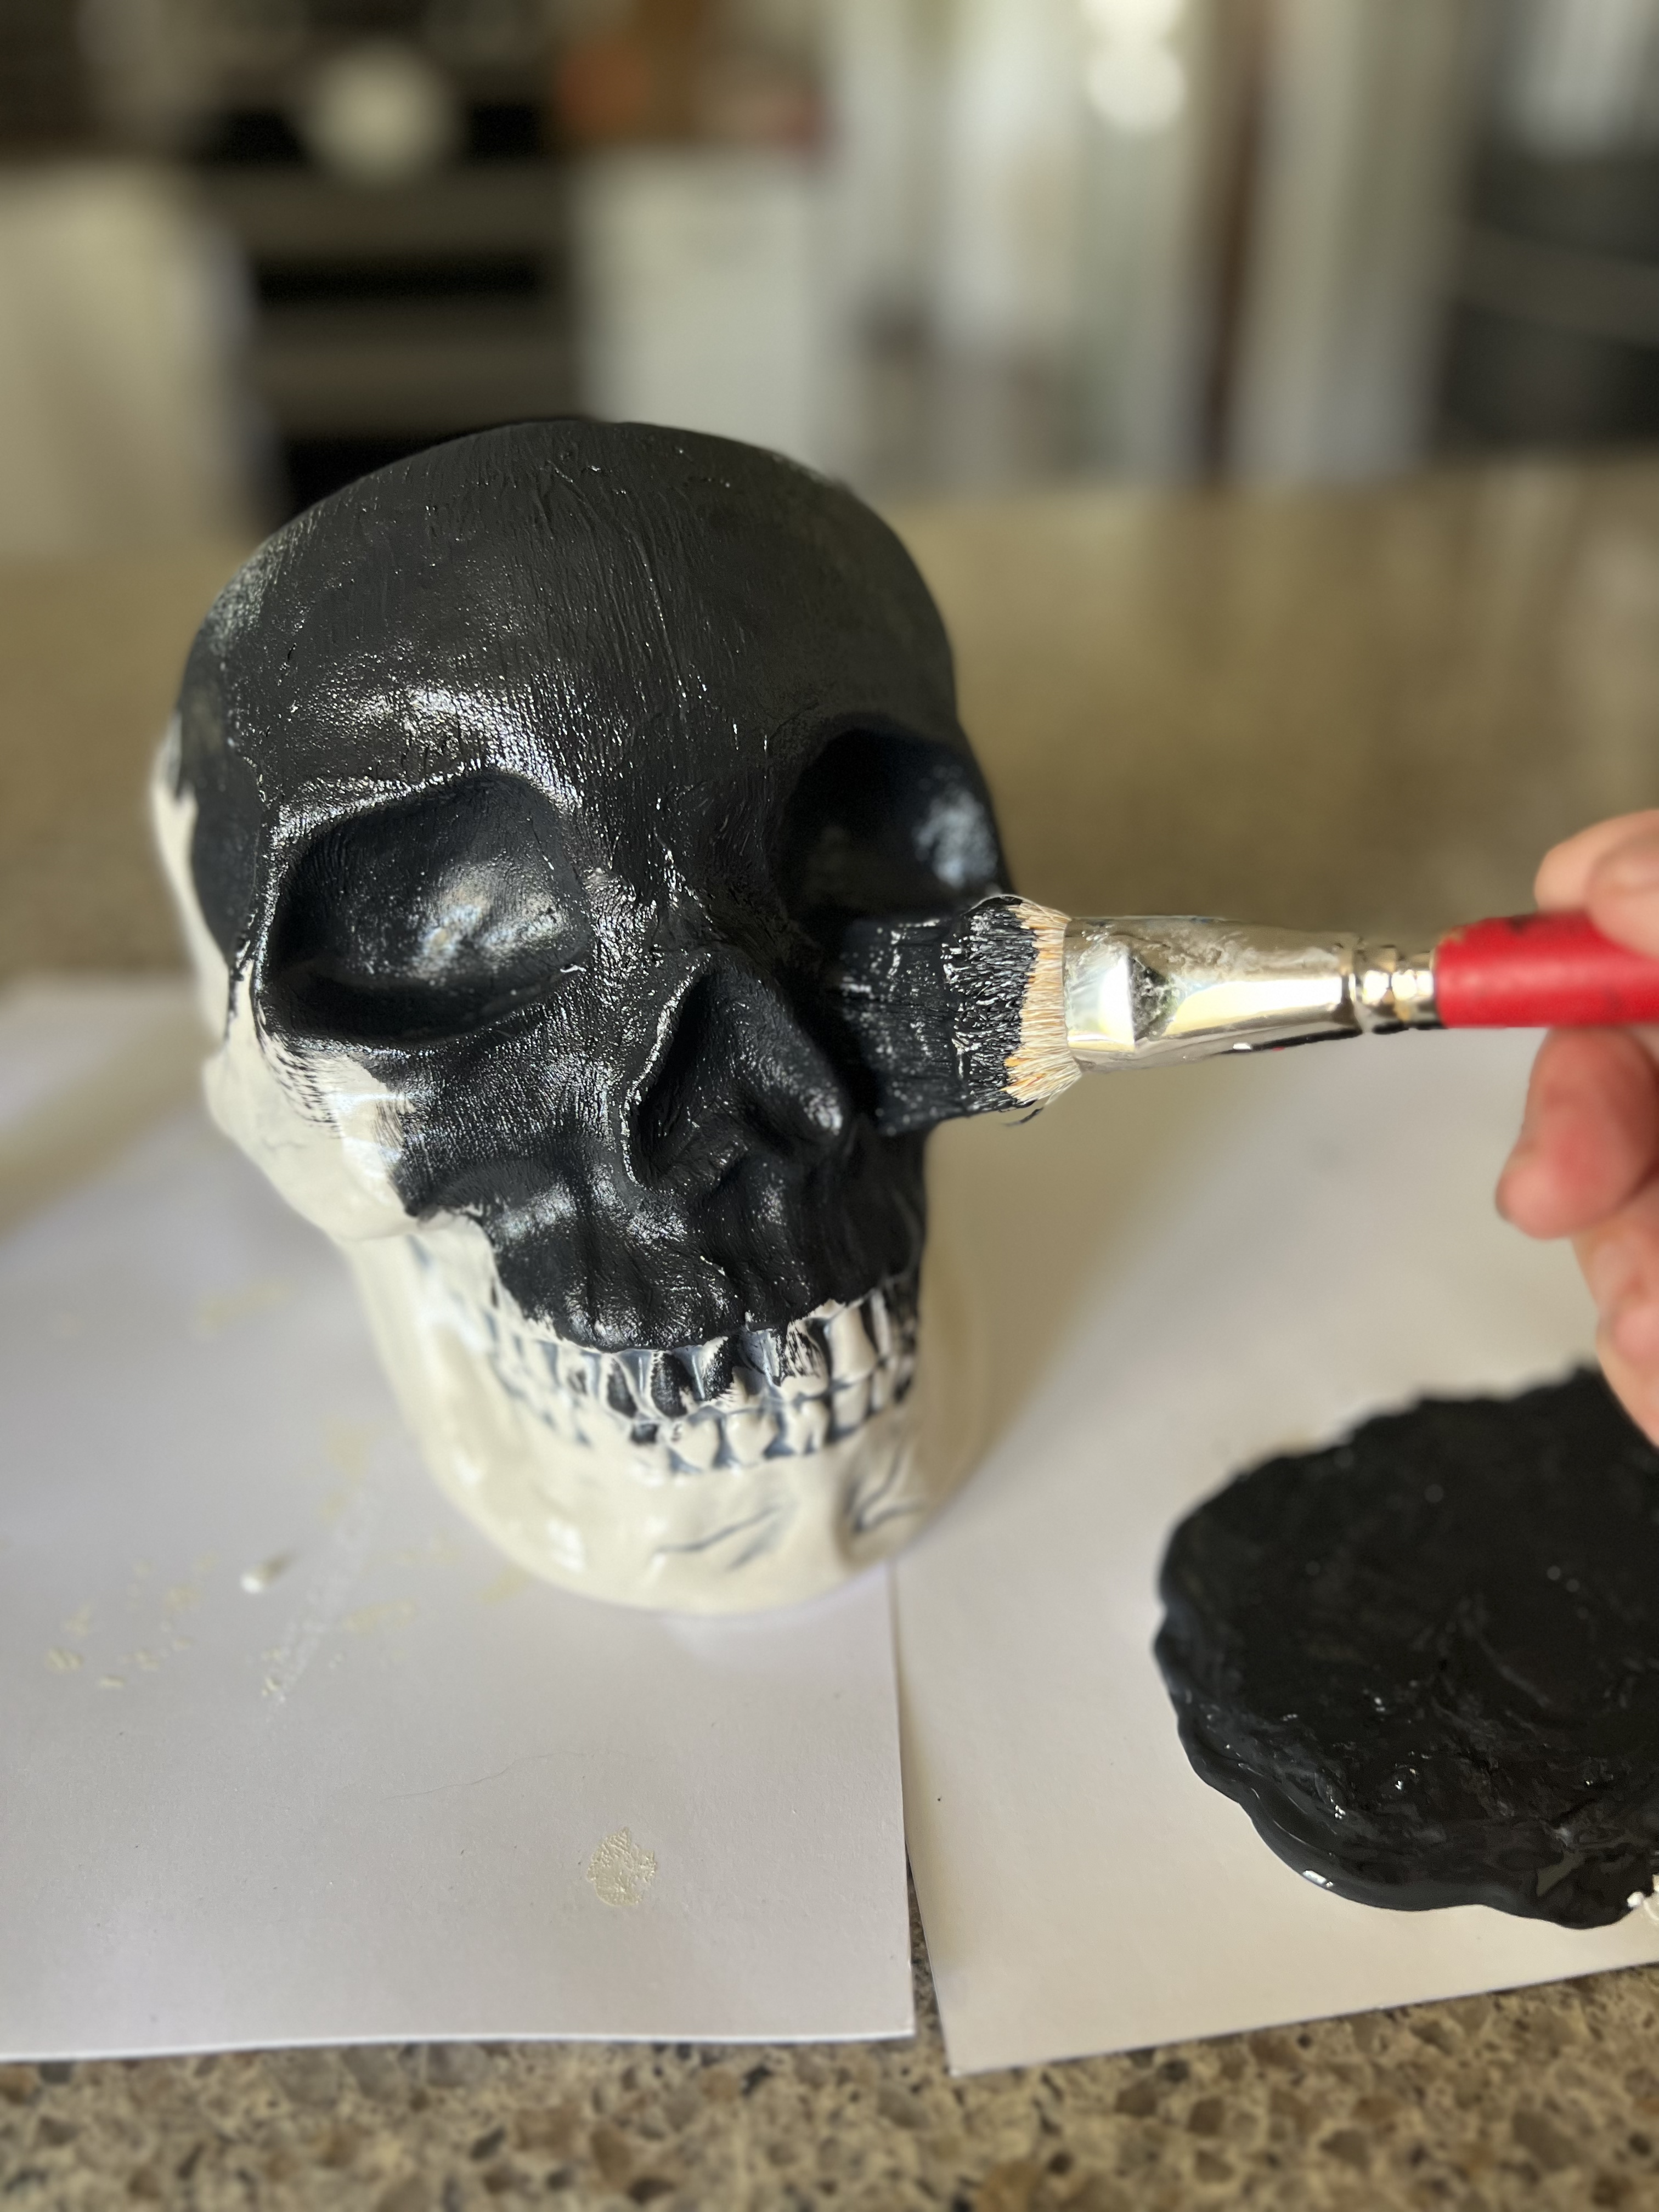
- Wipe down your skull head so the paint sticks well.
- If it is very smooth you may want too lightly rough it up with light sand paper.
- Pour your paint onto a plate or piece of paper.
- Add some baking soda to it and mix the paint together. You don’t have to measure this exactly.
- Paint your skull.
- Let it dry completely.
- Add a second coat of paint if needed.
- Let it dry again.
- Put your plant into the skull head and add extra potting soil as needed.
Didn’t it turn out so fun? I like it so much, I may keep it out all year long!
CHECK OUT MY OTHER HALLOWEEN IDEAS
- faux terra-cotta pumpkins
- halloween food fun
- Halloween Food Jello Worms Recipe
- Rice Krispie Ghost Pops
- Halloween Witch Fingers
- Monster Cookies
- Mummy Oreo Pops
- Mummy Pizzas
- Edible Jello Eyeballs
- Halloween Mummy Candy Bars
- Halloween Printable
- Salem Broom Co. Sign
- Halloween Drink Labels
- Poisons & Potions Printable Cover
- Potion Ingredient Tags
- Halloween Bat and Labels
- Monster Mints
- Cotton Candy Cobwebs
- Halloween Sleepy Hollow Sign
- Halloween Game
- Fabric Pumpkins


Such a cute idea! There are so many great fake plants available, I could see this being perfect for my desk at work (since I have no windows). Nice DIY!
Thank you.