




Learn how you can get your home organized with my easy step-by-step organization course. My course is full of organization ideas as well as home organization tips and tricks to get your life and home organized and keep it that way.

ONLINE DECLUTTERING COURSE
For the past several months I have been putting together my Online Organization Course, The Balanced Home. I am excited to teach you my decluttering and cleaning process. These processes also teach you how to create simple routines and cleaning schedules which allow you to naturally maintain your clean and organized home.
No need to hire a professional organizer, or live with the clutter because you will have the skills and learn how to overcome any mental barriers or fears you might have to get started!
Stop Drowning in Household Clutter
Transform your space without the overwhelm. Join The Balanced Home Course for a step-by-step system to get your home organized and keep it that way for good.
Learn More & Join Today →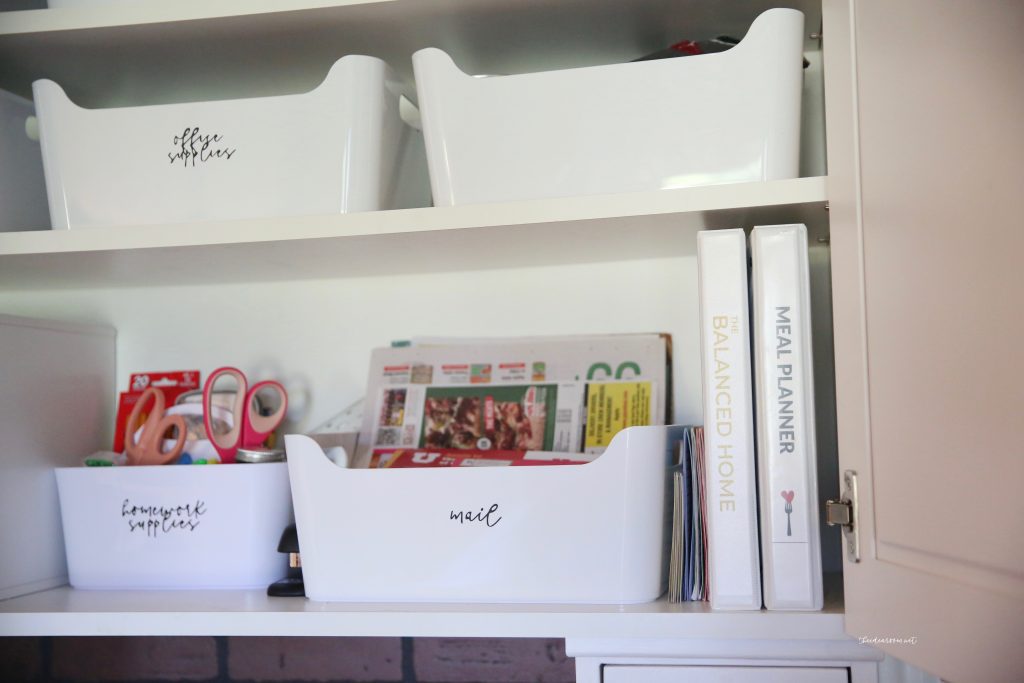

WHAT DOES THE ORGANIZATION COURSE COVER?
The Balanced Home Organization Core
($1,000 Value)Contains my core Decluttering and Organization Processes, which shows you how to:
- Learn how to declutter and organize your home–by learning processes and techniques that really work!
- Deal with stuff you don't know how to get rid of
- Understand what qualifies as hoarding
- Understand how to overcome hoarding tendencies
- Deal with your junk room or junk drawer
The Tools
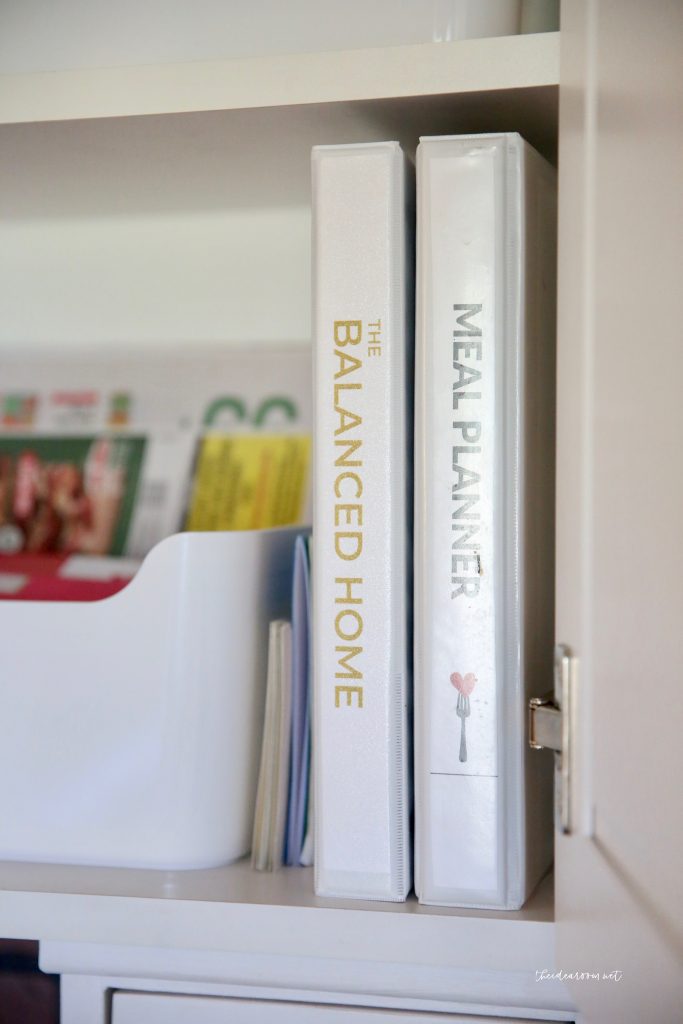
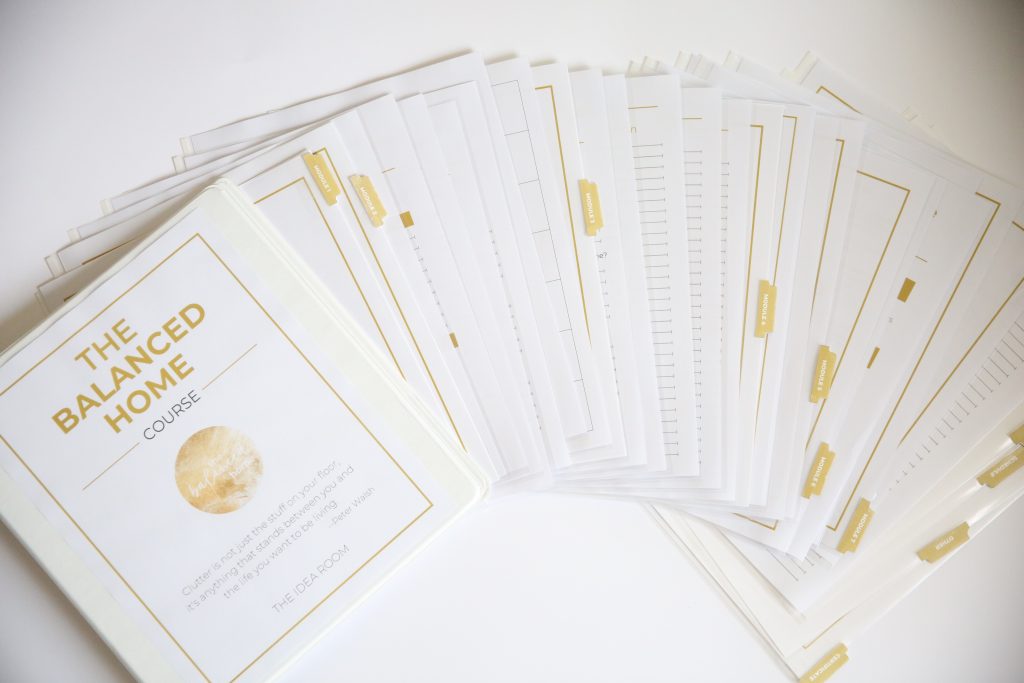
- Workbook, Resources, Labels, and More ($250 Value). Contains everything you need to help guide you through each lesson, including:
- An easy-to-follow workbook to guide you step-by-step through the lessons
- Printable Labels
- A vision sheet for your home
- A working checklist of tasks you can accomplish in 30 minutes or less
- Shopping and To-Do Lists
- Monthly Calendar and Weekly Schedule
The Mental Foundation
The best processes to overcome mental barriers from Tony Robbins and Dean Graziosi's Mastermind Course ($200 Value). Helps you to find the time, the energy and the motivation to organize your home by:
- Discovering your “true, internal why” -> what motivates you to want an organized home
- Helping you clearly identify what is holding you back from success
- Teaching you how to organize your schedule to create new pockets of time
- Helping you discover what is most important for you to accomplish with your time, as opposed to just urgent or habit
- Helping you cut out the things that aren't important and identify gaps in your schedule you can dedicate to working on your home
Your Ideal Home
The best processes to set and achieve your vision by breaking it down into actionable steps ($300 Value). Teaches you how to break down an overwhelming project into small, manageable steps, by:
- Clearly defining your goal and vision for your home
- Learning how to evaluate specific rooms and identify what you want to be improved
- Identifying specific, easy to complete tasks in each room that will contribute to your overall goal without overwhelming you
- Getting your family or others involved in the process
Cleaning and Maintaining
The best processes to clean and maintain your home after it has been organized ($200 Value).Teaches you how to maintain your home once it is clean and keep it organized, by:
- Providing you with the basic cleaning routines you need to naturally stay in control of your home
- Teaching you my amazing “Ten-Minute Clean-up” process, which allows you to clean an entire floor / room in ten minutes or less!
- Showing you how to establish routines with your kids and other members of the family
- Sharing important resources such as chore cards, favorite cleaning products, and a deep-cleaning checklist, and more
- Explaining the laundry routine we use in our home to get our laundry done every week without even thinking about it
- Teaching you how to deep clean your home after it has been decluttered and organized
- Showing you how to help the other members of your household be on the same page and not “unclean” your home
During the course, we will:
- Show you the process of how to go throughout your home decluttering, cleaning, and organizing. Then you can take this process and go throughout all the rooms in your home–including the bathrooms, kitchen, craft room, home office, basement, entryway, playroom, garage, attic, and all other rooms in your home–cleaning and organizing.
- Clean out and organize not just the rooms themselves, but organization spaces such as closets, shelves, drawers, and bookshelves.
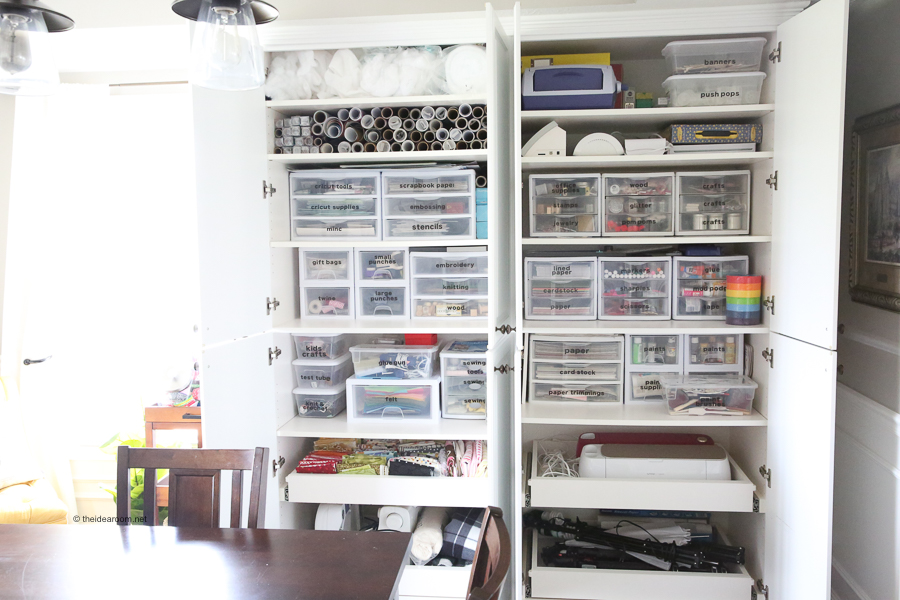
- Learn how to properly use organization equipment, such as bins, drawer organizers, storage bins, food storage containers, lids, and baskets.
The Private Balanced Home Community
(BONUS – Priceless). Provides a community that you can go to whenever you need a place where you…
- Seek inspiration and ideas from others
- Receive support and motivation from others
- Share your successes and see the successes of others as we all work towards finding balance and clarity in our homes.
- Can ask questions and let me know what you may still need help with so that I can continue to cater the course to your needs


What Do People Have To Say About My Organization Course?
“This course was instrumental in helping me organize my space as well as my time. As a busy mom, I have a better grasp on what my days need to include so that I can enjoy my family rather than spend my time spinning my wheels cleaning up after everyone.”
“The Balanced Home Course helped me to be the “professional organizer” for my family! Simple steps to follow, check lists, printable labels, suggestions and worksheets will keep you on track to successfully maintain your own balanced home.”
“I am pretty sure I have solved more issues with the seven layers and clarity tool than I have in 6 months of therapy!! I think this course is going to help much more than my home. Thanks Amy!!!!”
When I realized I had been overcomplicating the idea of organization, that simplifying was a key component, then things really started to fall into place!”
When I realized I had been overcomplicating the idea of organization, that simplifying was a key component, then things really started to fall into place!””
HOW TO GET MOTIVATED TO ORGANIZE YOUR HOME
HOW TO OVERCOME FEARS AND MENTAL BARRIERS
I asked and these are the things that are holding you back from getting started! I made sure my course helped you overcome your specific fears and developed processes to address each of the concerns below. Have you ever had any of the same concerns?
- “I don't have the time.”
- “I don't know how to break it down into manageable chunks.”
- “How do I balance other activities?”
- “I don’t have enough energy / motivation.”
- “I'm overwhelmed and don't know where to start.”
- “I'm scared / unable to commit.”
- “I don't trust myself.”
- “I don't have the confidence I will finish.”
- “How do I maintain / keep on top of it?”
- “I have a hard time with inconsistency / finding balance.”
- “I'm afraid of quitting too soon and having it be a mess.”
- “How do I build the habits and routines?”
- “Keeping it clean and organized”“Staying focused and not getting distracted.”
- “What if I have physical limitations.”
- “I don't have the supplies / resources / money (i.e. containers etc.) / storage space.”
- “I don't want to part with things.”
- “What Do I do with all the stuff? Donate? Kids?”
- “What if I need it later?”
- “My family has stuff they want to keep.”
- “Family is not being helpful or even counterproductive… How do I get my family on board?”
- “No sense of design / vision for what I want.”
- “Lack of knowledge.”
- “Afraid of not doing it right.”
- “Being okay with not having it perfect.”
STILL NOT READY TO BUY?
Because I know that sometimes it can be difficult to take that initial leap of faith, I wanted to give you something that would allow you to get your feet wet a little, something that you could access RIGHT NOW. I think you'll like it. I've opened up a “sneak peek” section of my course, where you can access one or two of the lessons that are a part of The Balanced Home Course. If you click the button below you will be able to create your own personal account / log in for the course and access the “sneak peek” videos.

OTHER ORGANIZATION PROJECTS
If you are interested in taking a deeper look into some of the spaces in my home, check out the following posts!

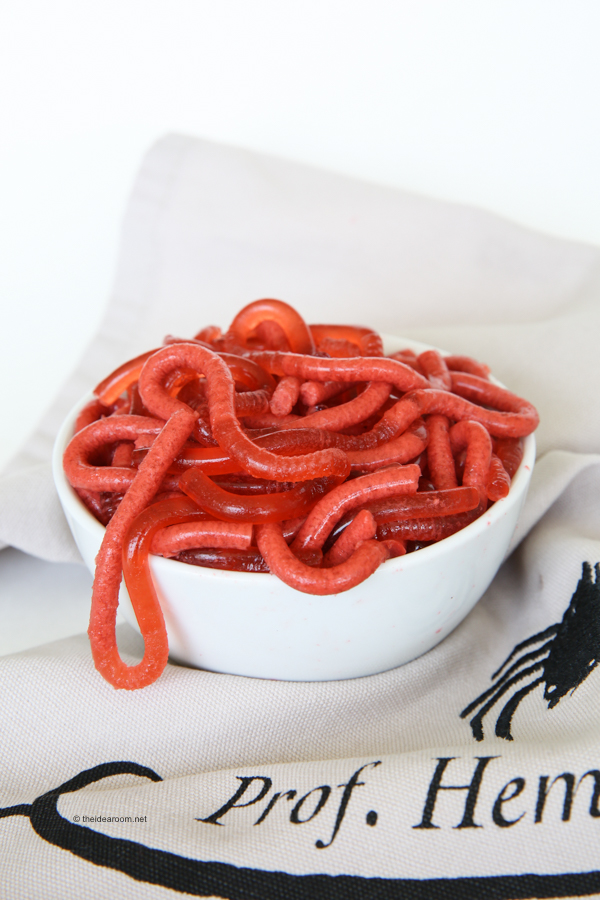
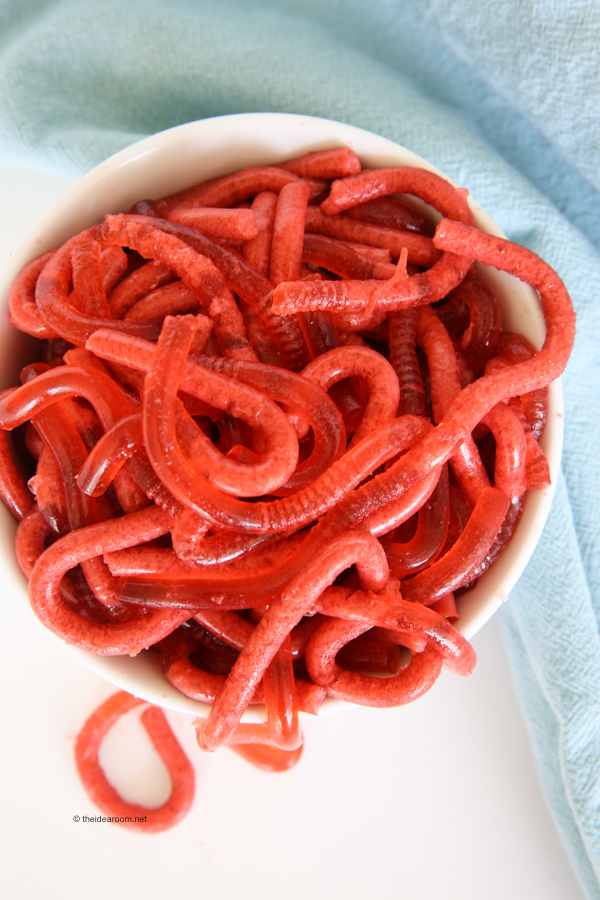

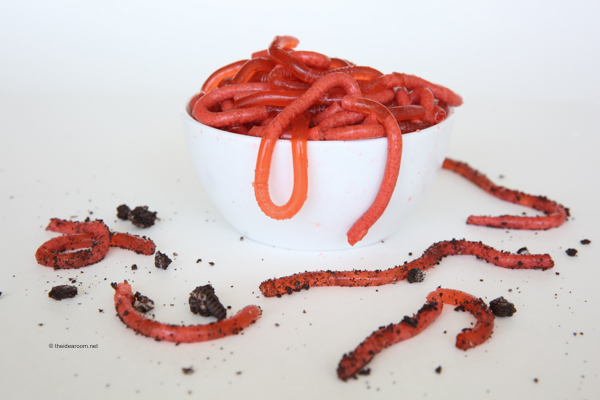


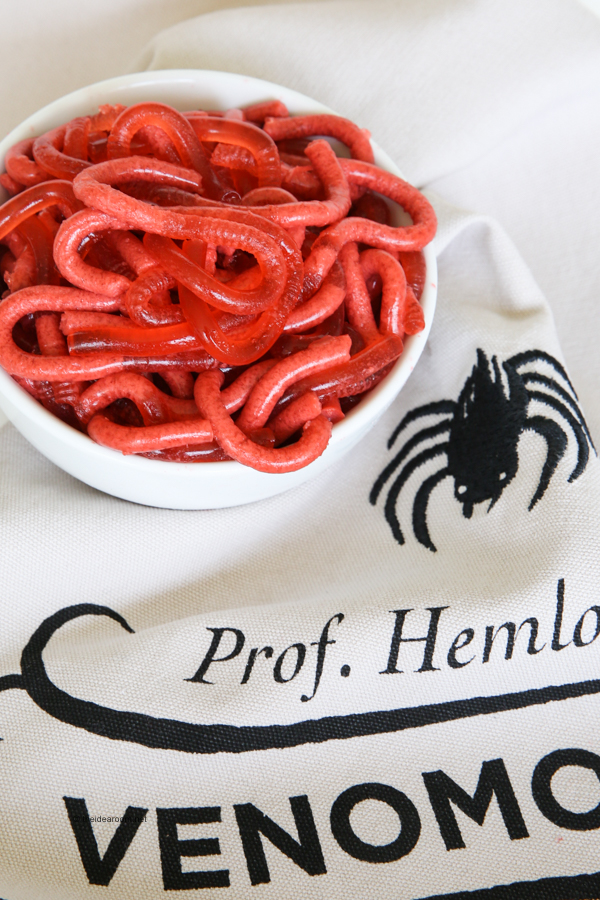
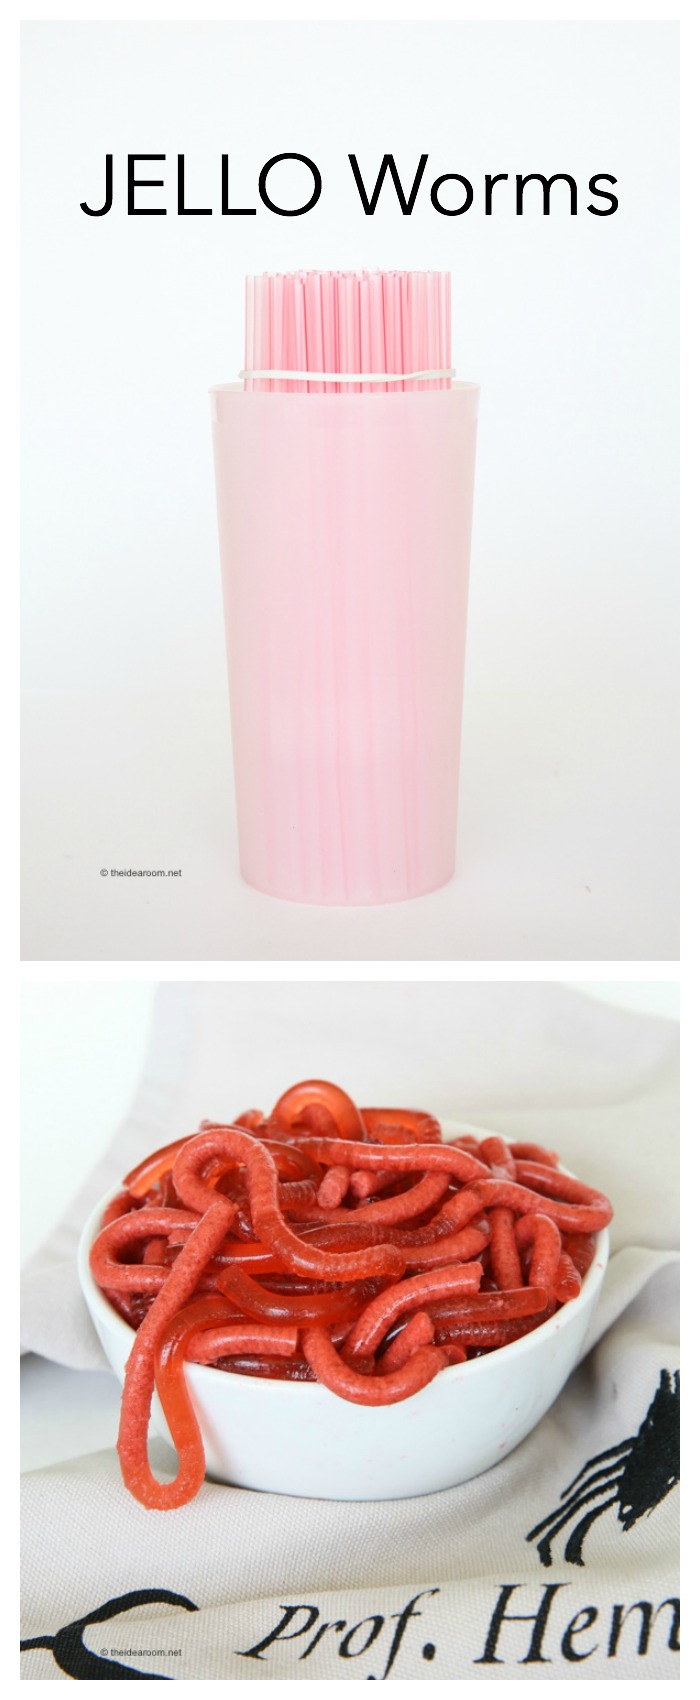




Those are the coolest. I might have to try them.
Okay, those worms are one of the coolest halloween foods I've seen in a long time…i love 'em!!! I will definitely be trying them this year…and doing a little teasing as well :)
Thank you, Amy!!! I never thought I'd be so excited to see blood worms in my Google Reader! LOL (And you can bet I'll be making these for the boys someday…)
Those worms look real. I don't know if I would be too excited to try them myself:) I think I will have to try them this year!
ok, I am DEFINATELY going to have to make these!
HOW DISGUSTINLY WONDERFUL!
Those are so cool and disgusting…lol
Those looks so great!!
I can't wait to make these! My kids are going to freak!
My kids are going to FREAK OUT!!! I can't wait. So cool looking! Thanks a bunch.
Oh, I'm totally going to be making these! FUN! Thanks Amy!
Those are so nasty that they are wonderful :-)
I have been following your blog for some time now and just had to say…..keep up the GREAT work! You are so creative and honestly, I'm a bit jealous :) I look forward to reading your blog whenever you have a new post! Thank you, thank you.
I just found your blog and have to tell you how inspiring you are! I don't have kids yet, and won't for a long time but I am devouring this blog, taking little notes for when I do become a mom. Thank you thank you thank you! Keep up the good work :)
These are awesome! I can't wait to try them!!!
Oh, I can't wait!!! My kiddos will think this is the coolest…and we always have friends and family over to Trick or Treat, I can't wait to pull these out :)
Chelsea
Whoa! Those are so gross and awesome at the same time. Thanks so much, I've gotta try this one. I'll be linking as well.
Oh my gosh. Martha Stewart has nothing over on you when it comes to Halloween treats. This is so cool.
Thanks to two magnificent contributors; correspondent Shaneia Caldwell and director of photography Roy Wanguhu. Thanks guys. I cod8un&#l217;t have launched those great segments on Chic Spy TV without you!!!
where did you buy the glow in the dark paint? [email protected]
Thanks wendy!
This is so disgusting, I love it! Even though my kids are older, I might try this anyway!!
Question: How hard is it to pour the jello mixture into each of the straws? Any hints on that part?
I made these and put a little of the jello mixture in the container, then added the straws and put in the freezer for about a half hour. Then I used a syringe to put the jello mixture in the straws. It worked really well.
Thanks! I just dished my orange juice carton out of the trash
So gross! So awesome! Thanks for sharing this wonderful project.
Jenn @ rookno17.blogspot.com
Those are sooooo gross looking but totally awesome! I'm going to have to try this!
Amy, SO the jello doesn't run out the bottom of the straw?? We are hosting a Haloweenie Roast for the neighbors and think the kids will love these!!
I made the worms and blogged about it here: http://mamabeefromthehive.blogspot.com/2009/09/worms-for-dessert.html thanks for the fun idea!
what is the trick for getting the worms OUT of the straws. Had a major failure this AM! :) HELP
OMG OMG OMG…I CAN NOT wait to make these….so gross!
Thanks for sharing the idea!
:-) Jeanette
I absolutely LOVE these! We made these for the party we went to last weekend and they were a hit! So gross to make but delicious to eat! Thanks for posting them!
These are so cool….to get around the time consuming task of filling each straw individually I just filled my container with the jello mixture then took my straws that were rubberbanded together and stuck them in there. I ended up using about 140 straws because that is how many I could squeeze into the container I used. I had some tall cylinder vases left over from a wedding…..all the straws were full with about an inch left at the top. There was jello that firmed up around each straw but I just wiped it off before I squeezed my worm out. A little less trouble and wracked nerves; ) thanks for the awesome idea…..my kids and the teachers LOVED it!!
Amy, I loved this idea! I just had to try it and made some for my sister and her family for last Sunday dinner. They didn't look quite as good as yours, but they were still a hit! My 4-year-old nephew refused to eat them even after I told him they were just Jello. He thought I was kidding!
I posted my picture of them on my blog, if you want to see how mine turned out. (http://sarahandmichaelcardell.blogspot.com/2010/10/208-this-mommy-is-proud.html)
Thank you so much for the idea!
I love it!!!! I just finished pushing the worms out of the straws. They look great. I am using them for the boy scout party tommorrow night!!!! I think I might go to the chinese food take out storeand get some of those clear containers. That is how real worms come if you buy them. I am so excited !!!!
This is the most disgusting awesome looking edible things I have ever seen, I can't wait to serve them up. THANKS!
I would definately NOT consider these edible. I would NEVER pour hot liquid into any kind of plastic to allow it to set and then feed it to anyone. When plastic heats up it leaches chemicals into food. These do look awesome, but as DECORATION ONLY.
You are not pouring HOT liquid into plastic. You are suppose to let the mixture cool to luke-warm (room temp) prior to pouring it into the straws.
How creative are you! These Jello worms are awesome & they truly look like the real deal!
I did these worms and they were a hit! thanks for the idea! I posted them on my blog with a link back to you. :)
http://faeriedustdreams-michelle.blogspot.com/2010/11/some-bits-and-pieces-from-our-halloween.html
want to try these for the party that we are going to. do you whip the cream?
I was wondering if you use just regular jello without the cream would it work as well??
oh my gosh those are so cute! my kids would love them!!
I featured these on my list of 10 Tricky Treats to make this Halloween!
SweeterThanSweets
I am going to make a chocolate bundt cake tomorrow for our ward Halloween Party. I will then frost it with a dark chocolate and then dust with ground oreos and graham crackers for dirt. Out of the center ot the cake these great worms will crawl. Should be fun.
My straws wouldn’t fill with the jello it just kept running out of the straws and filling the carton. After many attempts, i figured to fill as much as possible let it coagulate and then carefully remove straws from carton to retrieve the excess of the overflow and return the straws with coagulated jello into the carton and back in fridge ,simmer the excess in a pot. Let it cool and then fill the straws worked wonders for me. Perhaps next time i’ll just fill the carton with a 1/3 cup of jello liquid put the straws in and then fill, that way theres no liquid running any where.
Oh, that is so disgusting!! I can’t wait to try it!! We go to a friends for Halloween every year and she’s got three boys. Our families combined equals 7 boys. Don’t you know they will love these!!
Brilliant! Definitely worth the effort! I’d go for bright lime green jell-o worms and lemon yellow jell-o skulls & bones. I might have to spike the red ones for the adults with a little cherry liqueur. ;)
I found you through TCB. Cheers!
The Skeleton Sweats are screamingly cool!
Way fun! I just made them. I must say my coloring was WAY off. You must’ve not added any food coloring to get it so red, right? Next time I’ll definitely not add any extra color. Thanks!
So, I used these instead of Jell-o shots at my adult Halloween Party! They were a hit! We made 150+ and they were gone quick! We used Raspberry Jell-o and Black Cherry Vodka and they were delish! (in the recipe just changed it to 1 1/2 cups boiling water, stirred in until gelatin was completely mixed, let chill, then added 1 1/2 cups vodka. Kept everything else the same and it worked perfectly!) Thanks for the idea!!!
I made these for my sons birthday party and they turned out fabulous! The taste was amazing and they looked so real. I crushed up some Oreo shells for a look of dirt. Mind didn’t turn out two-tone though. They were all one uniform color that was more of a creamy color. Still very realistic, but I was wondering how you got the two-tone colors. Also, I didn’t try to fill each straw with the jell-o mixture. Instead I filled the container with the mixture and then placed the straws in afterwards. The liquid still rose to fill each straw.
Has anyone found an effective trick for getting the worms out of the straws? Mine are not coming out well and keep breaking!
Oh my gosh… this is fantastic. Found this just in time for DD’s Halloween party on Friday… many thanks! :)
Okay… I want to make these but thought of an “enhancement” …. oreo cookie crumbs make great dirt to sprinkle on the worms. I am going to the closest bait shop to see if I can get a plastic bait container to serve them in… tee hee can’t wait.
Cute! I blog over at http://www.2crafty4myskirt.blogspot.com/ and this Thursday I will be doing a round up of Halloween treats and party ideas. I plan to include this. Please let me know if you are not ok with that:)
ok so i saw on here that everyone used gelatin BIG EWWWW for me because i am a vegitarian and gelitan is made from Animals and there bones and hoofs not kidding that is what it is made from so i was wondering if this would work with vegitarian “jello” and fruit pectian i know pectain sets up fast after it starts to cool so i went to work to try it and i did this by getting the water boiling but only used a cup and got 2 cups black cherry rum warm to make for an adult halloween party used two 3 oz boxes of vegitarian jello and about a tablespoon and a half of fruit pectan used for making jelly and disovled and added the food color i knew as soon as i added the whipping cream i had little time so i made sure all the straws were ready added the cream stired for 10 seconds and poured, it turned out great so for vegitarians who love a little halloween fun just as much as anyone else this is a great idea and is a blast to take to a party Thank You so much for the idea
We made these for my grandson’s Halloween party, and like a lot of comments above, kids (even adults) were afraid to eat them at first. But once they tasted, they loved them. My grandson’s mama found the idea on pinterest and tried a lot of other good things as well. We had fun. We experimented several times finding ways to get the jello inserted. Using a pitcher as tall as the straws finally worked successfully. The worms really look creepy! Perfect for the party. Place ice in a container below the jello worm plate and the jello will keep its shape just fine.
Great idea ! I made mine, but the worms seemed to stick together (too warm?) is there a tip on how to keep them from sticking together? Should I lay them out separately on the grease proof paper once out of the straw? Thanks
I made them last year and they turned out great, but I had given myself plenty of time to make them so this year I don’t have as much time as I started on them already. So my question is…why do you have to wait 8 hours for them to chill? Do you think they will turn out just as good in 4 hours?
Just made these and they are look just great. I thought they hadn’t worked at first but when I started squeezing them out I found I was wrong cos they look just like the picture (which never happens when I cook). cant wait for the kids to see. Have a horrible haloween everyone!!
When using whipping cream, do you poor as a liquid or do you beat first into a cream whip and then mix all together
I looked to find a way to email this to you. I just wanted to let you know that I saw your recipe on pinterest but on another site. Here is the link http://www.daydreamkitchen.com/2012/08/jello-worms/
We tried these a couple of weeks ago and they are really cute and kids love them. i wanted to add some thing to add a gritty texture to make them seem more like actual worms. any ideas? tried pears pureed in the mix but it turned out mushy and didn’t feel like eating dirt with the worms.
I’m a little sad I didn’t think of this first. What a brilliant idea! Thank you for your creativity and sharing it with the rest of us! I can’t wait to see my friends’ reaction to these.
Ha! I hope they are sufficently impressed and grossed out at the same time.
um,yeah, these didn’t work out,at all. I did everything you suggested and the jello did NOT want to come out of the straws. I ended up tossing the whole batch.
So at what point do you add the jello?
I think you missed a step. Do you add that to the cream/gelatine mixture?
Can these be made without the unflavored gelatins? Please answer as soon as possible, thank you!
Yes they can!
What if you stuck then straws into a piece of foam; I think that’d keep the jello from seeping out of the straws
That could work as well.
Can you add vodka to this ?
Jody- I have not tried that, but I am sure you can.
I can’t believe how real these look!! My kids will get a kick out of them & they sound delicious!!
Kristyn- They really are so simple to make.
What a fun little treat!! Not sure how my kids would react if they saw a bowl at the table, but I know they’d think it was yummy!!
Natalie- They are super creepy.