
Do you have your Christmas Decor up yet? I have had mine up for a couple of weeks now and I am loving it! It always makes me feel so happy! So I like to enjoy it for as long as possible! I added a new Wood Christmas Sign this year to my Christmas decorations! I saw a sign similar to this one when I was browsing a Pottery Barn Catalog and knew I had to make one for my entry way.

I have made a few other Farmhouse Signs over the last couple of years like the following:
And I was excited to add a Christmas version to my home! These signs are pretty easy to make, even if you don’t have a lot of experience with wood projects. They just require some simple straight cuts and some nails (or even just wood glue), you could even have your local hardware store cut the wood for you!

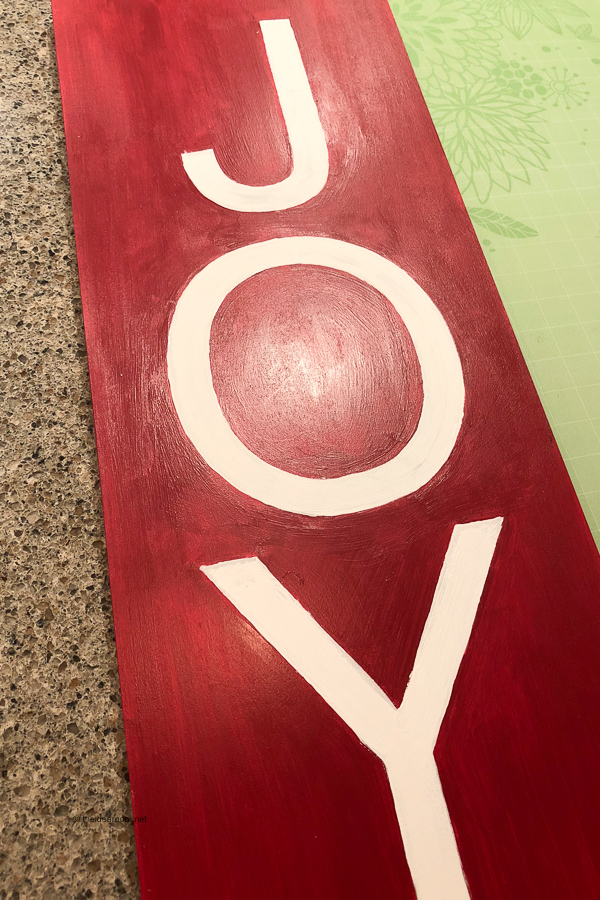
I debated for a while whether to paint the main part of the sign red or just the lettering red and to keep the background white…as you can see, I ultimately decided on going with the red background! I am so glad I did! I am loving all the red and white in my Christmas decor this year! It feels so cheerful and classic.

To make this JOY Christmas Sign you will need the following.
Materials:
Wood piece (12 x 24 inches)
Wood Trim (1 x 2 cut to fit all four sides of the sign)
JOY template letters (I used my Cricut Maker)
stain ( I used this one)
nails or staple gun
Directions:
- Cut your wood to the size you want it, or purchase a piece of wood that is pre-cut. They have several sizes at Lowe’s.
- Cut your wood trim so that you have two sides that are the same length as the long part of your sign. Cut the next two pieces (the top and the bottom) so that when they are place against the top of the sign and the side pieces are on, they meet together and are flush on the corners creating a nice frame around your board.
- Stain your side pieces of the wood frame and let dry.
- Gently sand around the edges of the board and the front of the board if needed.
- Wipe off excess dust.
- Paint your sign red and let the paint dry.
- Place your JOY letters onto the sign so that they are centered and evenly spaced. Use them as your template or your stencil. Paint the letters white. You may need two coats of paint to cover over the red paint. Let your paint dry between each coat.
- Let the paint cure for at least 24 hours.
- Gently sand and rough up the surface and edges of the sign if you want a more rustic, farmhouse look to your sign.
- Add a little wood glue before nailing and wipe off any excess. Nail your side pieces onto the board making sure that they line up flush with the ends of the sign.
- Nail on the top and bottom pieces of the wood frame.
- Add a picture hanger to the back making sure it is centered.
- Hang on the wall and enjoy!

You can change this sign up in a lot of different ways to fit your style and preferences! Change the word if you want to something that is less seasonal so that it can remain up in your home all year long! This Christmas sign would also make a great gift idea too!
You may also be interested in this Farmhouse Oh Holy Night Christmas Sign as well.

JOIN OUR NEWSLETTER
Would you like more Recipes, DIY, Printables and Organization Ideas?
Subscribing to the newsletter will enable us to periodically send you creative content exclusively for Idea Room subscribers.
*View our Privacy Policy here.


Leave a Reply