
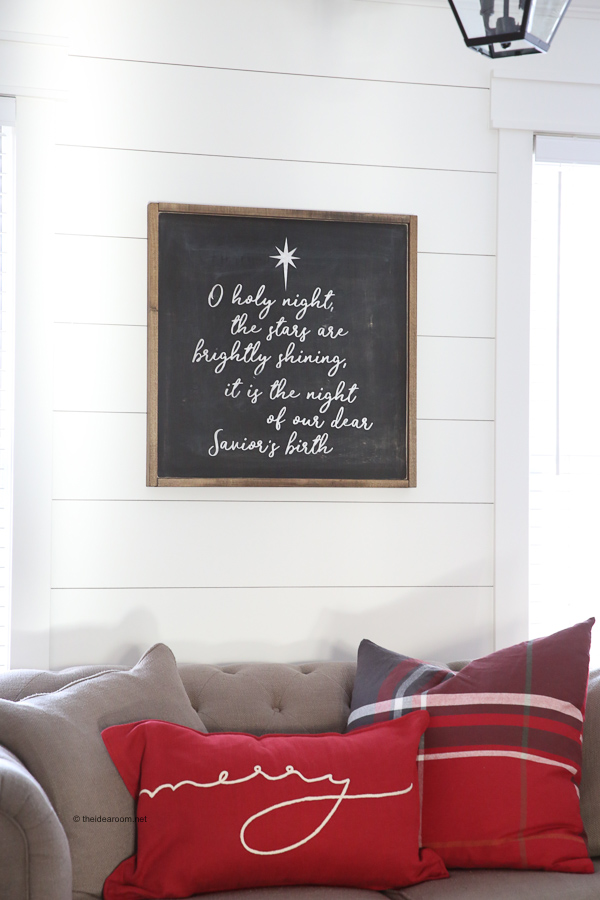
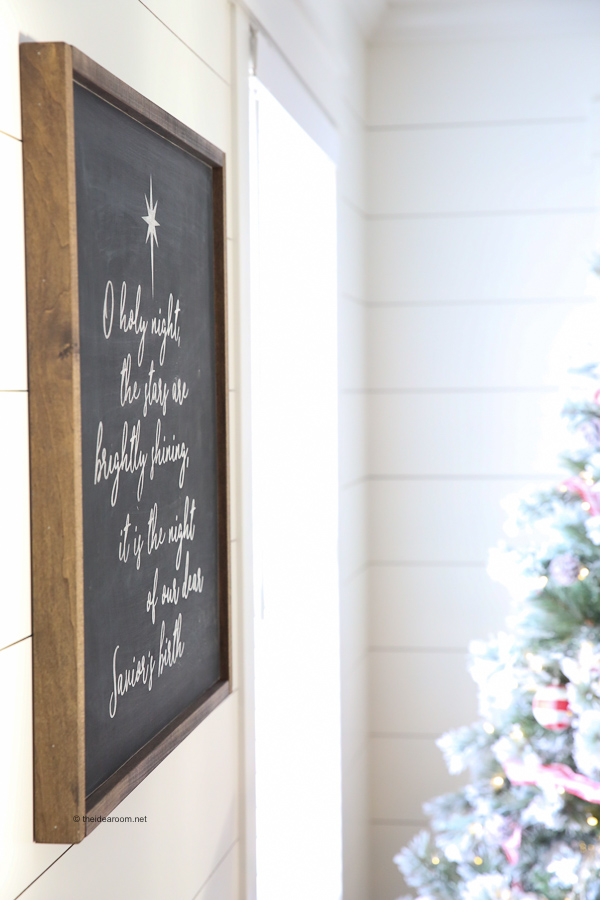
Hey guys! I am popping back in with another quick tutorial for making a beautiful Farmhouse DIY Oh Holy Night Christmas Sign! I hope you aren’t sick of my Farmhouse Sign Tutorials yet…because I am not sick of making them!

I love how easy they are to make and I LOVE that I can completely personalize them to my exact taste preferences. I don’t know about you, but I have a hard time finding home decor items that fit what I have in my mind for a certain spot in my home. That is why I started down this road and how this little blog came into existence. I wanted to create things that fit the feel and look I wanted in my home.
But…anyways…back to the Christmas Decor. You can make an Oh Holy Night Sign if you are interested. Feel free to change it up in anyway that better suits your decorating style! Everyone is different and it’s fun to change things up and add your own flair to the basic design!

I created the sign on my Cricut Maker. If you aren’t familiar with a Cricut Maker and are interested in learning more, you can check out my post I shared on it here.
Materials:
Wood piece (24 x 24 inches)
Wood Trim (1 x 2 cut to fit all four sides of the sign)
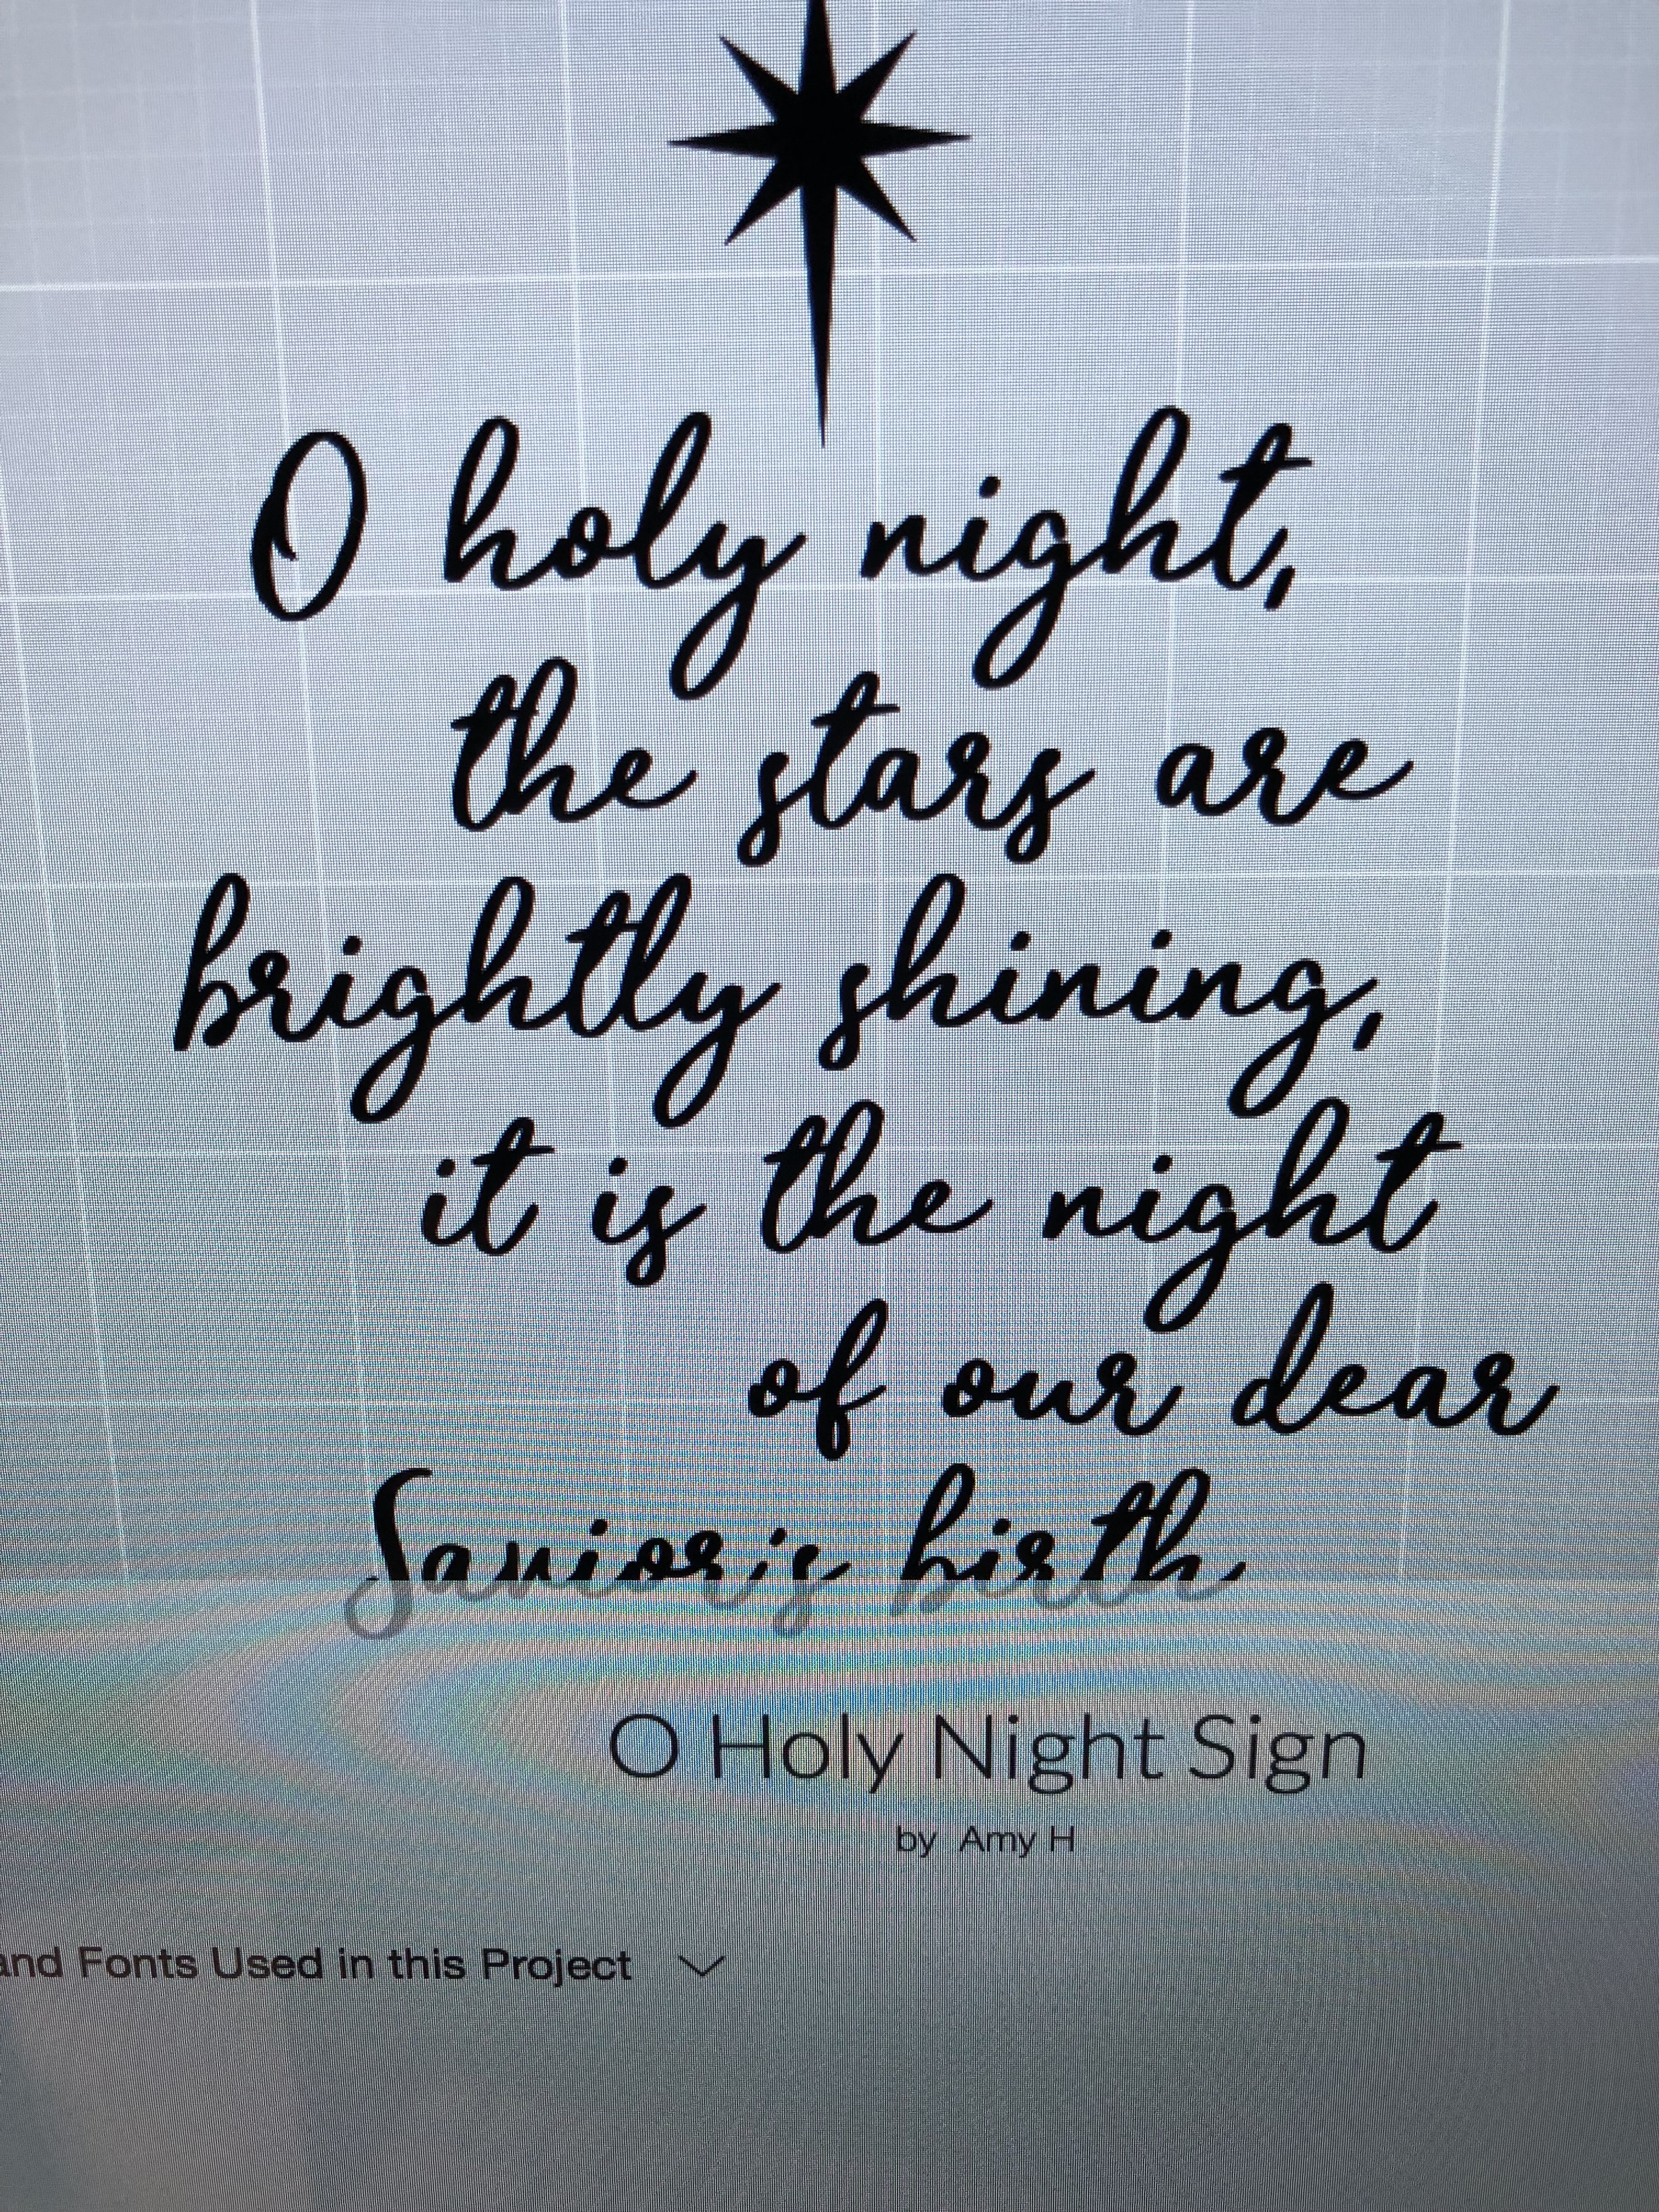
Oh Holy Night template here (I used my Cricut Maker)
stain ( I used this one)
nails or staple gun
Directions:
- Cut your wood to the size you want it, or purchase a piece of wood that is pre-cut. They have several sizes at Lowe’s.
- Cut your wood trim so that you have two sides that are the same length as the long part of your sign. Cut the next two pieces (the top and the bottom) so that when they are place against the top of the sign and the side pieces are on, they meet together and are flush on the corners creating a nice frame around your board.
- Stain your side pieces of the wood frame and let dry.
- Gently sand around the edges of the board and the front of the board if needed.
- Wipe off excess dust.
- Paint your sign black and let the paint dry.
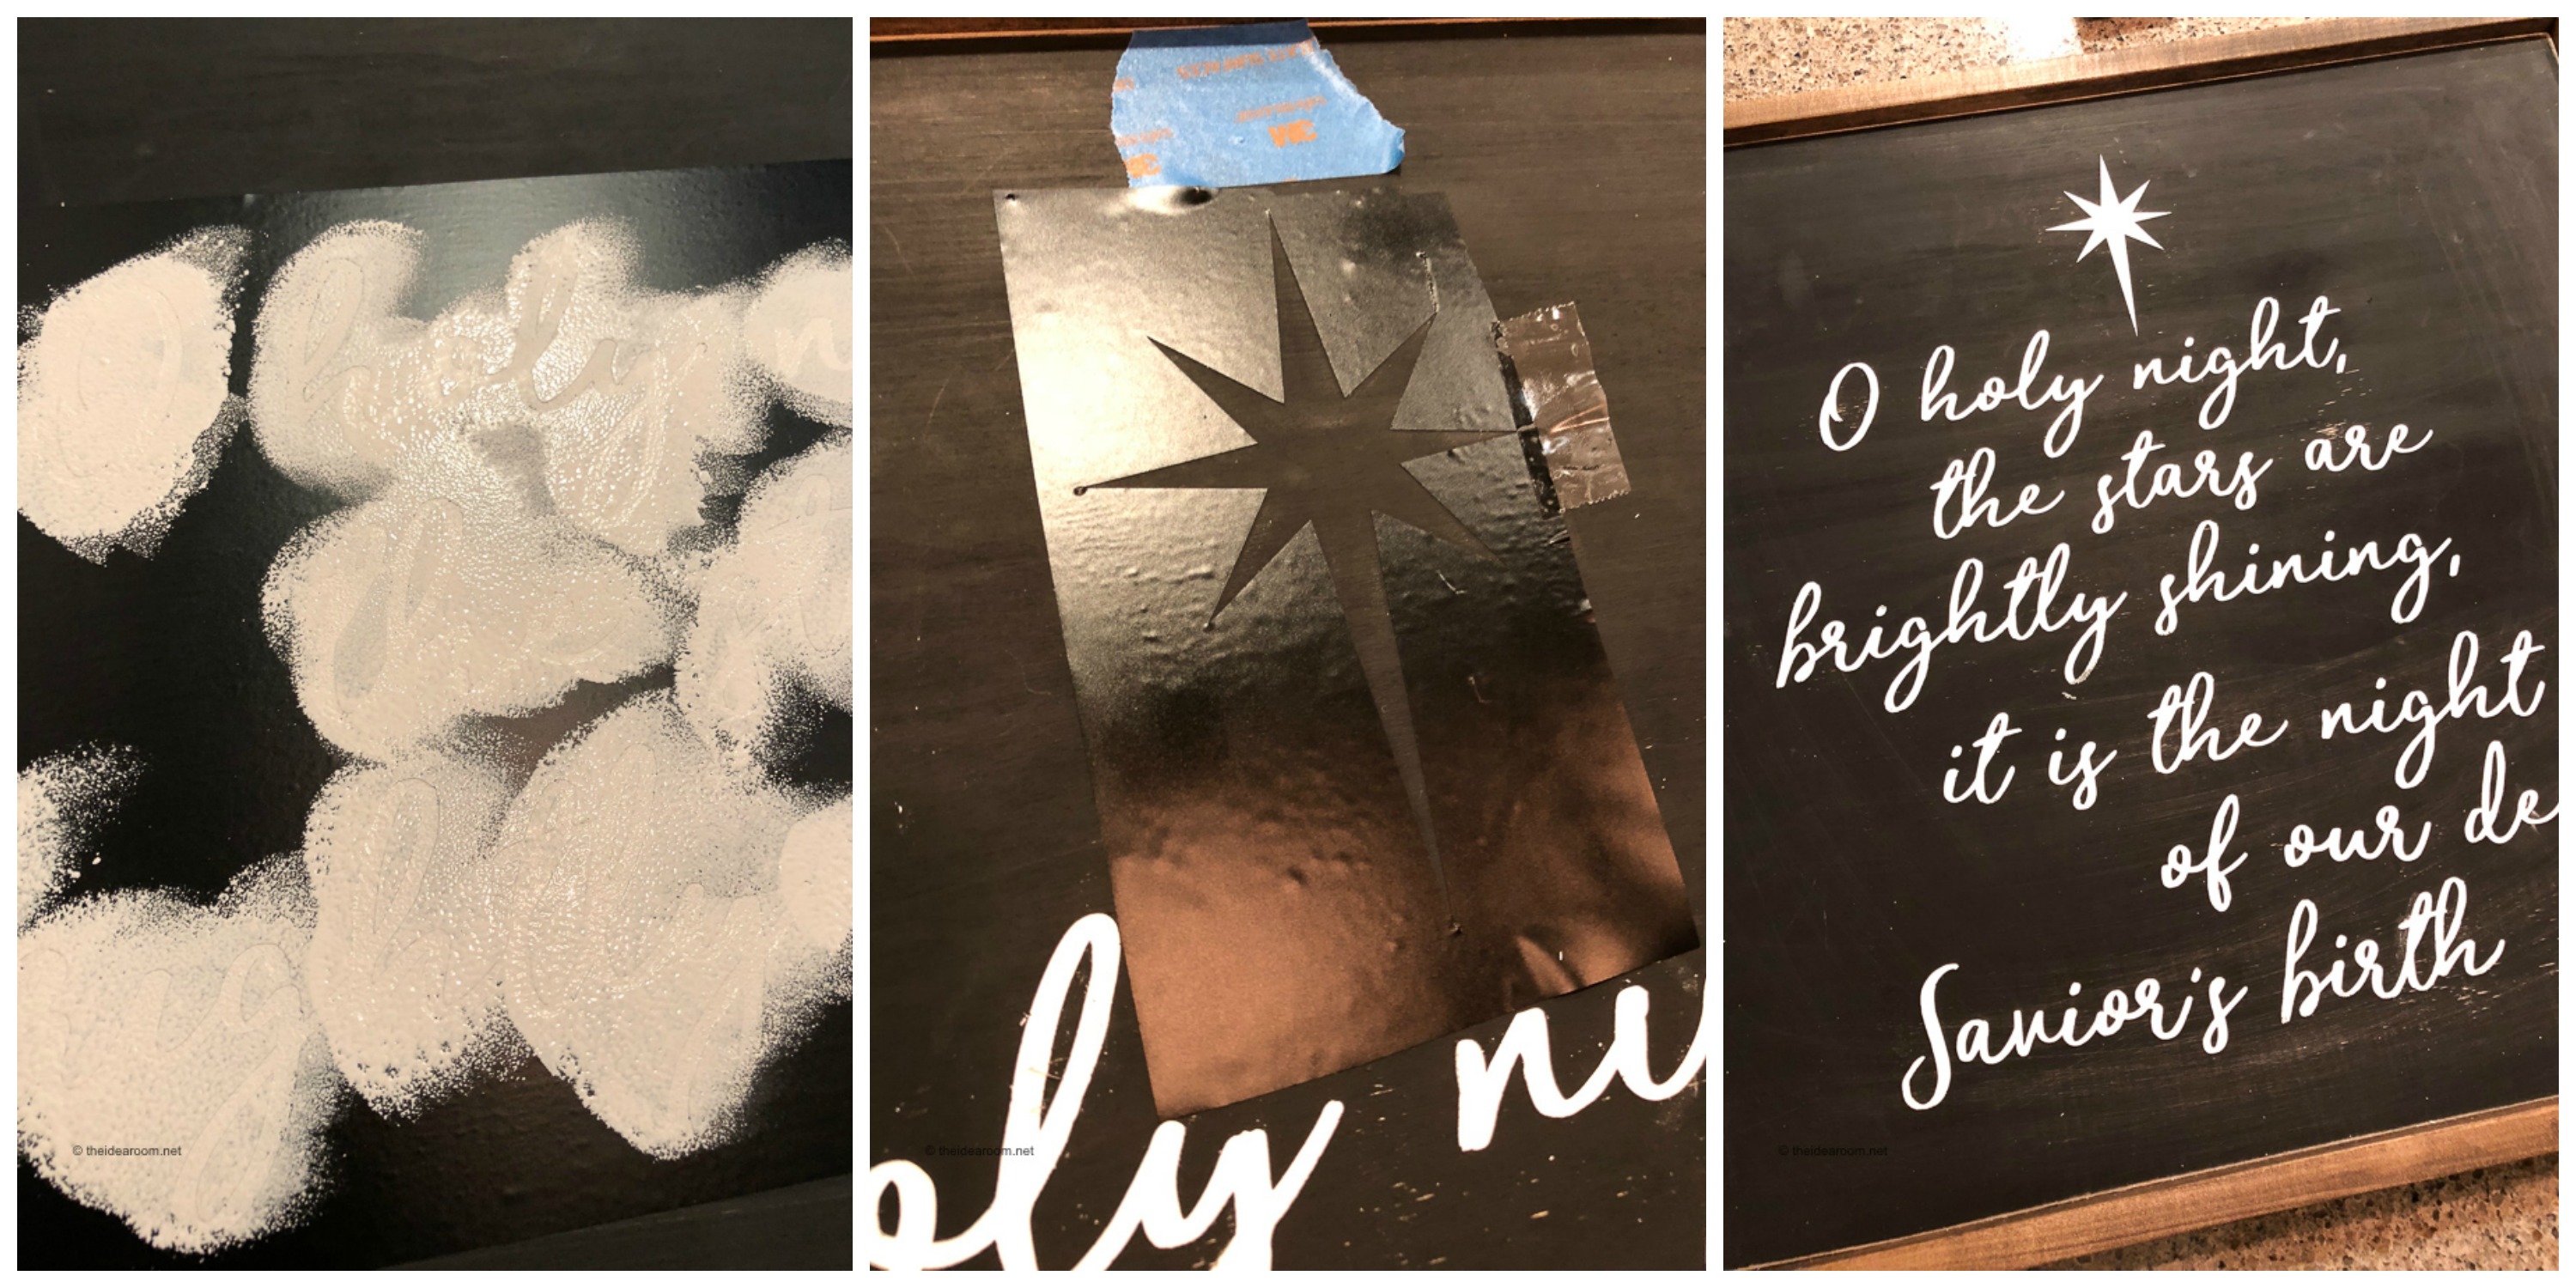
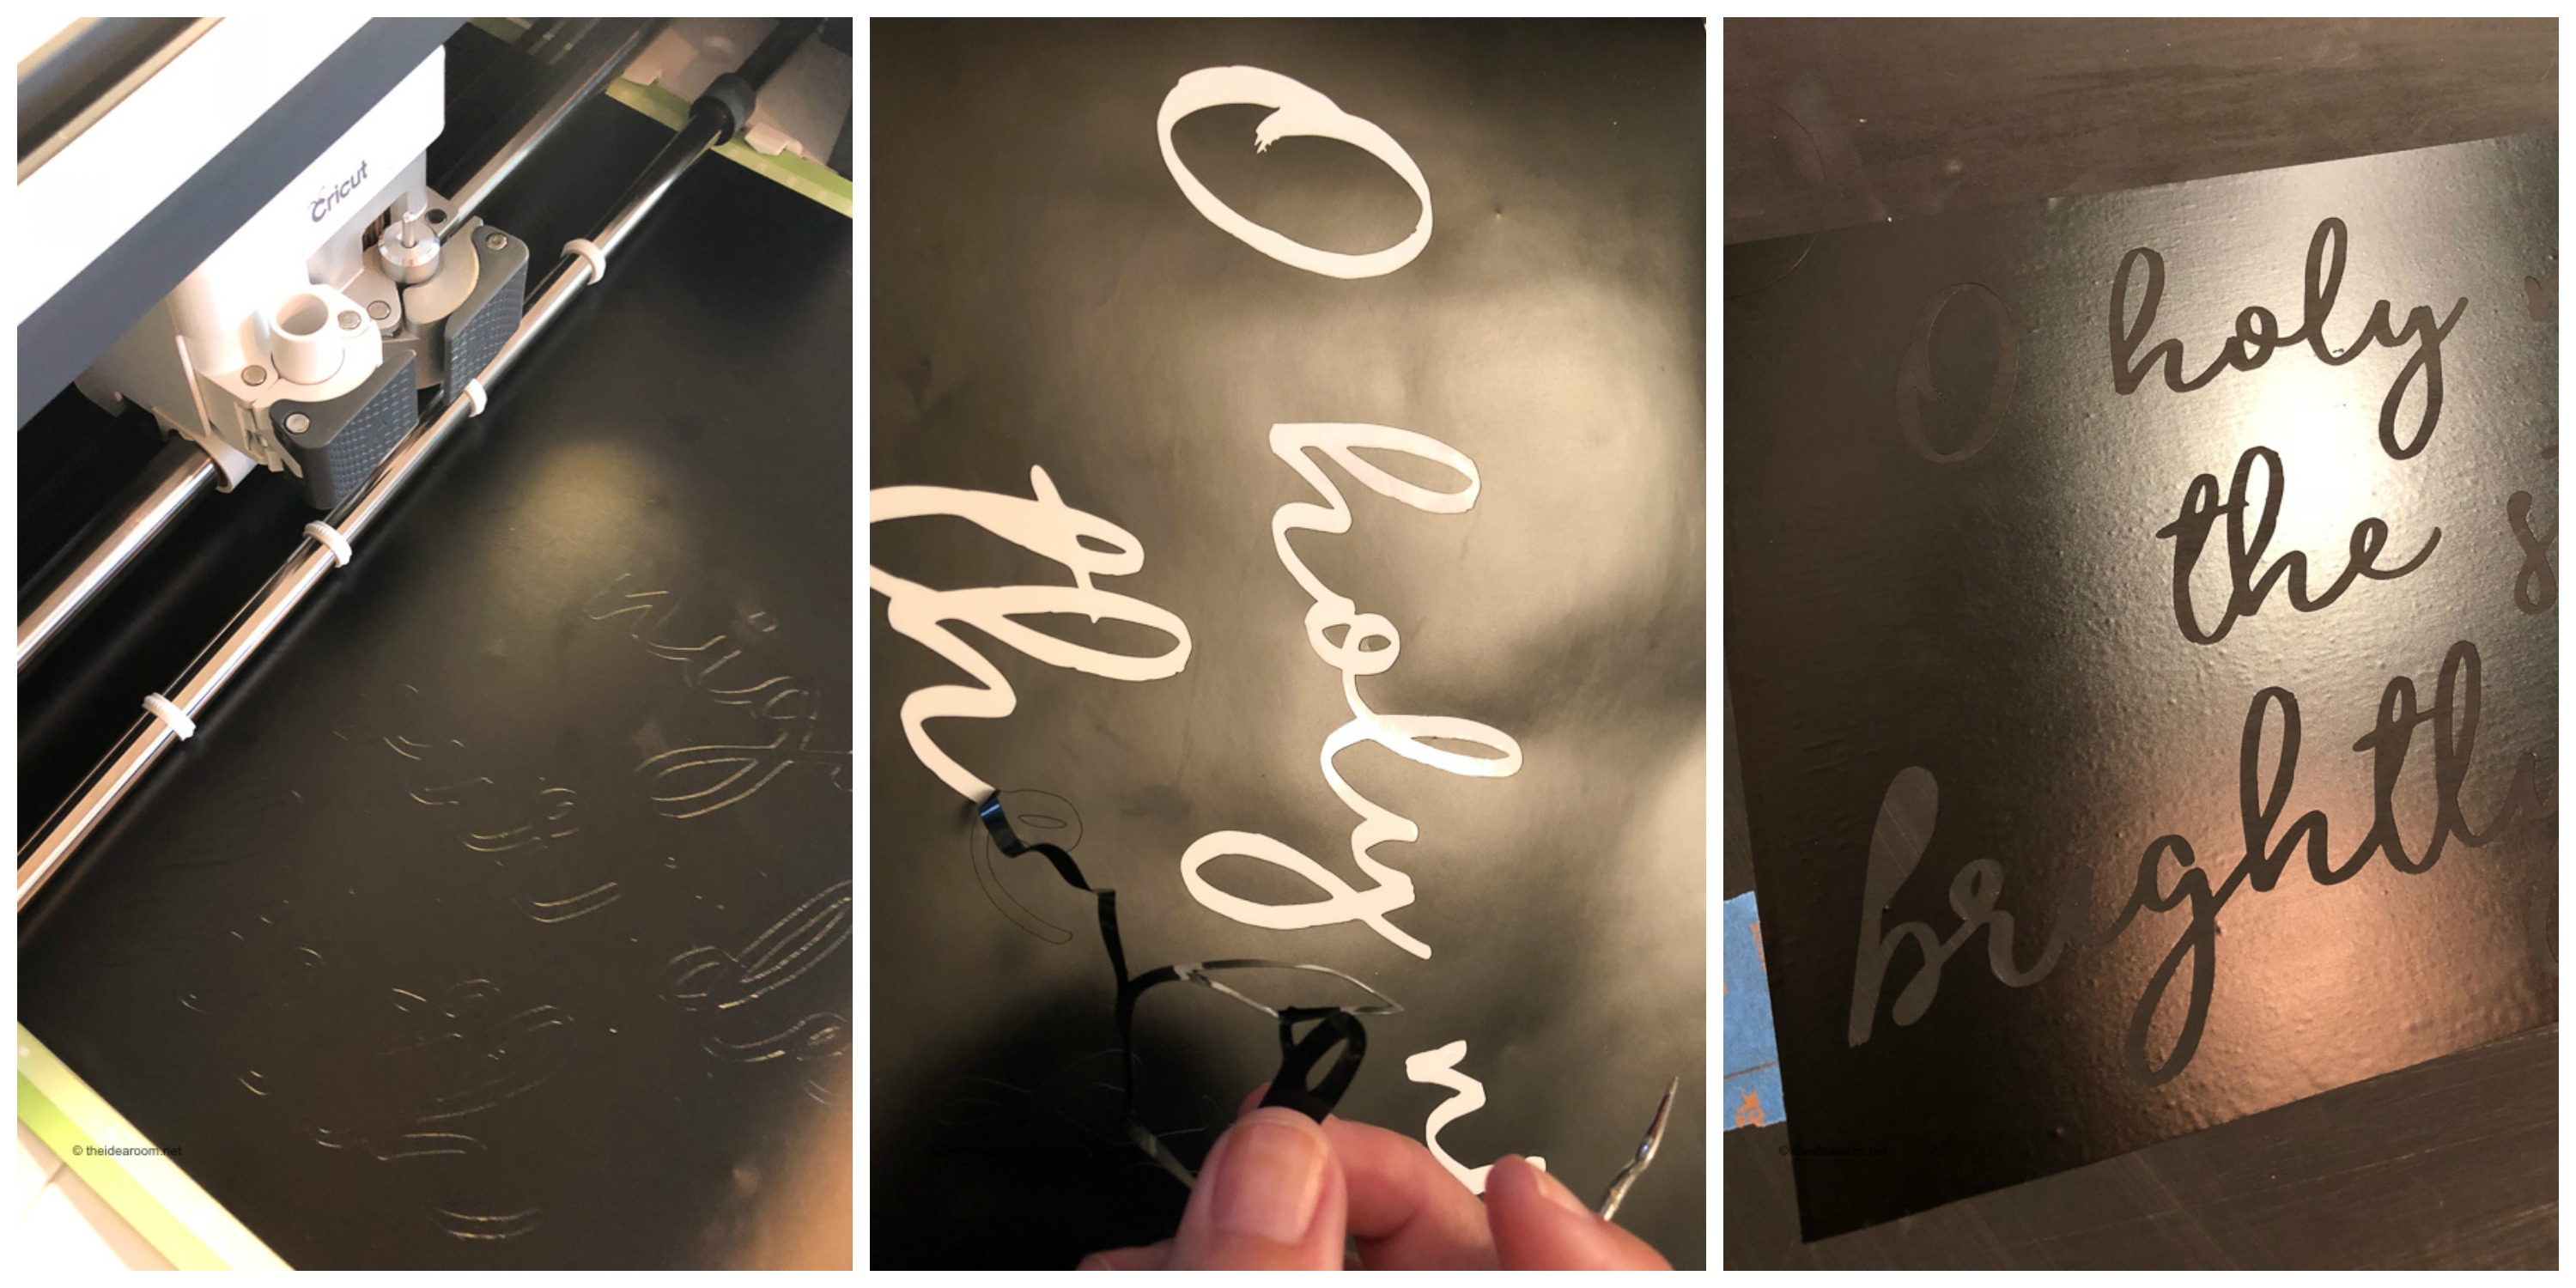 7. Place your Oh Holy Night template vinyl onto the sign so that they are centered and evenly spaced. Use them as your template or your stencil. Paint the letters white. You may need two coats of paint to cover over the black paint. Let your paint dry between each coat.
8. Let the paint cure for at least 24 hours.
9. Gently sand and rough up the surface and edges of the sign if you want a more rustic, farmhouse look to your sign.
10. Add a little wood glue before nailing and wipe off any excess. Nail your side pieces onto the board making sure that they line up flush with the ends of the sign.
11. Nail on the top and bottom pieces of the wood frame.
12. Add a picture hanger to the back making sure it is centered.
13. Hang on the wall and enjoy!
I love the sign in this room! I made it black to balance out the room and I just love how much it stands out on the white walls!
Go ahead and make one for your home! These also make great handmade, unique gift ideas for your family and friends! I know I would love to give and receive one for Christmas!

You may also be interested in this DIY JOY Wood Christmas Sign.
Happy decorating! Thanks for stopping by!

JOIN OUR NEWSLETTER
Would you like more Recipes, DIY, Printables and Organization Ideas?
Subscribing to the newsletter will enable us to periodically send you creative content exclusively for Idea Room subscribers.
*View our Privacy Policy here.


Thank you for this fun post … Also … where did you get the cute red “MERRY” pillow OR is it a DIY?
Thank you! The pillow is from Pottery Barn this year! http://bit.ly/2Az2AXJ
Gorgeous!! Love it so much!
Thank you so much!