

Grandparents Gift Ideas
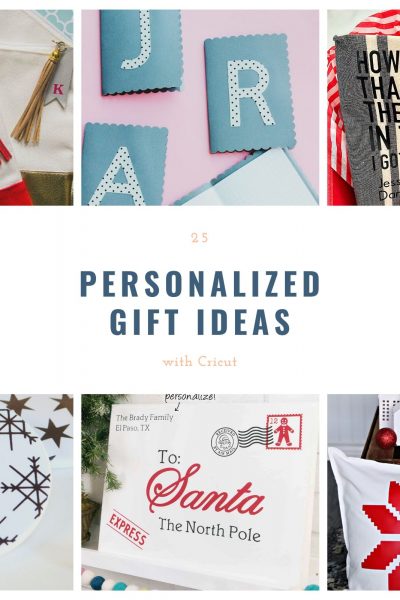
Personalized Gift Ideas
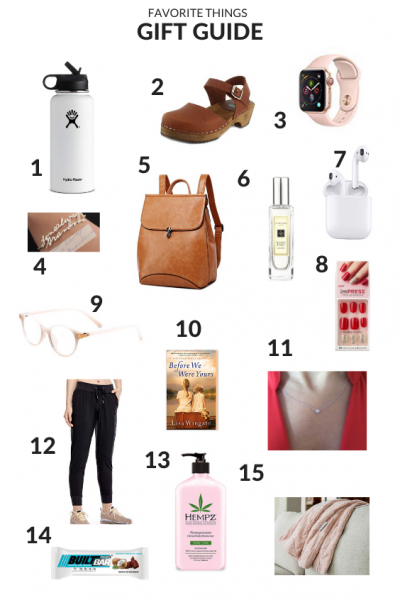
MY FAVORITE THINGS
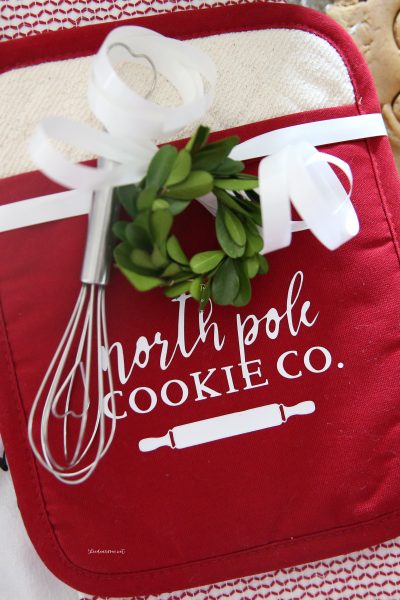
Baking Gift Idea with Cricut
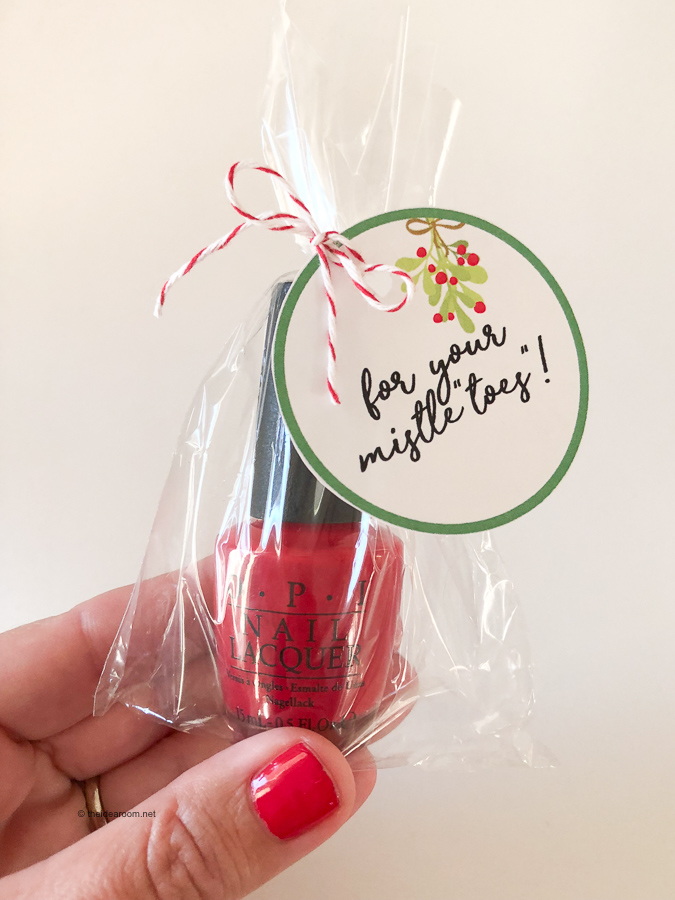
Mistletoes Nail Polish Gift Idea
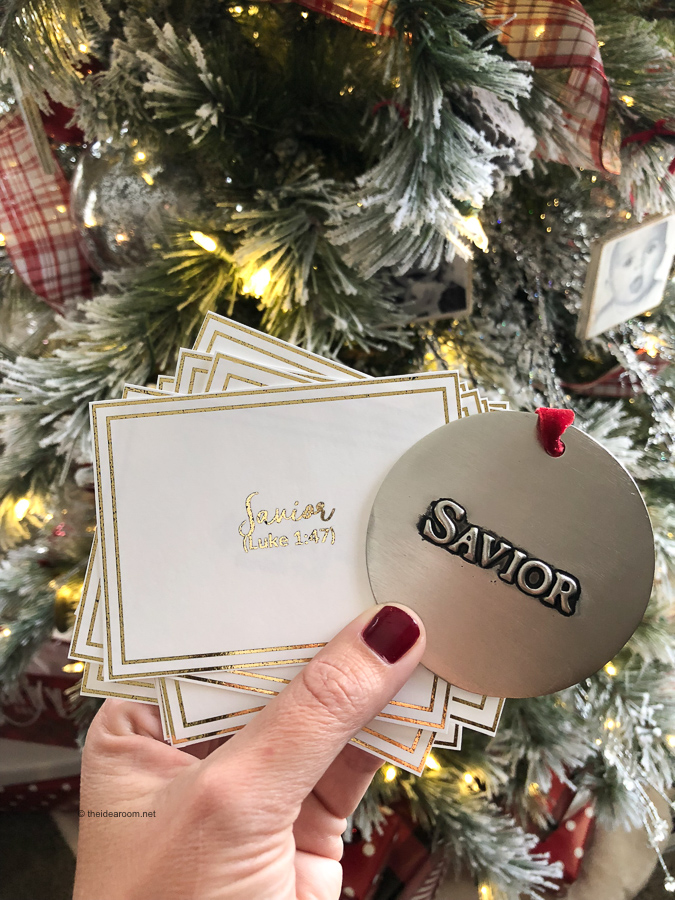
Names of Christ – Twelve Days of Christmas
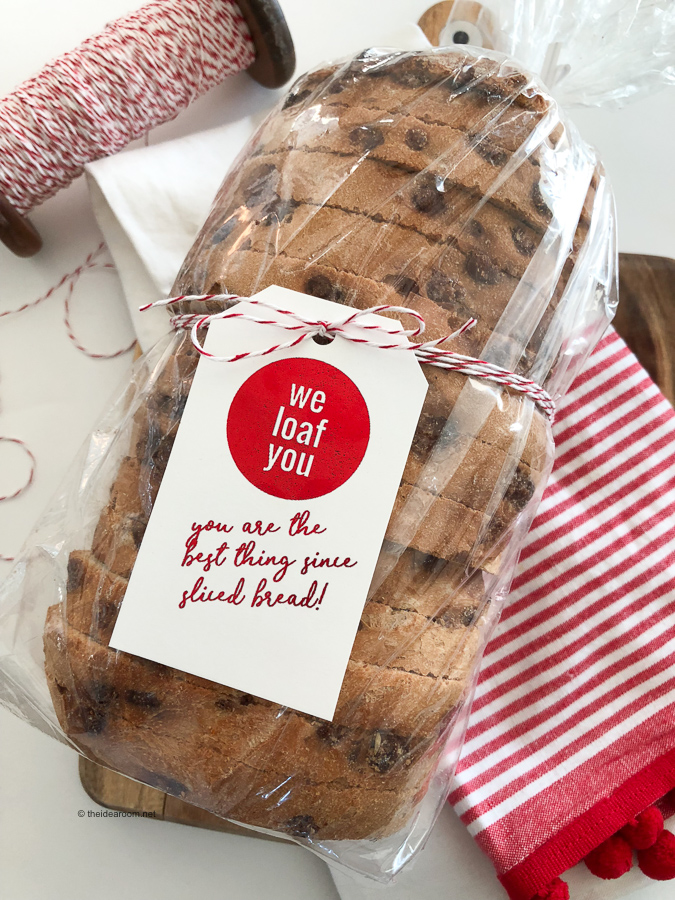
Printable Bread Gift Tags – We Loaf You
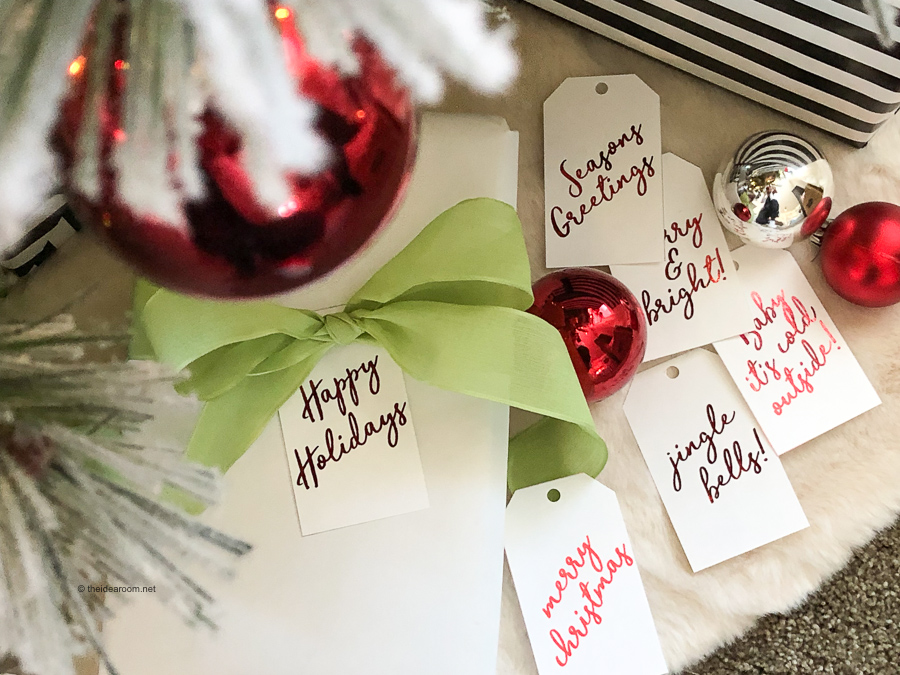
Printable Holiday Gift Tags & Ten Days of Christmas Inspiration Series

Christmas Recipes
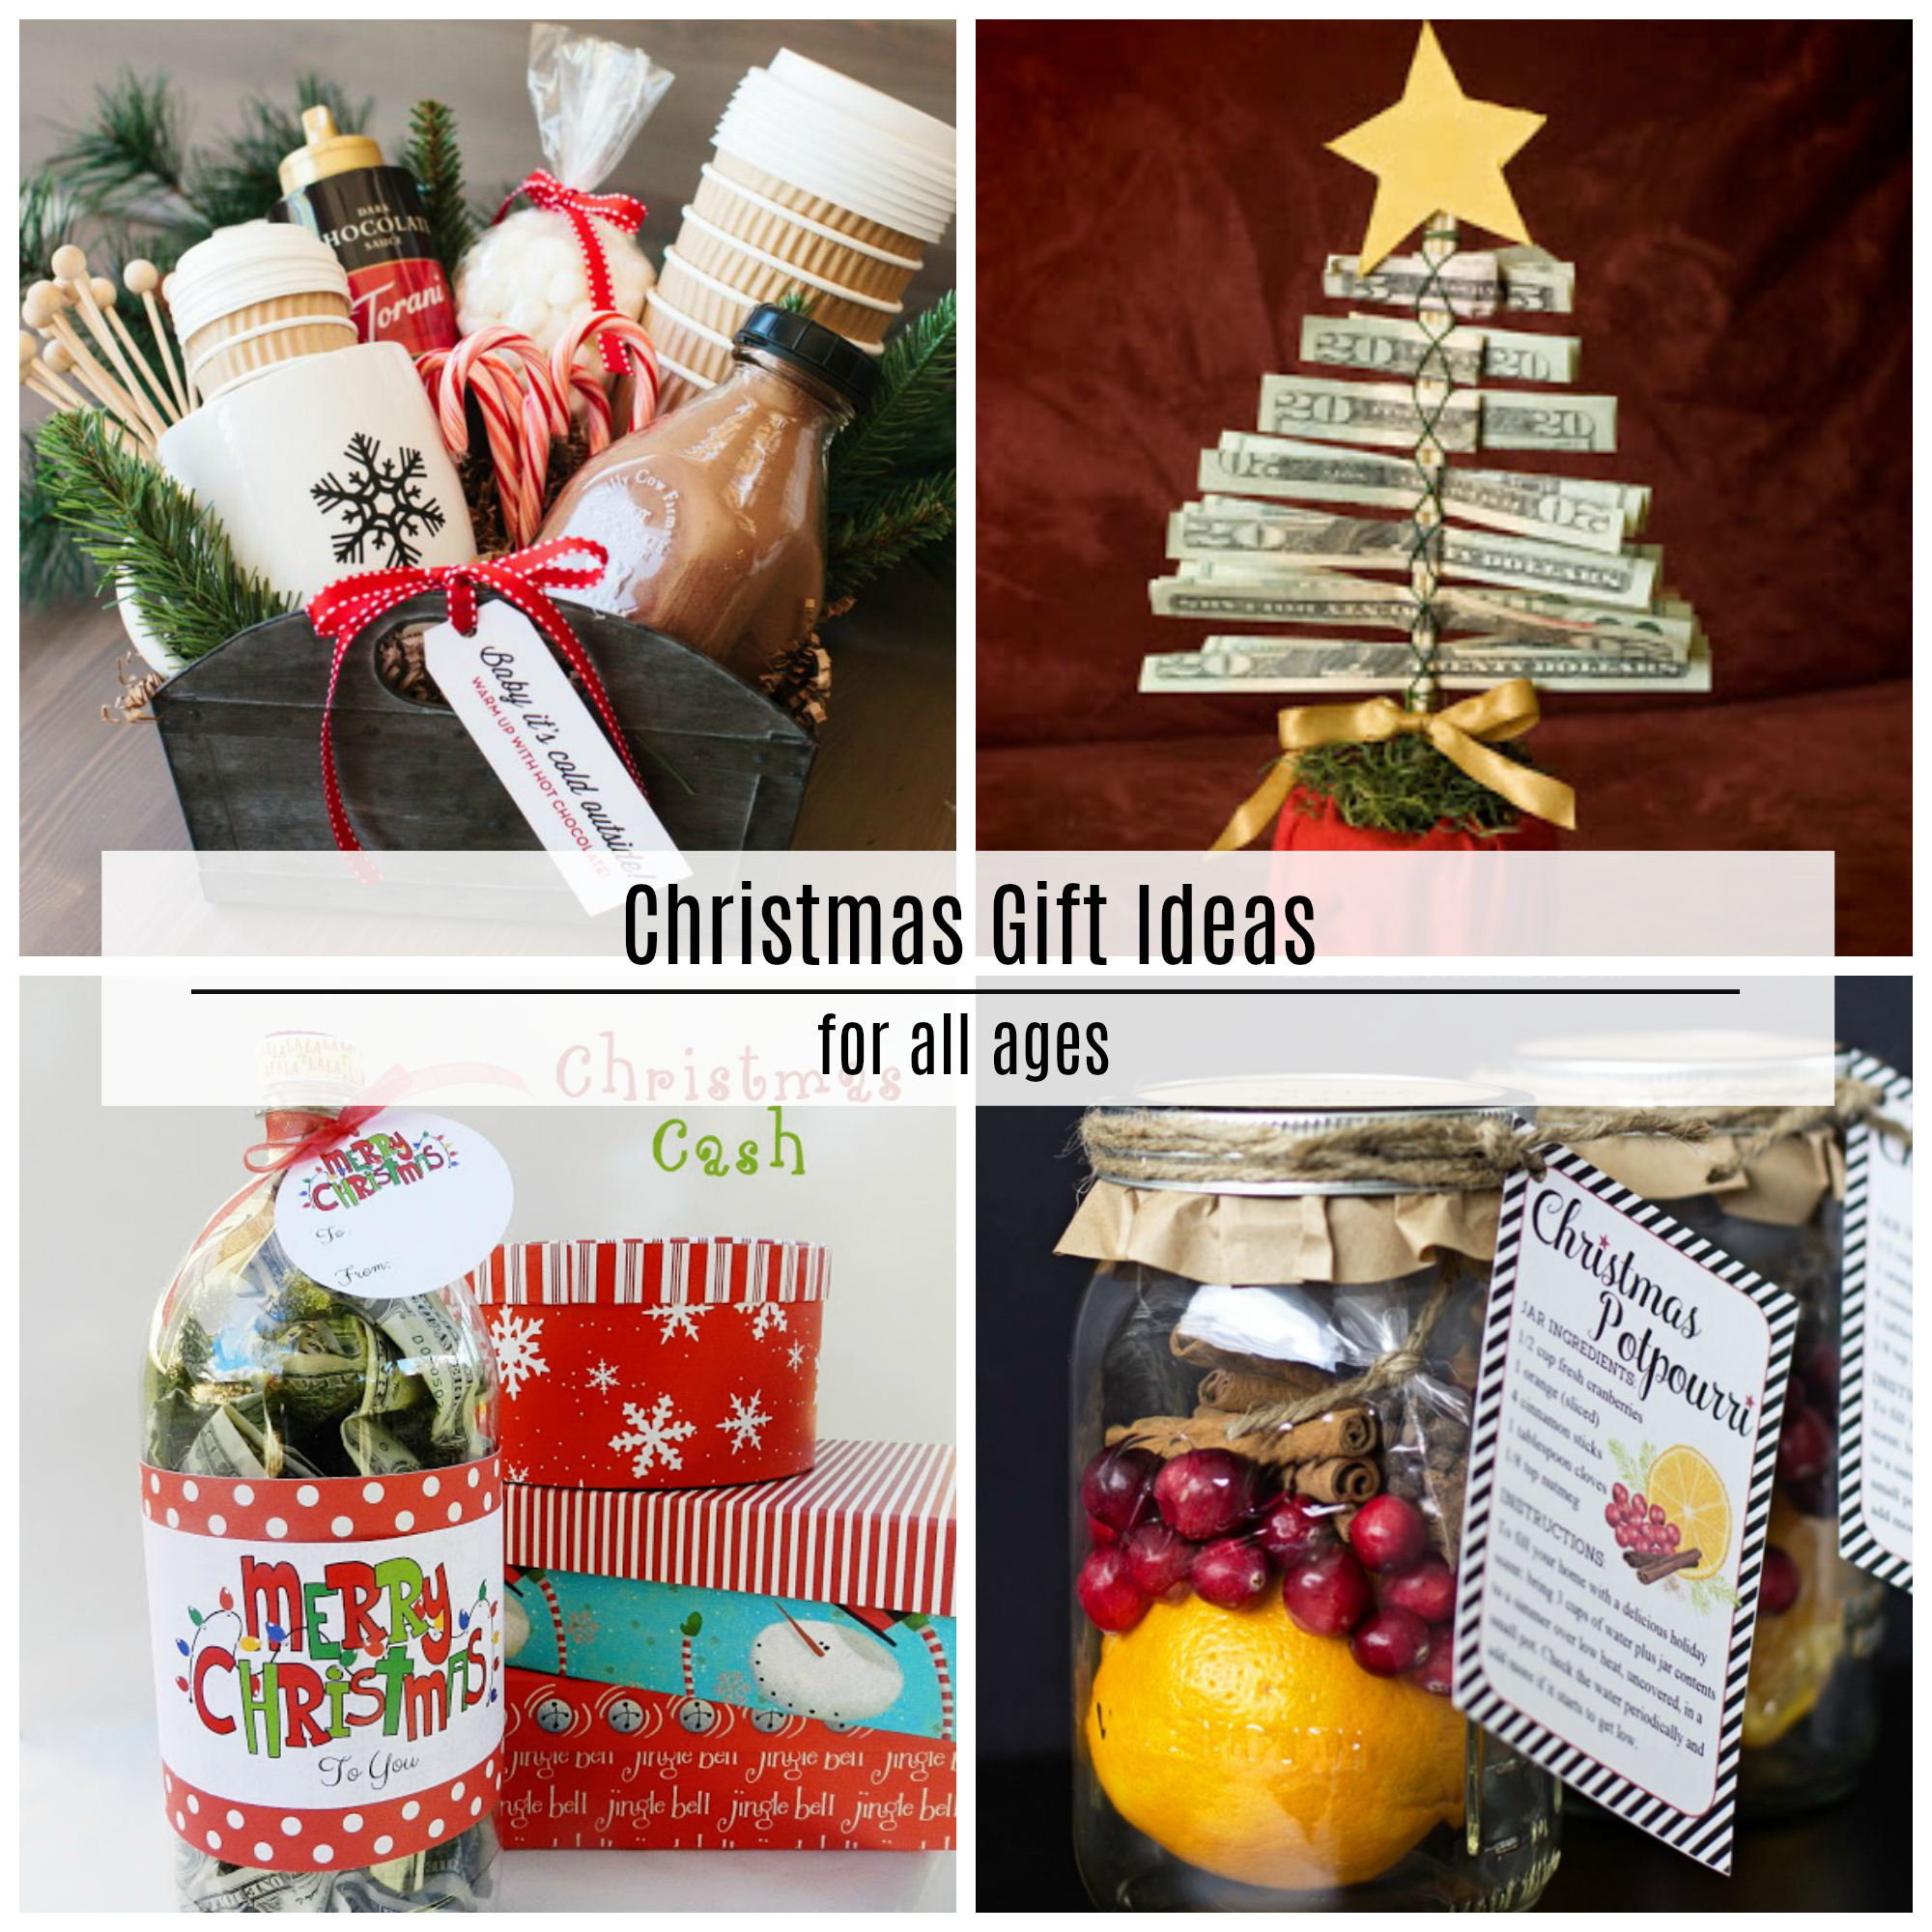
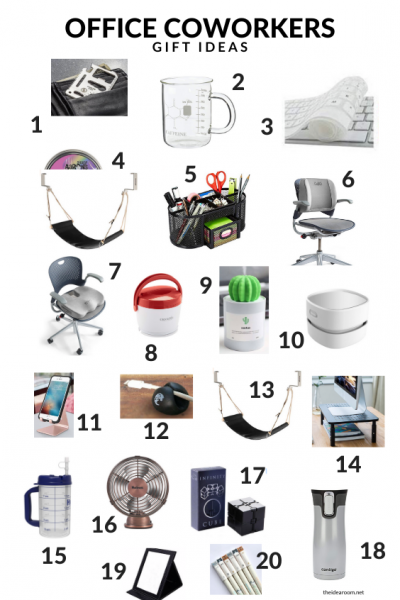
Christmas Gift Ideas
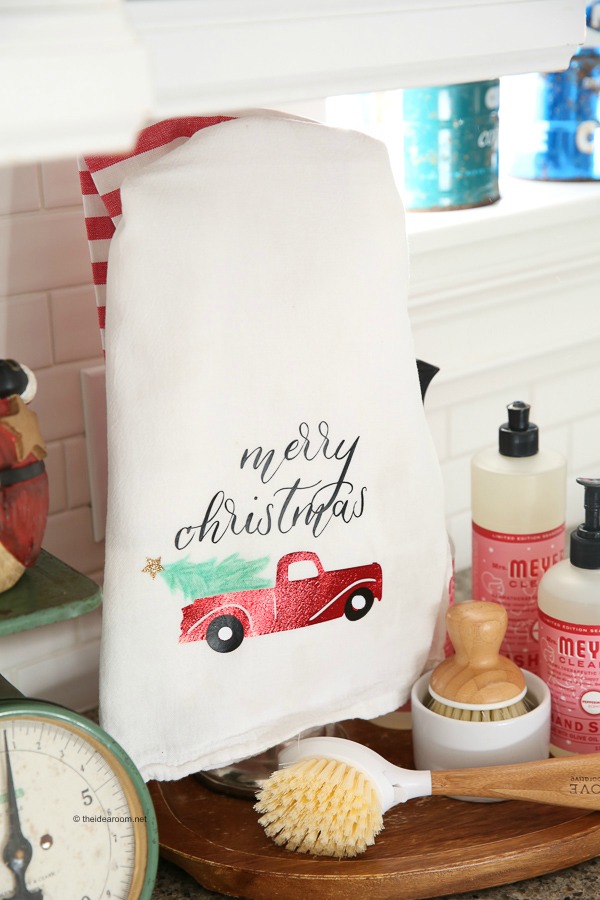
Christmas Neighbor Gift Hand Towel with Cricut Maker
- « Previous Page
- 1
- 2
- 3
- 4
- 5
- …
- 9
- Next Page »


