
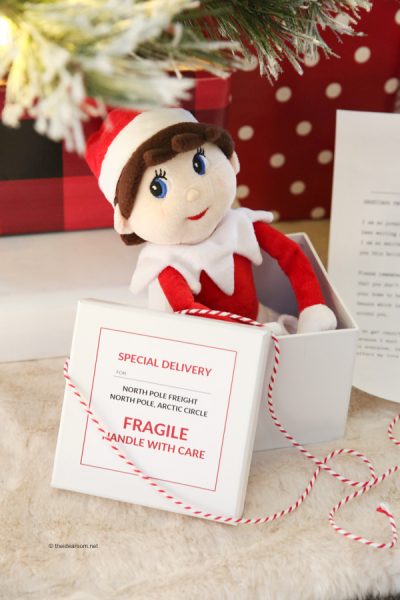
100 Unique Elf on the Shelf Ideas
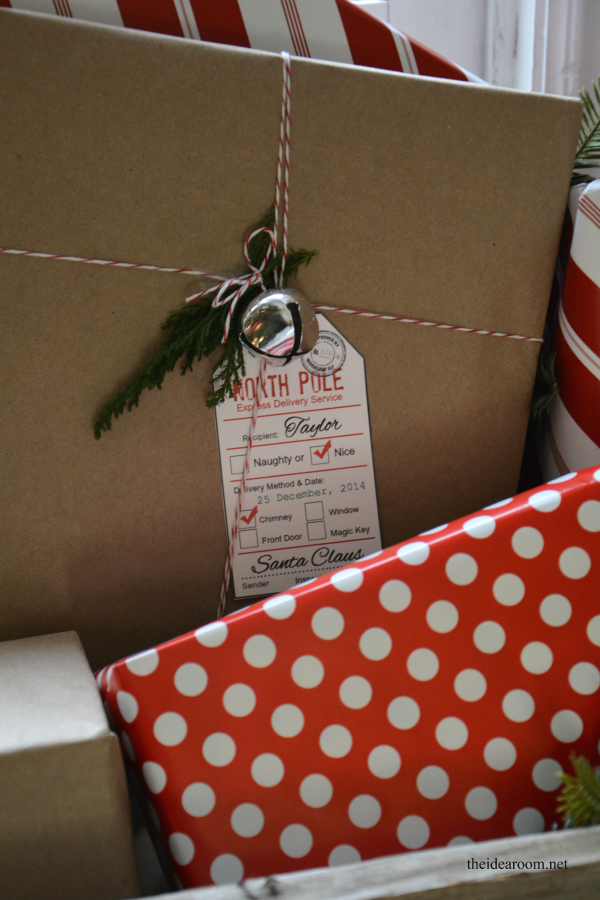
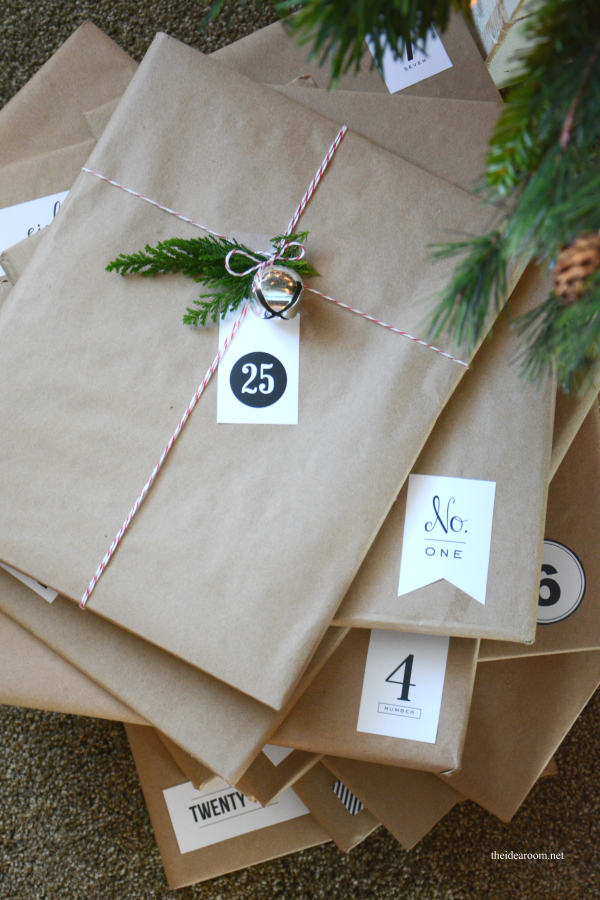
Download Free Santa Gift Tag Printables
List of Favorite Christmas Books

How to Make Brass Nutcracker Christmas Decorations
How to Make Cinnamon Salt Dough Recipe
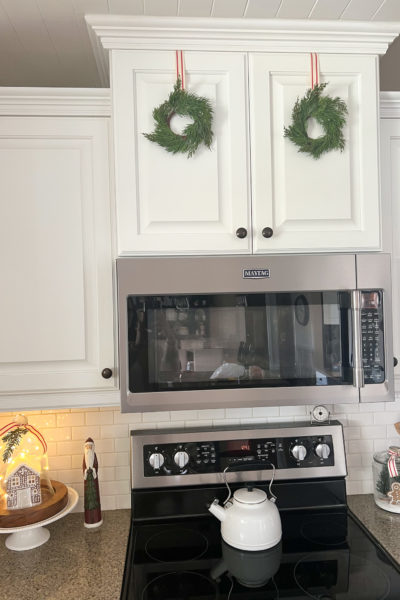
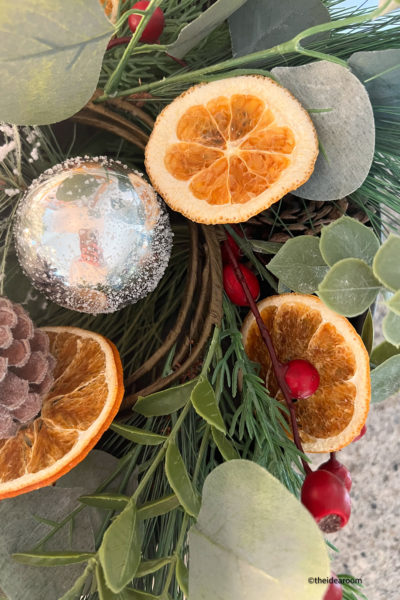
How to Hang a Wreath With Ribbon on Cupboard
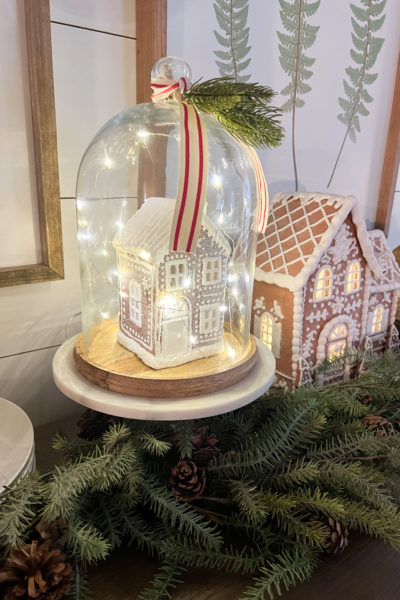
Learn How to Make a Gingerbread House

How to Make Homemade Turtles

Make Your Own DIY Peppermint Sugar Scrub Recipe
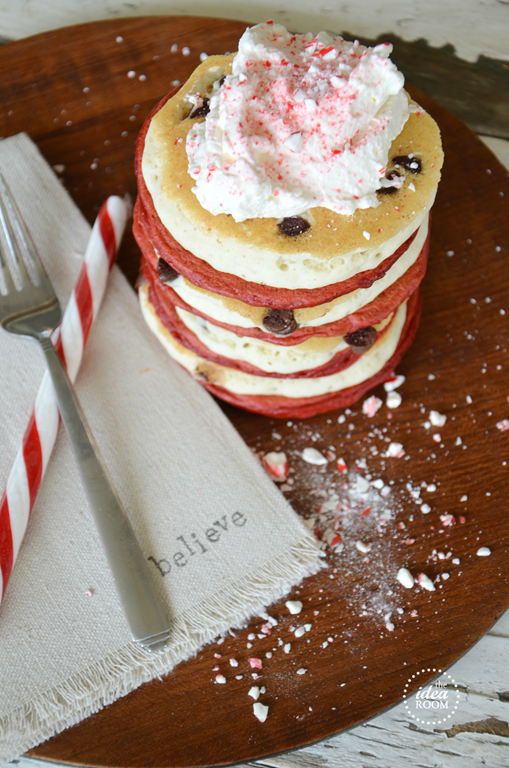
Candy Cane Pancakes

How to Make Orange Cinnamon Rolls
- « Previous Page
- 1
- 2
- 3
- 4
- …
- 18
- Next Page »


