
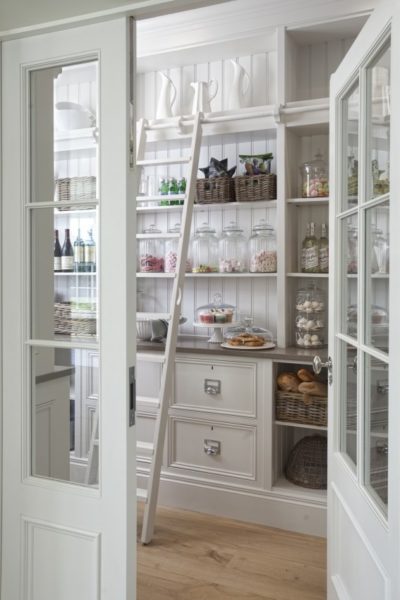
How to Organize: Pantry Room Ideas
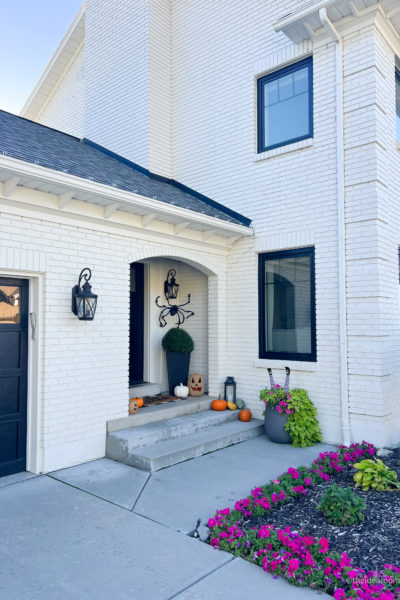
How to Paint Exterior White Brick House
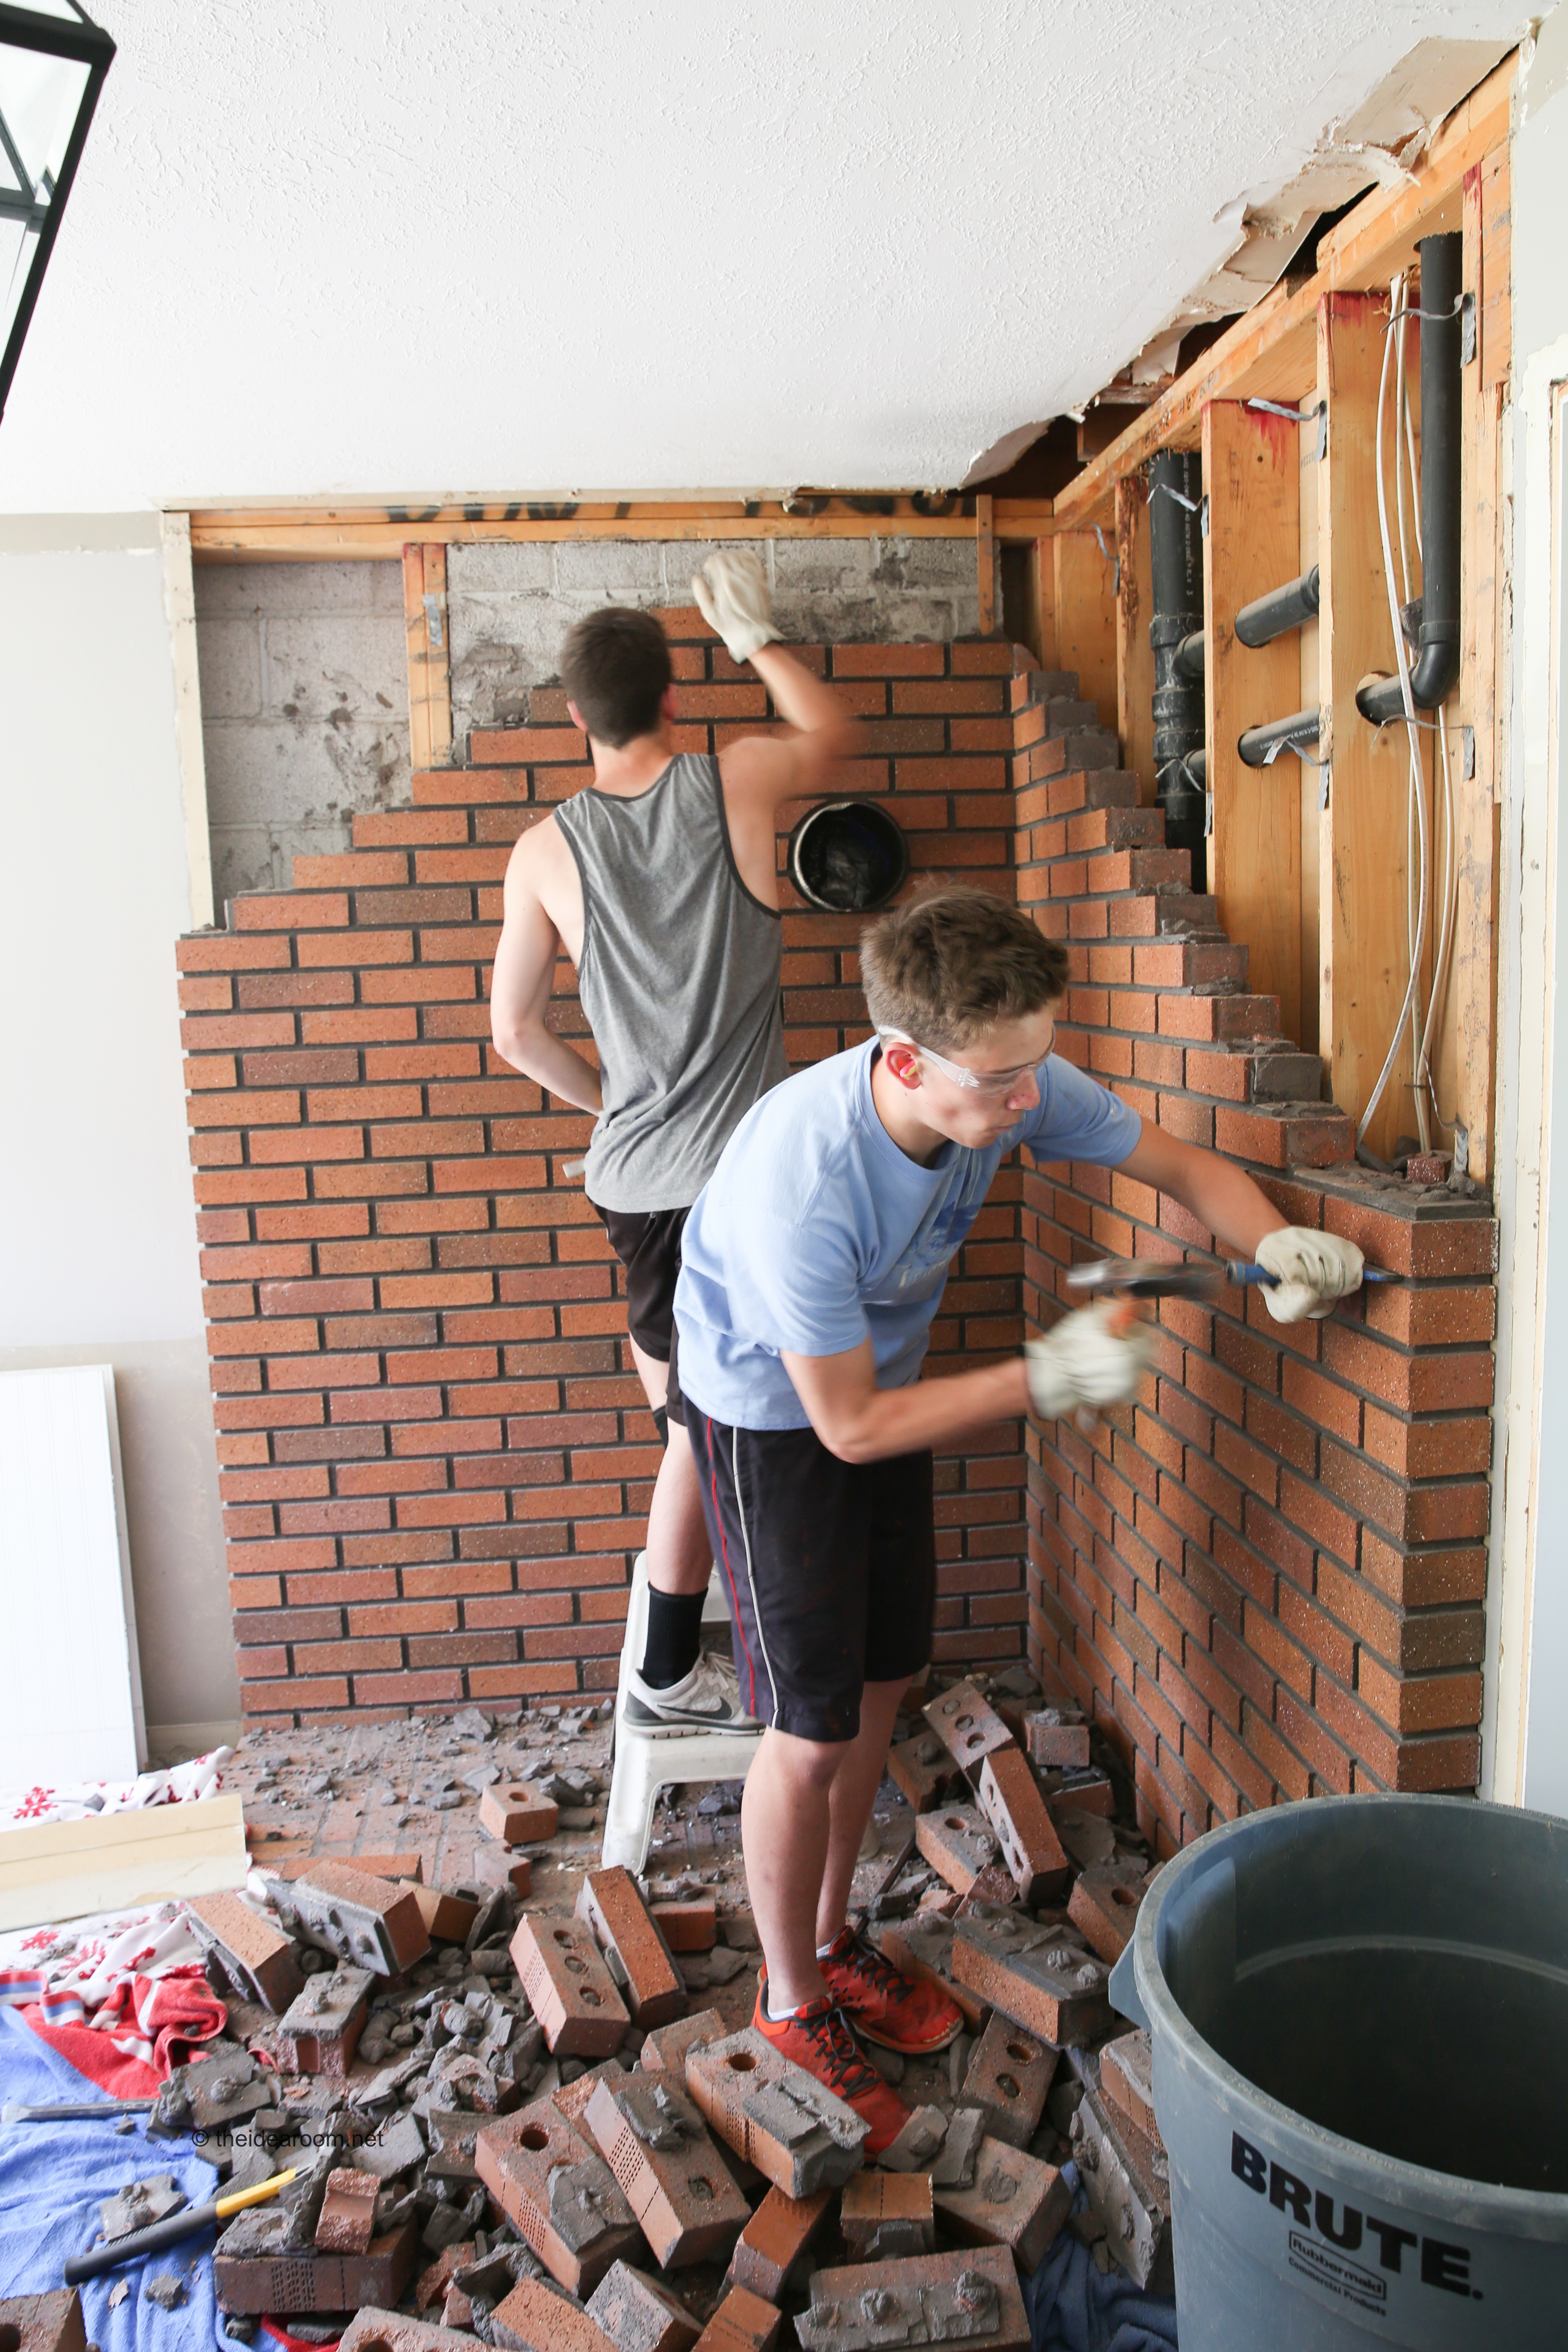
How to Remove Brick Fireplace
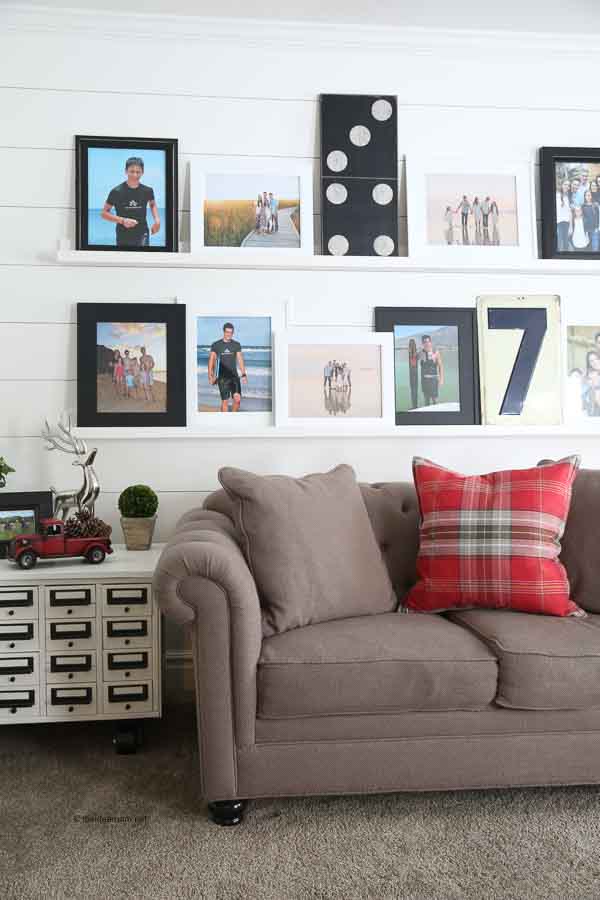
How to Make DIY Photo Ledges
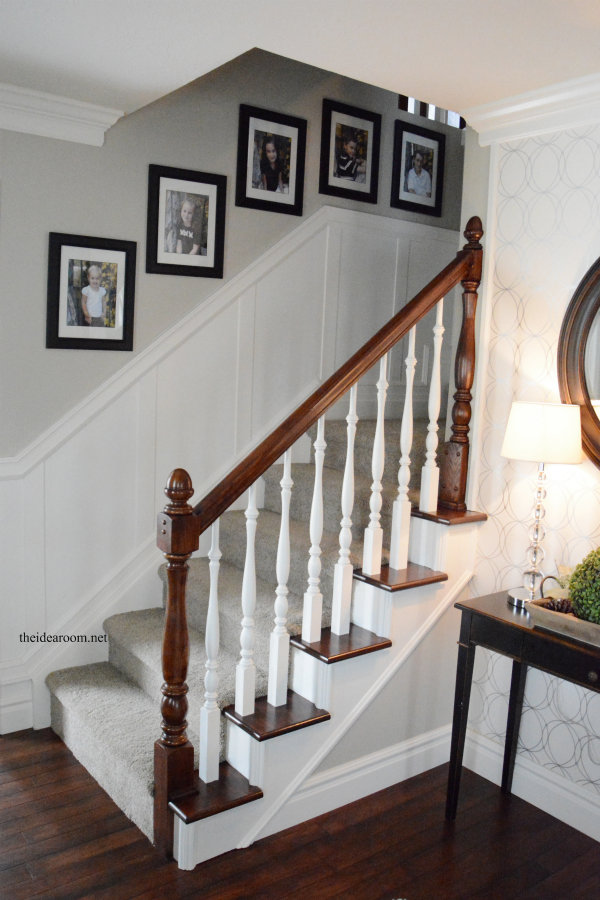
How To Add DIY Faux Wainscoting To Your Home
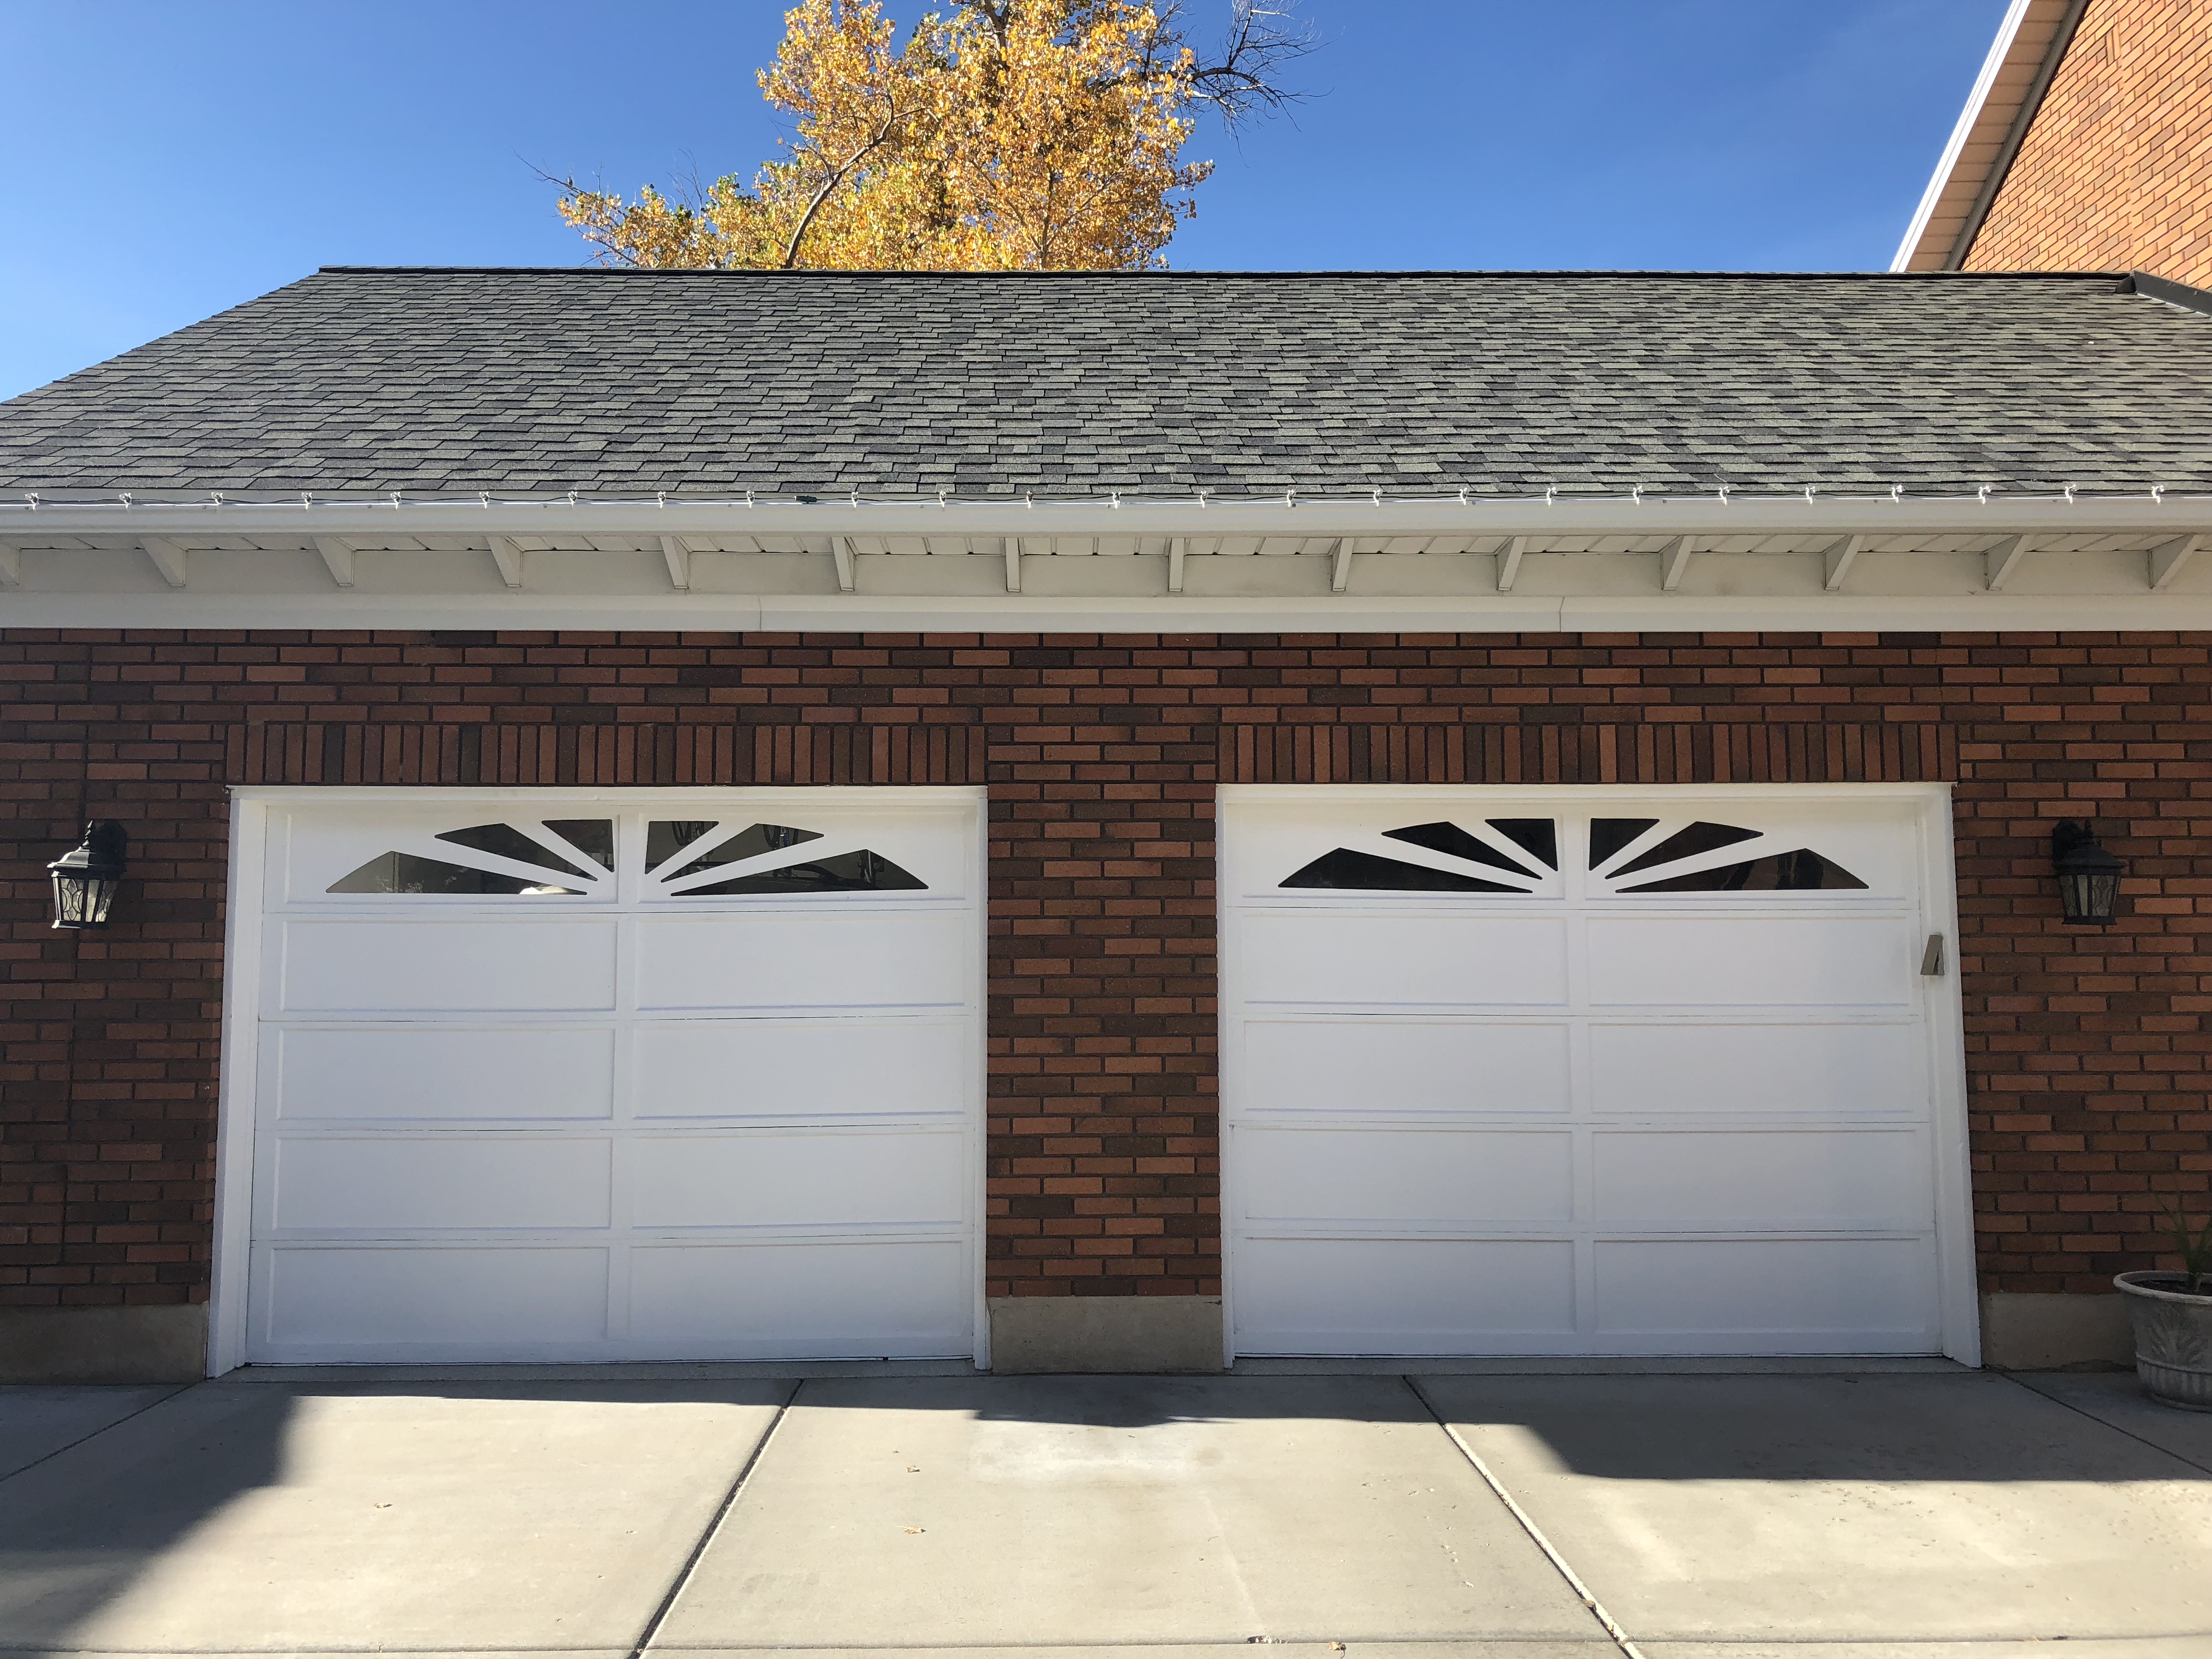
How to Paint Your Wood Garage Door with Purdy Tools
Girls Room Renovation with Sherwin Williams
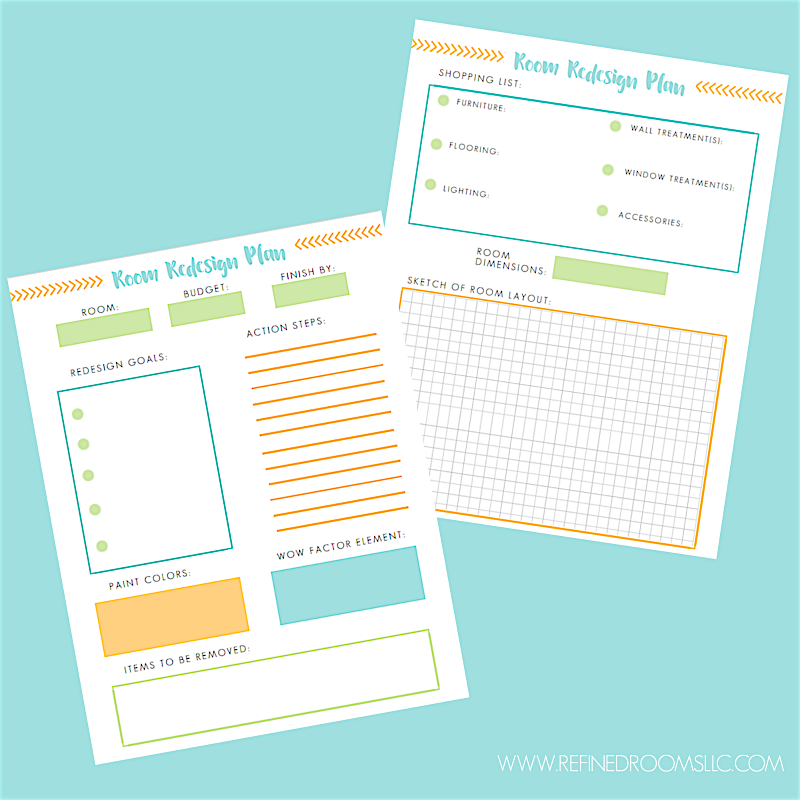
Printable Room Redesign Plan
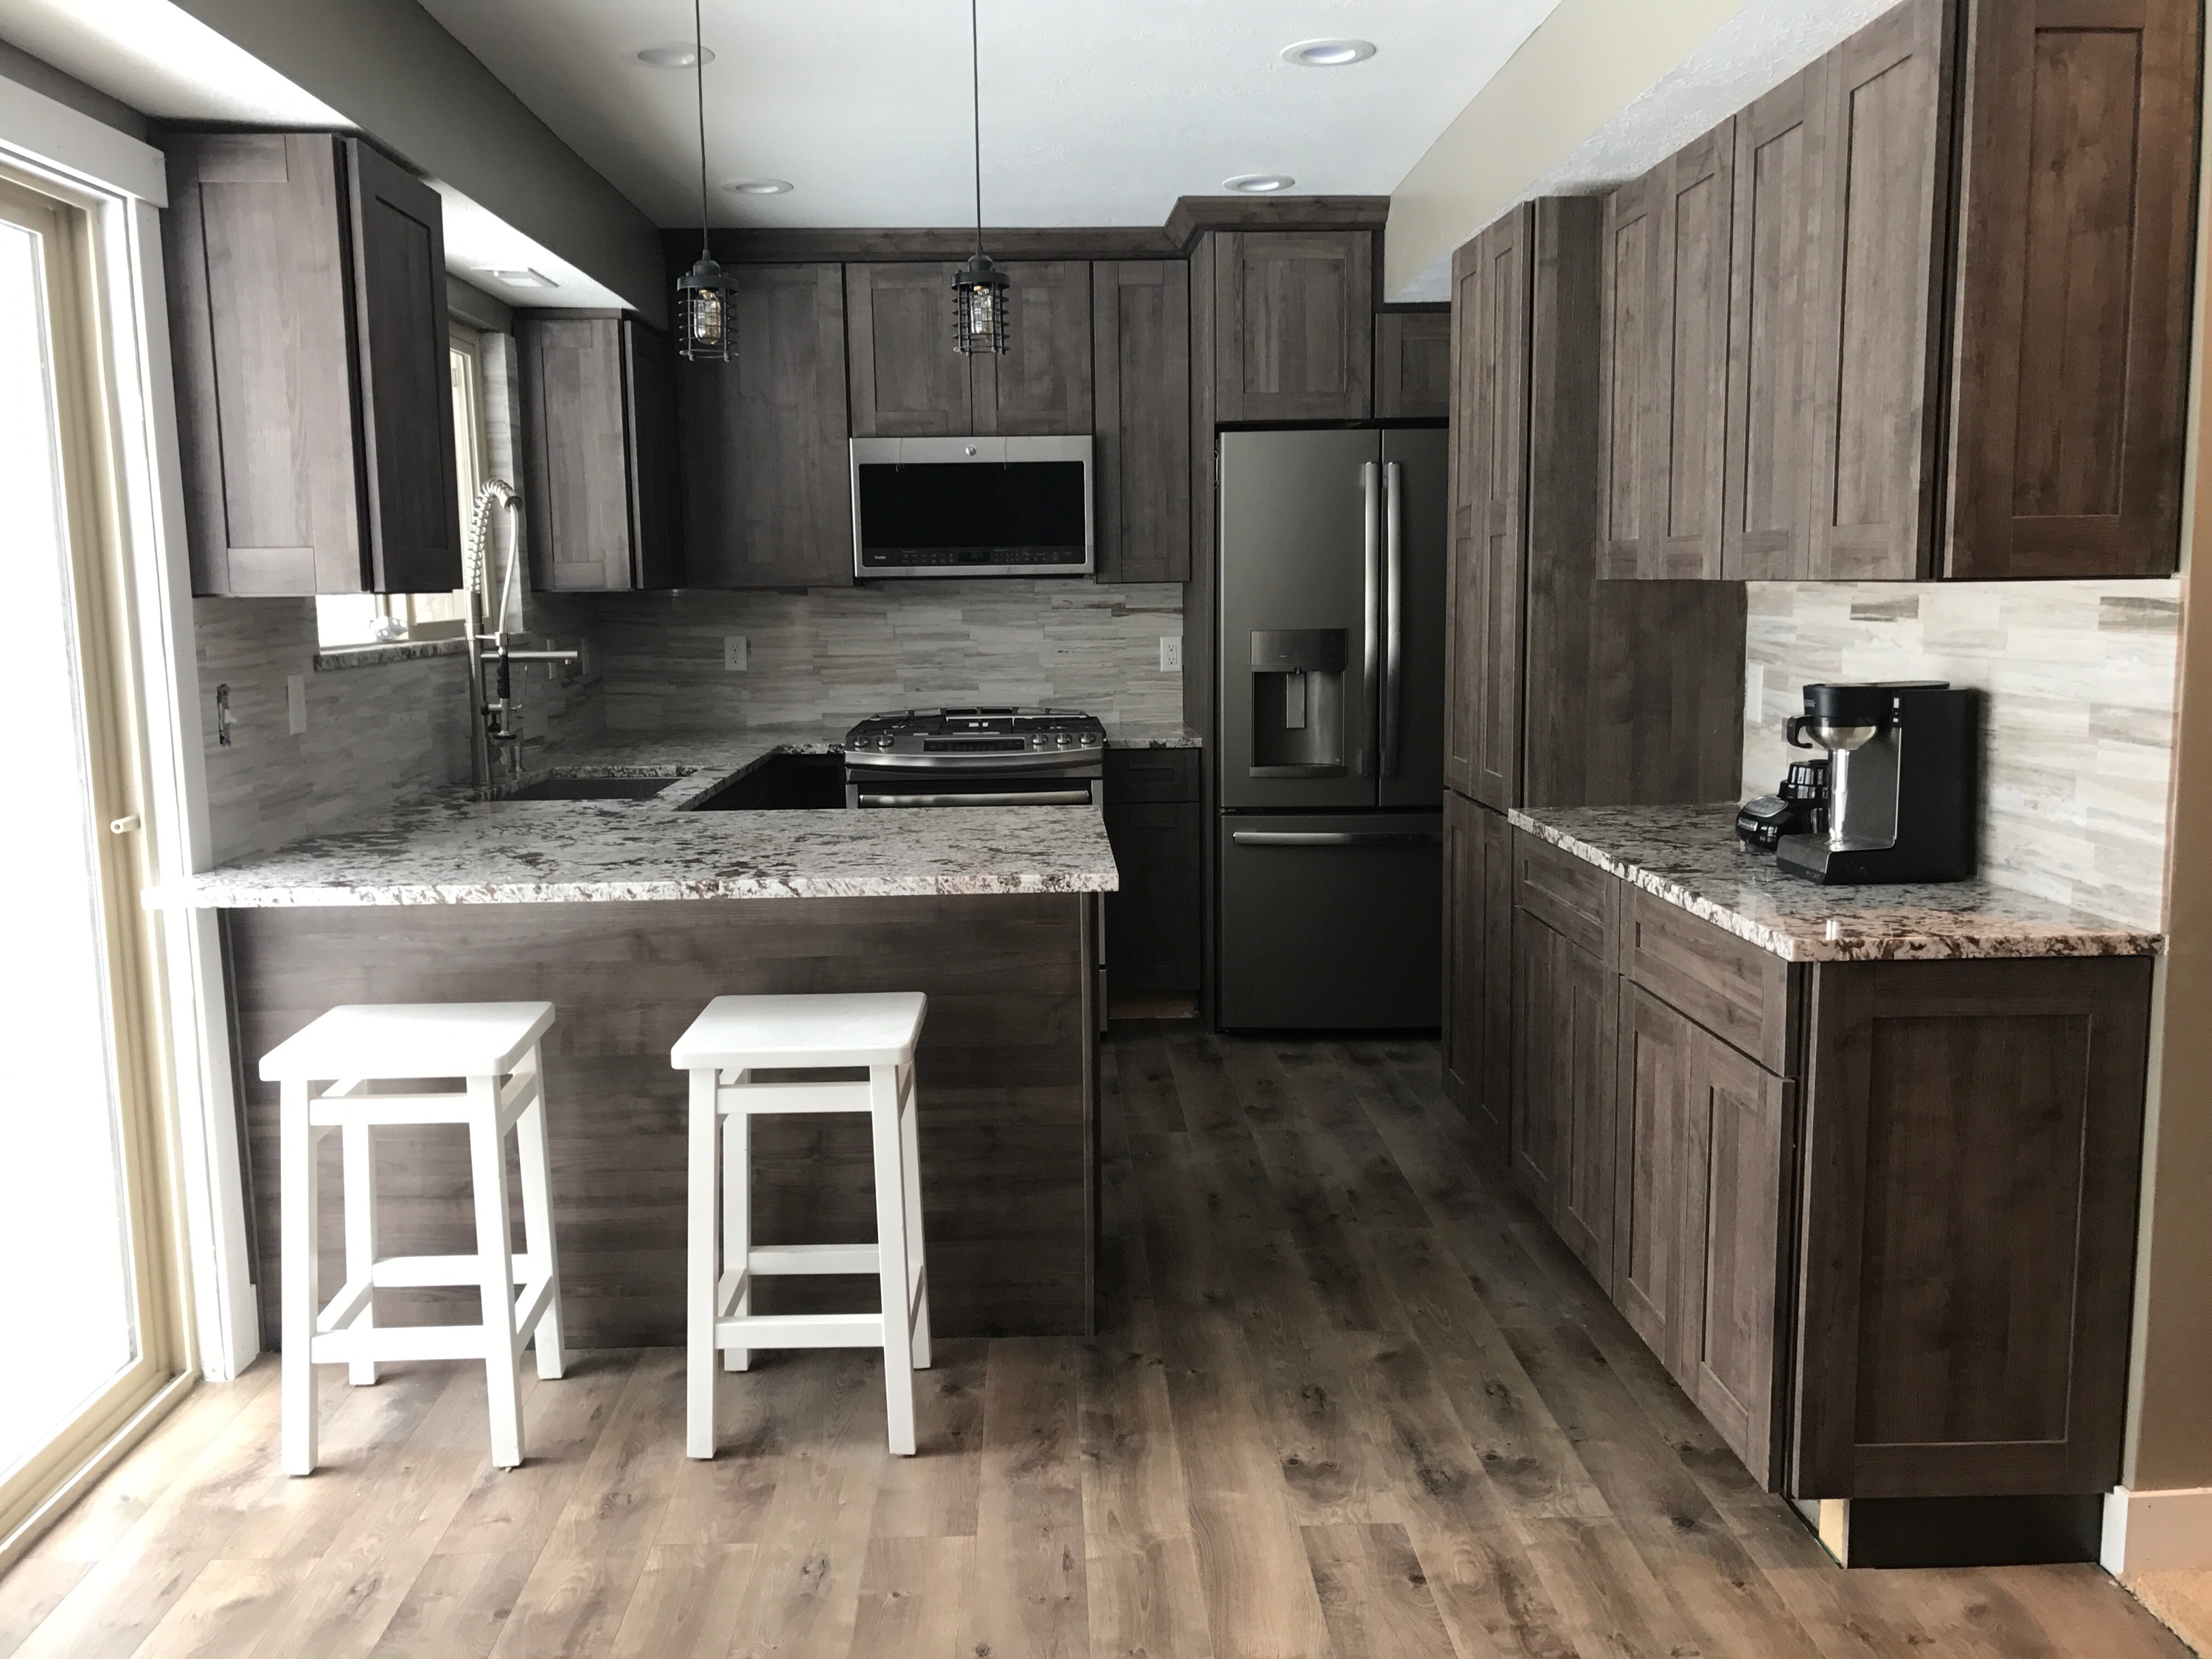
Before and After with Pergo Flooring
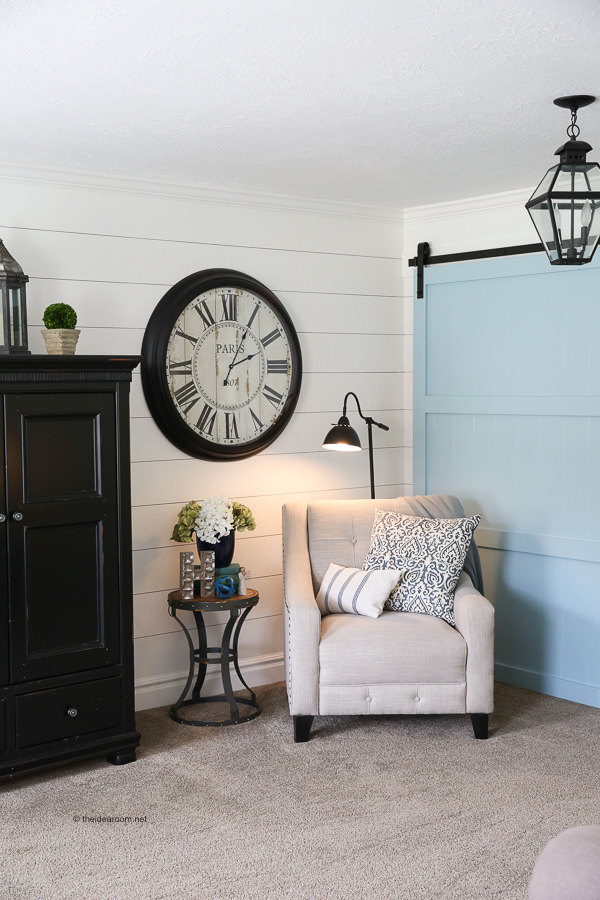
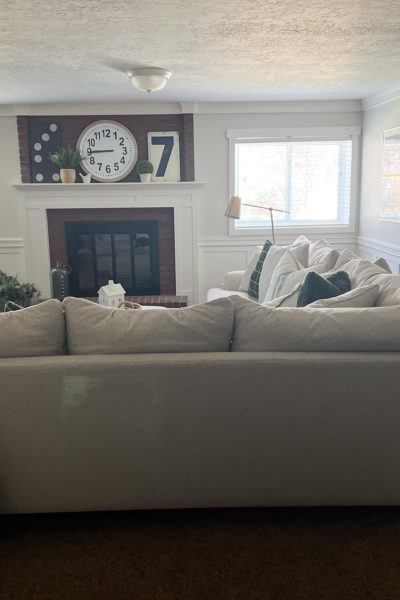
Family Room Renovation Reveal
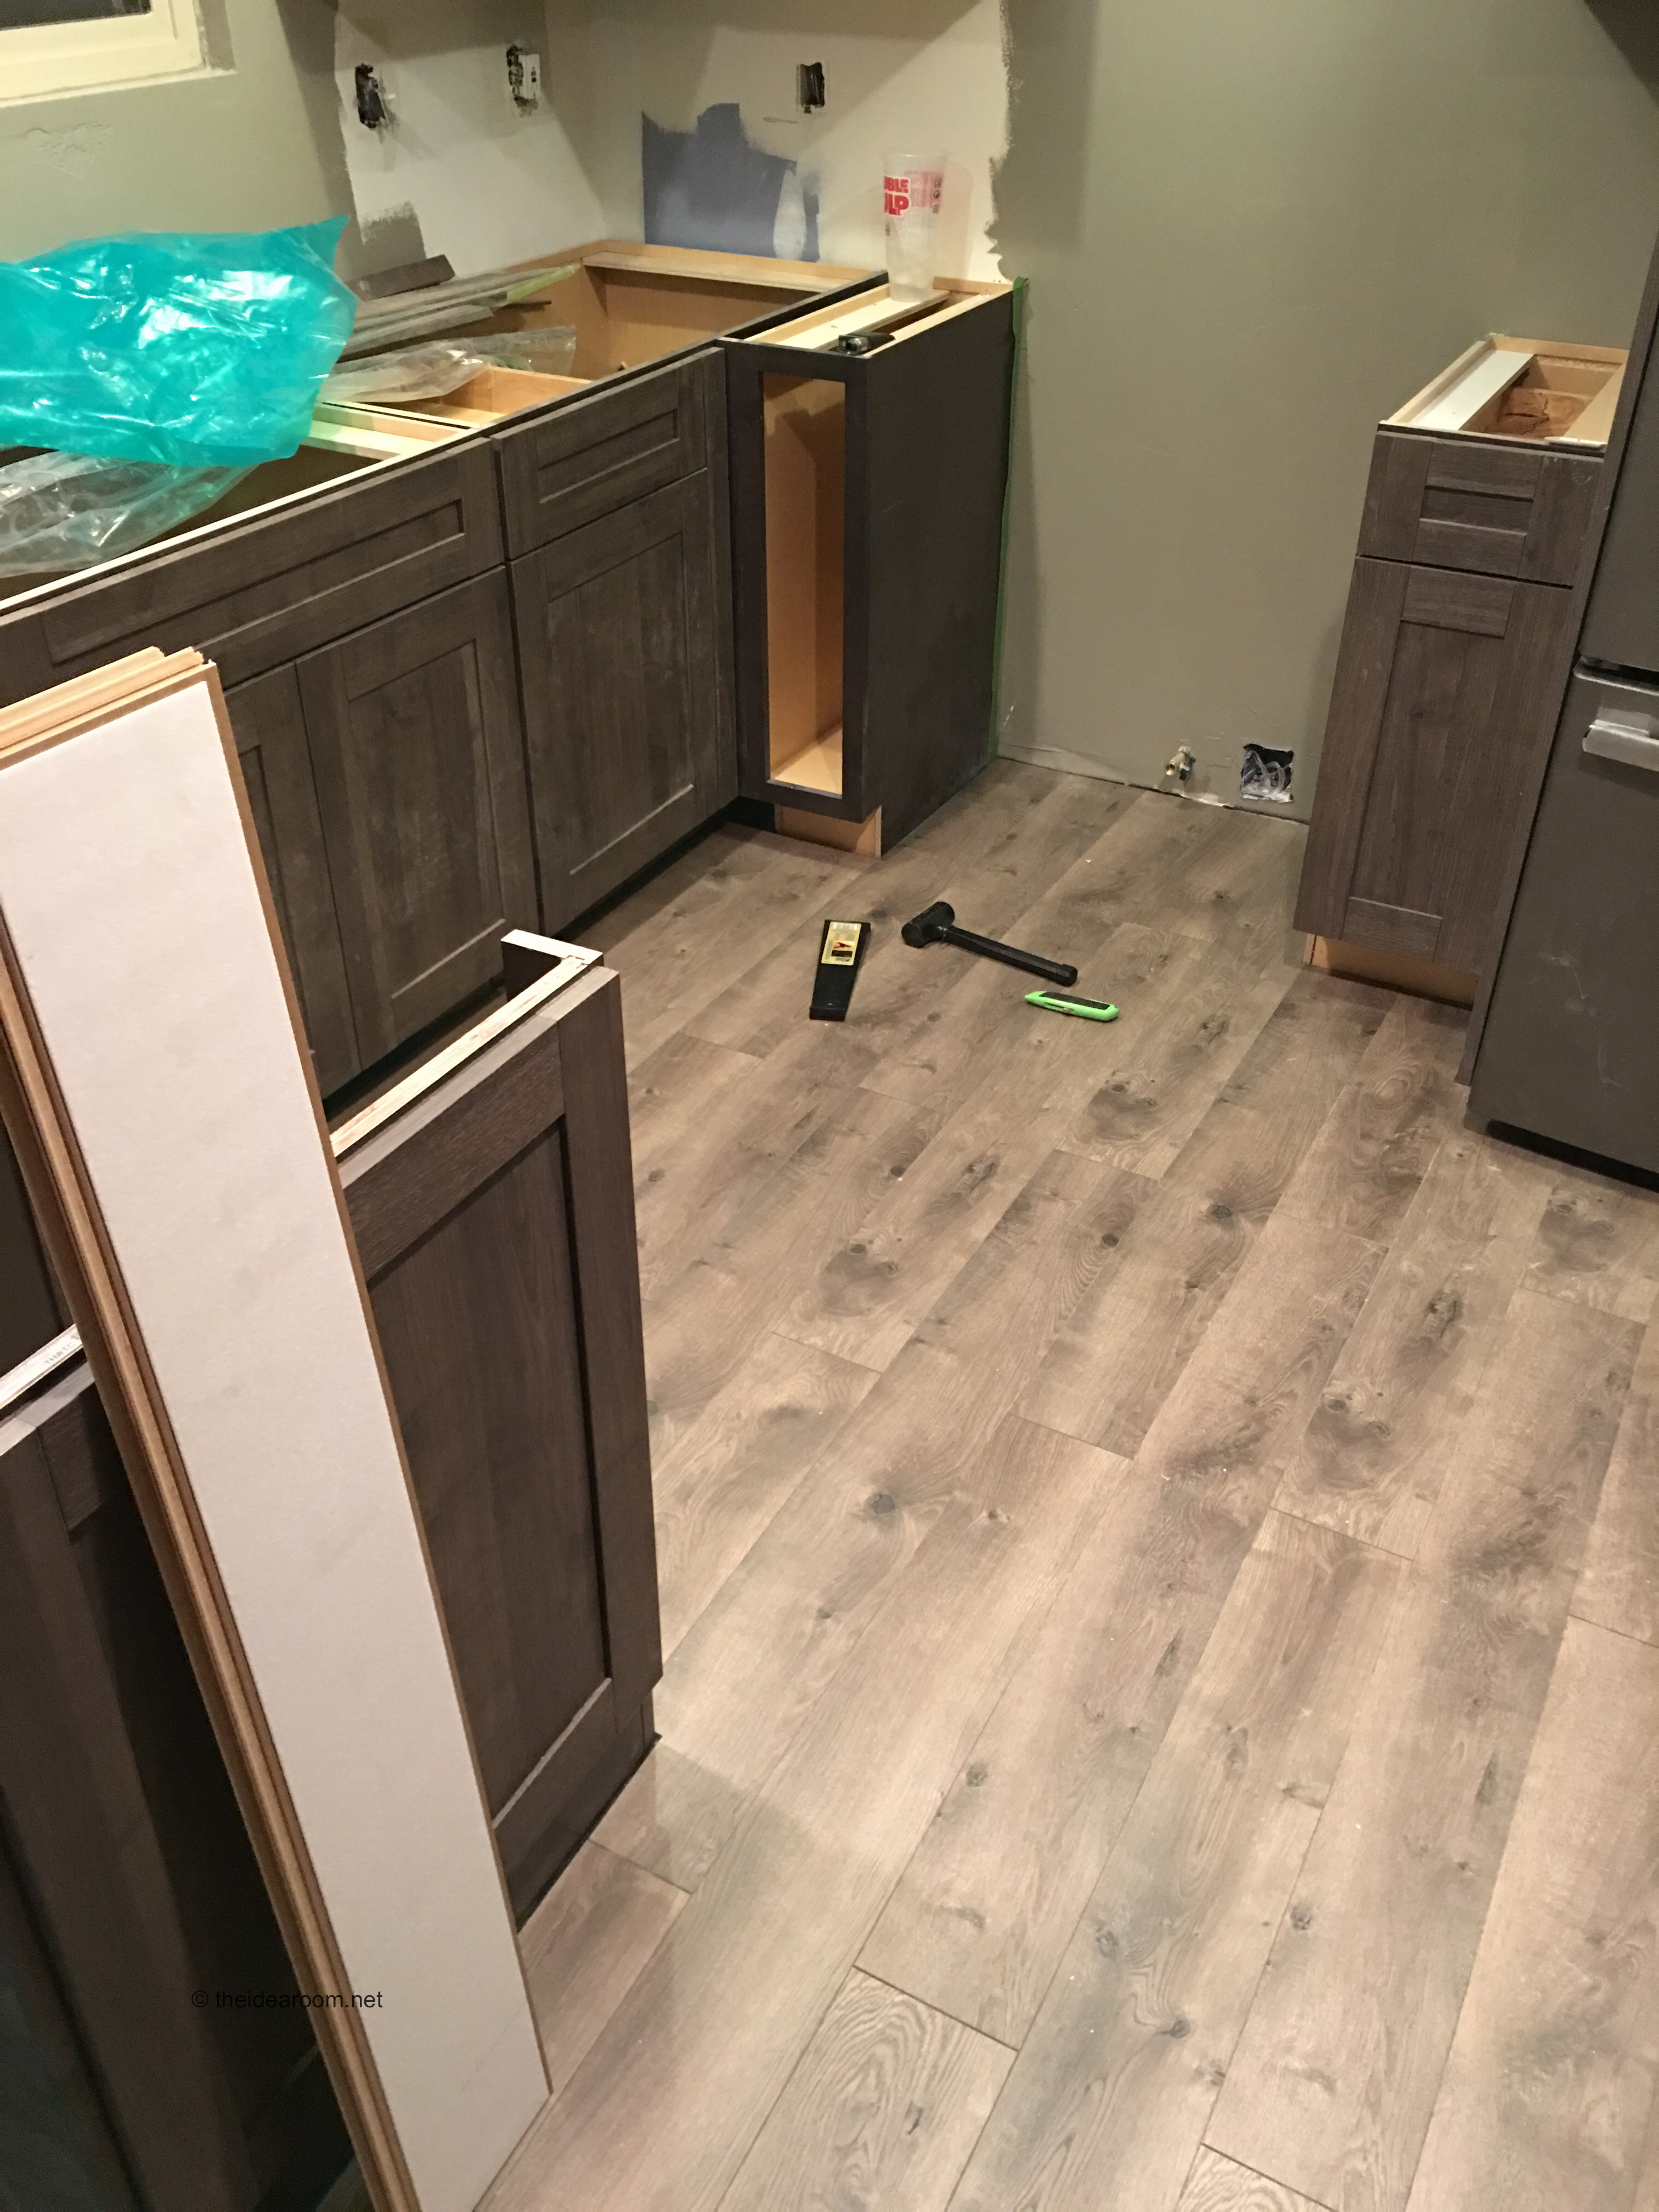
How to Install Laminate Flooring
- 1
- 2
- 3
- …
- 7
- Next Page »


