




Learn how you can get your home organized with my easy step-by-step organization course. My course is full of organization ideas as well as home organization tips and tricks to get your life and home organized and keep it that way.

ONLINE DECLUTTERING COURSE
For the past several months I have been putting together my Online Organization Course, The Balanced Home. I am excited to teach you my decluttering and cleaning process. These processes also teach you how to create simple routines and cleaning schedules which allow you to naturally maintain your clean and organized home.
No need to hire a professional organizer, or live with the clutter because you will have the skills and learn how to overcome any mental barriers or fears you might have to get started!
Stop Drowning in Household Clutter
Transform your space without the overwhelm. Join The Balanced Home Course for a step-by-step system to get your home organized and keep it that way for good.
Learn More & Join Today →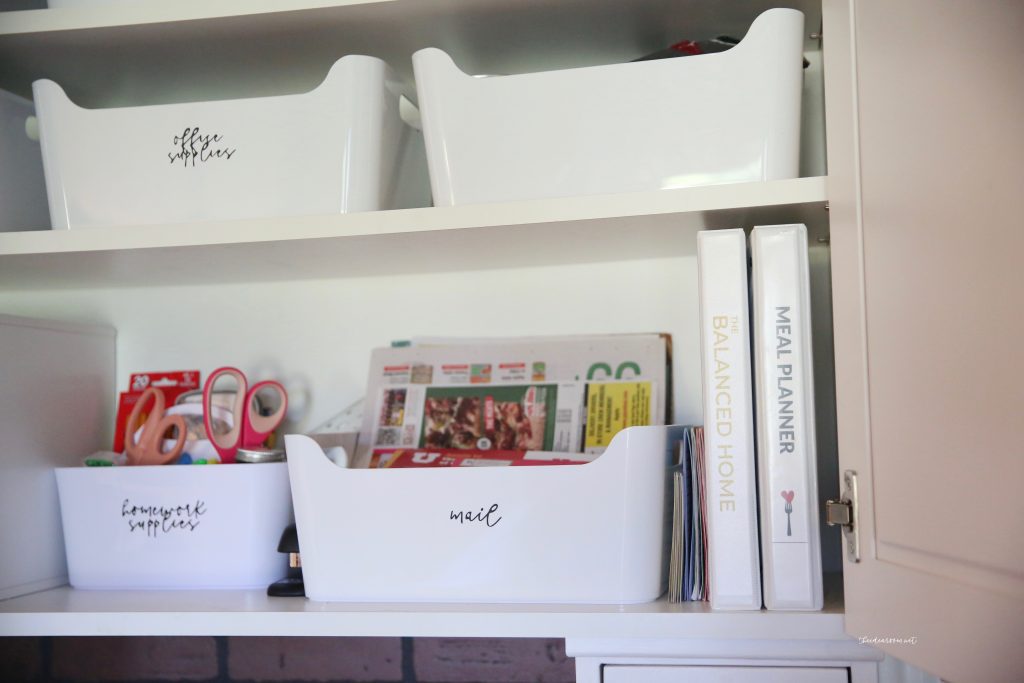

WHAT DOES THE ORGANIZATION COURSE COVER?
The Balanced Home Organization Core
($1,000 Value)Contains my core Decluttering and Organization Processes, which shows you how to:
- Learn how to declutter and organize your home–by learning processes and techniques that really work!
- Deal with stuff you don't know how to get rid of
- Understand what qualifies as hoarding
- Understand how to overcome hoarding tendencies
- Deal with your junk room or junk drawer
The Tools
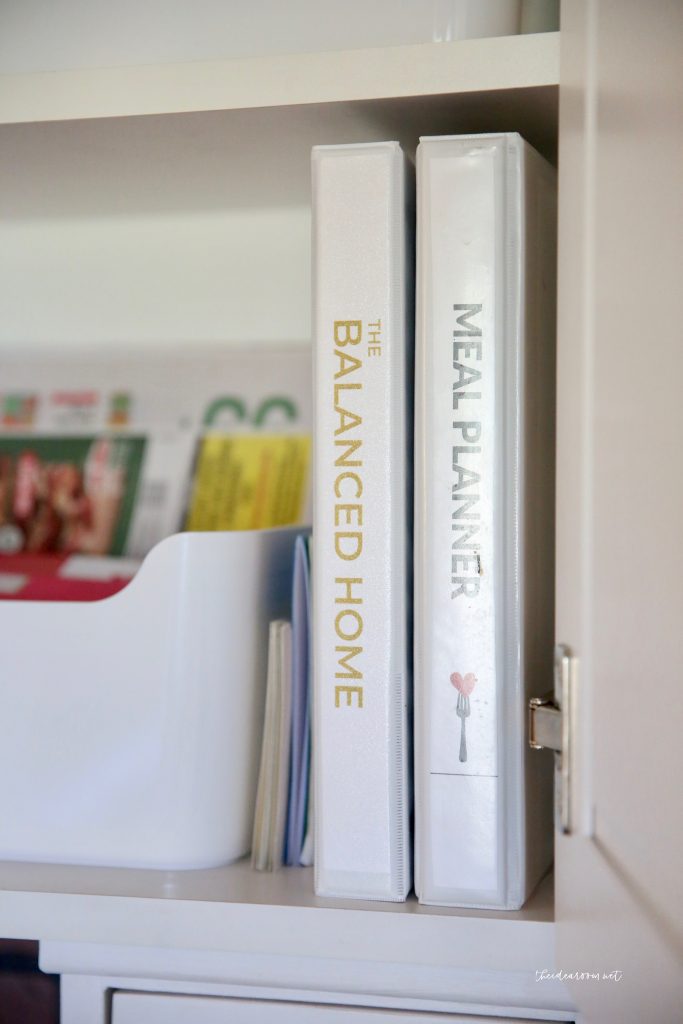
- Workbook, Resources, Labels, and More ($250 Value). Contains everything you need to help guide you through each lesson, including:
- An easy-to-follow workbook to guide you step-by-step through the lessons
- Printable Labels
- A vision sheet for your home
- A working checklist of tasks you can accomplish in 30 minutes or less
- Shopping and To-Do Lists
- Monthly Calendar and Weekly Schedule
The Mental Foundation
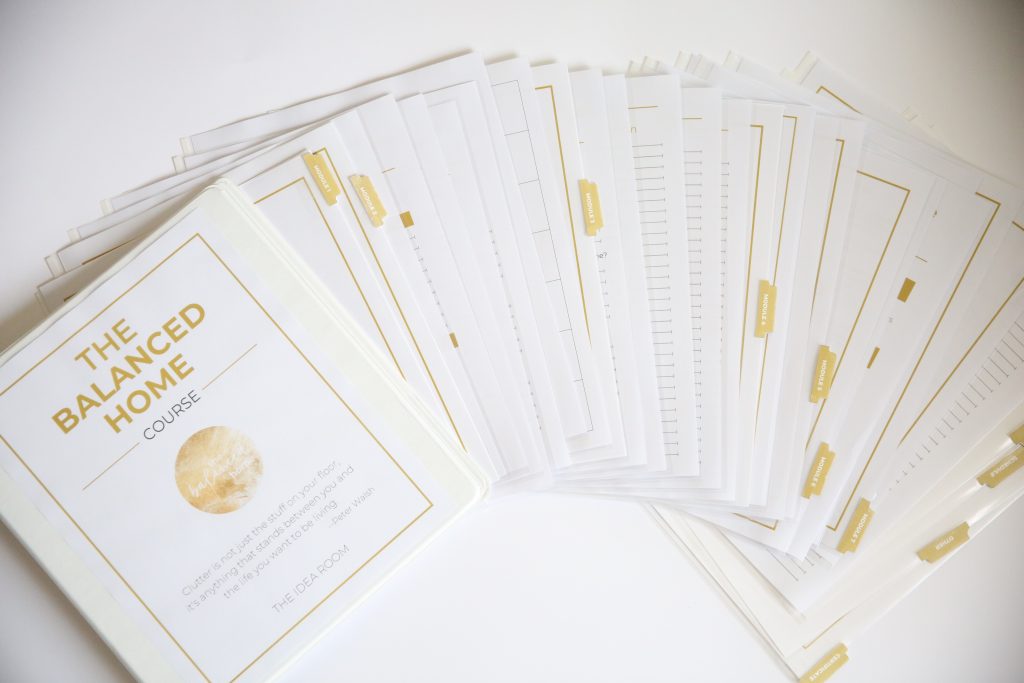
The best processes to overcome mental barriers from Tony Robbins and Dean Graziosi's Mastermind Course ($200 Value). Helps you to find the time, the energy and the motivation to organize your home by:
- Discovering your “true, internal why” -> what motivates you to want an organized home
- Helping you clearly identify what is holding you back from success
- Teaching you how to organize your schedule to create new pockets of time
- Helping you discover what is most important for you to accomplish with your time, as opposed to just urgent or habit
- Helping you cut out the things that aren't important and identify gaps in your schedule you can dedicate to working on your home
Your Ideal Home
The best processes to set and achieve your vision by breaking it down into actionable steps ($300 Value). Teaches you how to break down an overwhelming project into small, manageable steps, by:
- Clearly defining your goal and vision for your home
- Learning how to evaluate specific rooms and identify what you want to be improved
- Identifying specific, easy to complete tasks in each room that will contribute to your overall goal without overwhelming you
- Getting your family or others involved in the process
Cleaning and Maintaining
The best processes to clean and maintain your home after it has been organized ($200 Value).Teaches you how to maintain your home once it is clean and keep it organized, by:
- Providing you with the basic cleaning routines you need to naturally stay in control of your home
- Teaching you my amazing “Ten-Minute Clean-up” process, which allows you to clean an entire floor / room in ten minutes or less!
- Showing you how to establish routines with your kids and other members of the family
- Sharing important resources such as chore cards, favorite cleaning products, and a deep-cleaning checklist, and more
- Explaining the laundry routine we use in our home to get our laundry done every week without even thinking about it
- Teaching you how to deep clean your home after it has been decluttered and organized
- Showing you how to help the other members of your household be on the same page and not “unclean” your home
During the course, we will:
- Show you the process of how to go throughout your home decluttering, cleaning, and organizing. Then you can take this process and go throughout all the rooms in your home–including the bathrooms, kitchen, craft room, home office, basement, entryway, playroom, garage, attic, and all other rooms in your home–cleaning and organizing.
- Clean out and organize not just the rooms themselves, but organization spaces such as closets, shelves, drawers, and bookshelves.
- Learn how to properly use organization equipment, such as bins, drawer organizers, storage bins, food storage containers, lids, and baskets.
The Private Balanced Home Community
(BONUS – Priceless). Provides a community that you can go to whenever you need a place where you…
- Seek inspiration and ideas from others
- Receive support and motivation from others
- Share your successes and see the successes of others as we all work towards finding balance and clarity in our homes.
- Can ask questions and let me know what you may still need help with so that I can continue to cater the course to your needs


What Do People Have To Say About My Organization Course?
“This course was instrumental in helping me organize my space as well as my time. As a busy mom, I have a better grasp on what my days need to include so that I can enjoy my family rather than spend my time spinning my wheels cleaning up after everyone.”
“The Balanced Home Course helped me to be the “professional organizer” for my family! Simple steps to follow, check lists, printable labels, suggestions and worksheets will keep you on track to successfully maintain your own balanced home.”
“I am pretty sure I have solved more issues with the seven layers and clarity tool than I have in 6 months of therapy!! I think this course is going to help much more than my home. Thanks Amy!!!!”
When I realized I had been overcomplicating the idea of organization, that simplifying was a key component, then things really started to fall into place!”
When I realized I had been overcomplicating the idea of organization, that simplifying was a key component, then things really started to fall into place!””
HOW TO GET MOTIVATED TO ORGANIZE YOUR HOME
HOW TO OVERCOME FEARS AND MENTAL BARRIERS
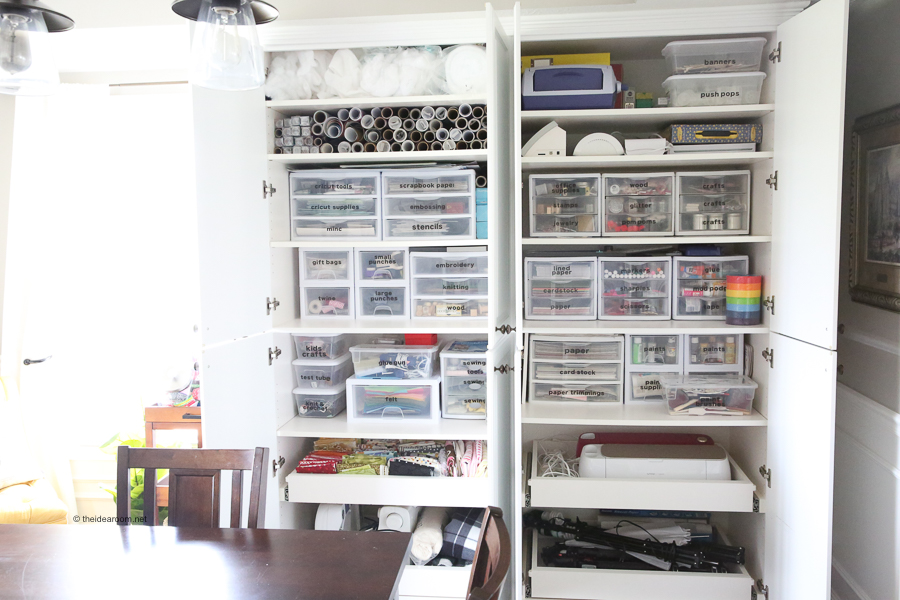
I asked and these are the things that are holding you back from getting started! I made sure my course helped you overcome your specific fears and developed processes to address each of the concerns below. Have you ever had any of the same concerns?
- “I don't have the time.”
- “I don't know how to break it down into manageable chunks.”
- “How do I balance other activities?”
- “I don’t have enough energy / motivation.”
- “I'm overwhelmed and don't know where to start.”
- “I'm scared / unable to commit.”
- “I don't trust myself.”
- “I don't have the confidence I will finish.”
- “How do I maintain / keep on top of it?”
- “I have a hard time with inconsistency / finding balance.”
- “I'm afraid of quitting too soon and having it be a mess.”
- “How do I build the habits and routines?”
- “Keeping it clean and organized”“Staying focused and not getting distracted.”
- “What if I have physical limitations.”
- “I don't have the supplies / resources / money (i.e. containers etc.) / storage space.”
- “I don't want to part with things.”
- “What Do I do with all the stuff? Donate? Kids?”
- “What if I need it later?”
- “My family has stuff they want to keep.”
- “Family is not being helpful or even counterproductive… How do I get my family on board?”
- “No sense of design / vision for what I want.”
- “Lack of knowledge.”
- “Afraid of not doing it right.”
- “Being okay with not having it perfect.”
STILL NOT READY TO BUY?
Because I know that sometimes it can be difficult to take that initial leap of faith, I wanted to give you something that would allow you to get your feet wet a little, something that you could access RIGHT NOW. I think you'll like it. I've opened up a “sneak peek” section of my course, where you can access one or two of the lessons that are a part of The Balanced Home Course. If you click the button below you will be able to create your own personal account / log in for the course and access the “sneak peek” videos.

OTHER ORGANIZATION PROJECTS
If you are interested in taking a deeper look into some of the spaces in my home, check out the following posts!









This is wonderful. We've been thinking about how to go about adding some decorative detail in our dining room–and your tutorial here has convinced me that we can do it!
Gorgeous! I wish I could convince my hubs to do it!!
rymistri.blogspot.com
We have a wall the wraps into a hallway and will be doing about a three ft area in the hallway. How did you wrap around corners? Did you put a 3 in board on arc side of wall? Hope that makes sense.
Jenay- Yes, that would work or any piece of trim would work. Hope that helps. I bet it’s going to look amazing!
You guys did an awesome job! It looks fantastic! Love the picture of your son eagerly helping. I love that age! Young enough to be excited about helping, but old enough not to make a mess of it. Thanks for sharing.
It looks great!
WOW, that's inspiring! And it looks fantastic! Makes we want to head out to pick up supplies and get to work! Will definitely show this to my husband. Thanks for sharing!
What a great job you guys did! Thanks for the step by step instructions, I would love to do this project in my sitting room one day!
Jennifer
How beautiful! I've seen this a few times now and it's definitely on my to-do list. Finding the time is the hardest part! ;)
Have a great weekend!
Roeshel
That looks fantastic! I can't wait to give this a try.
This looks wonderful! Thanks for sharing!
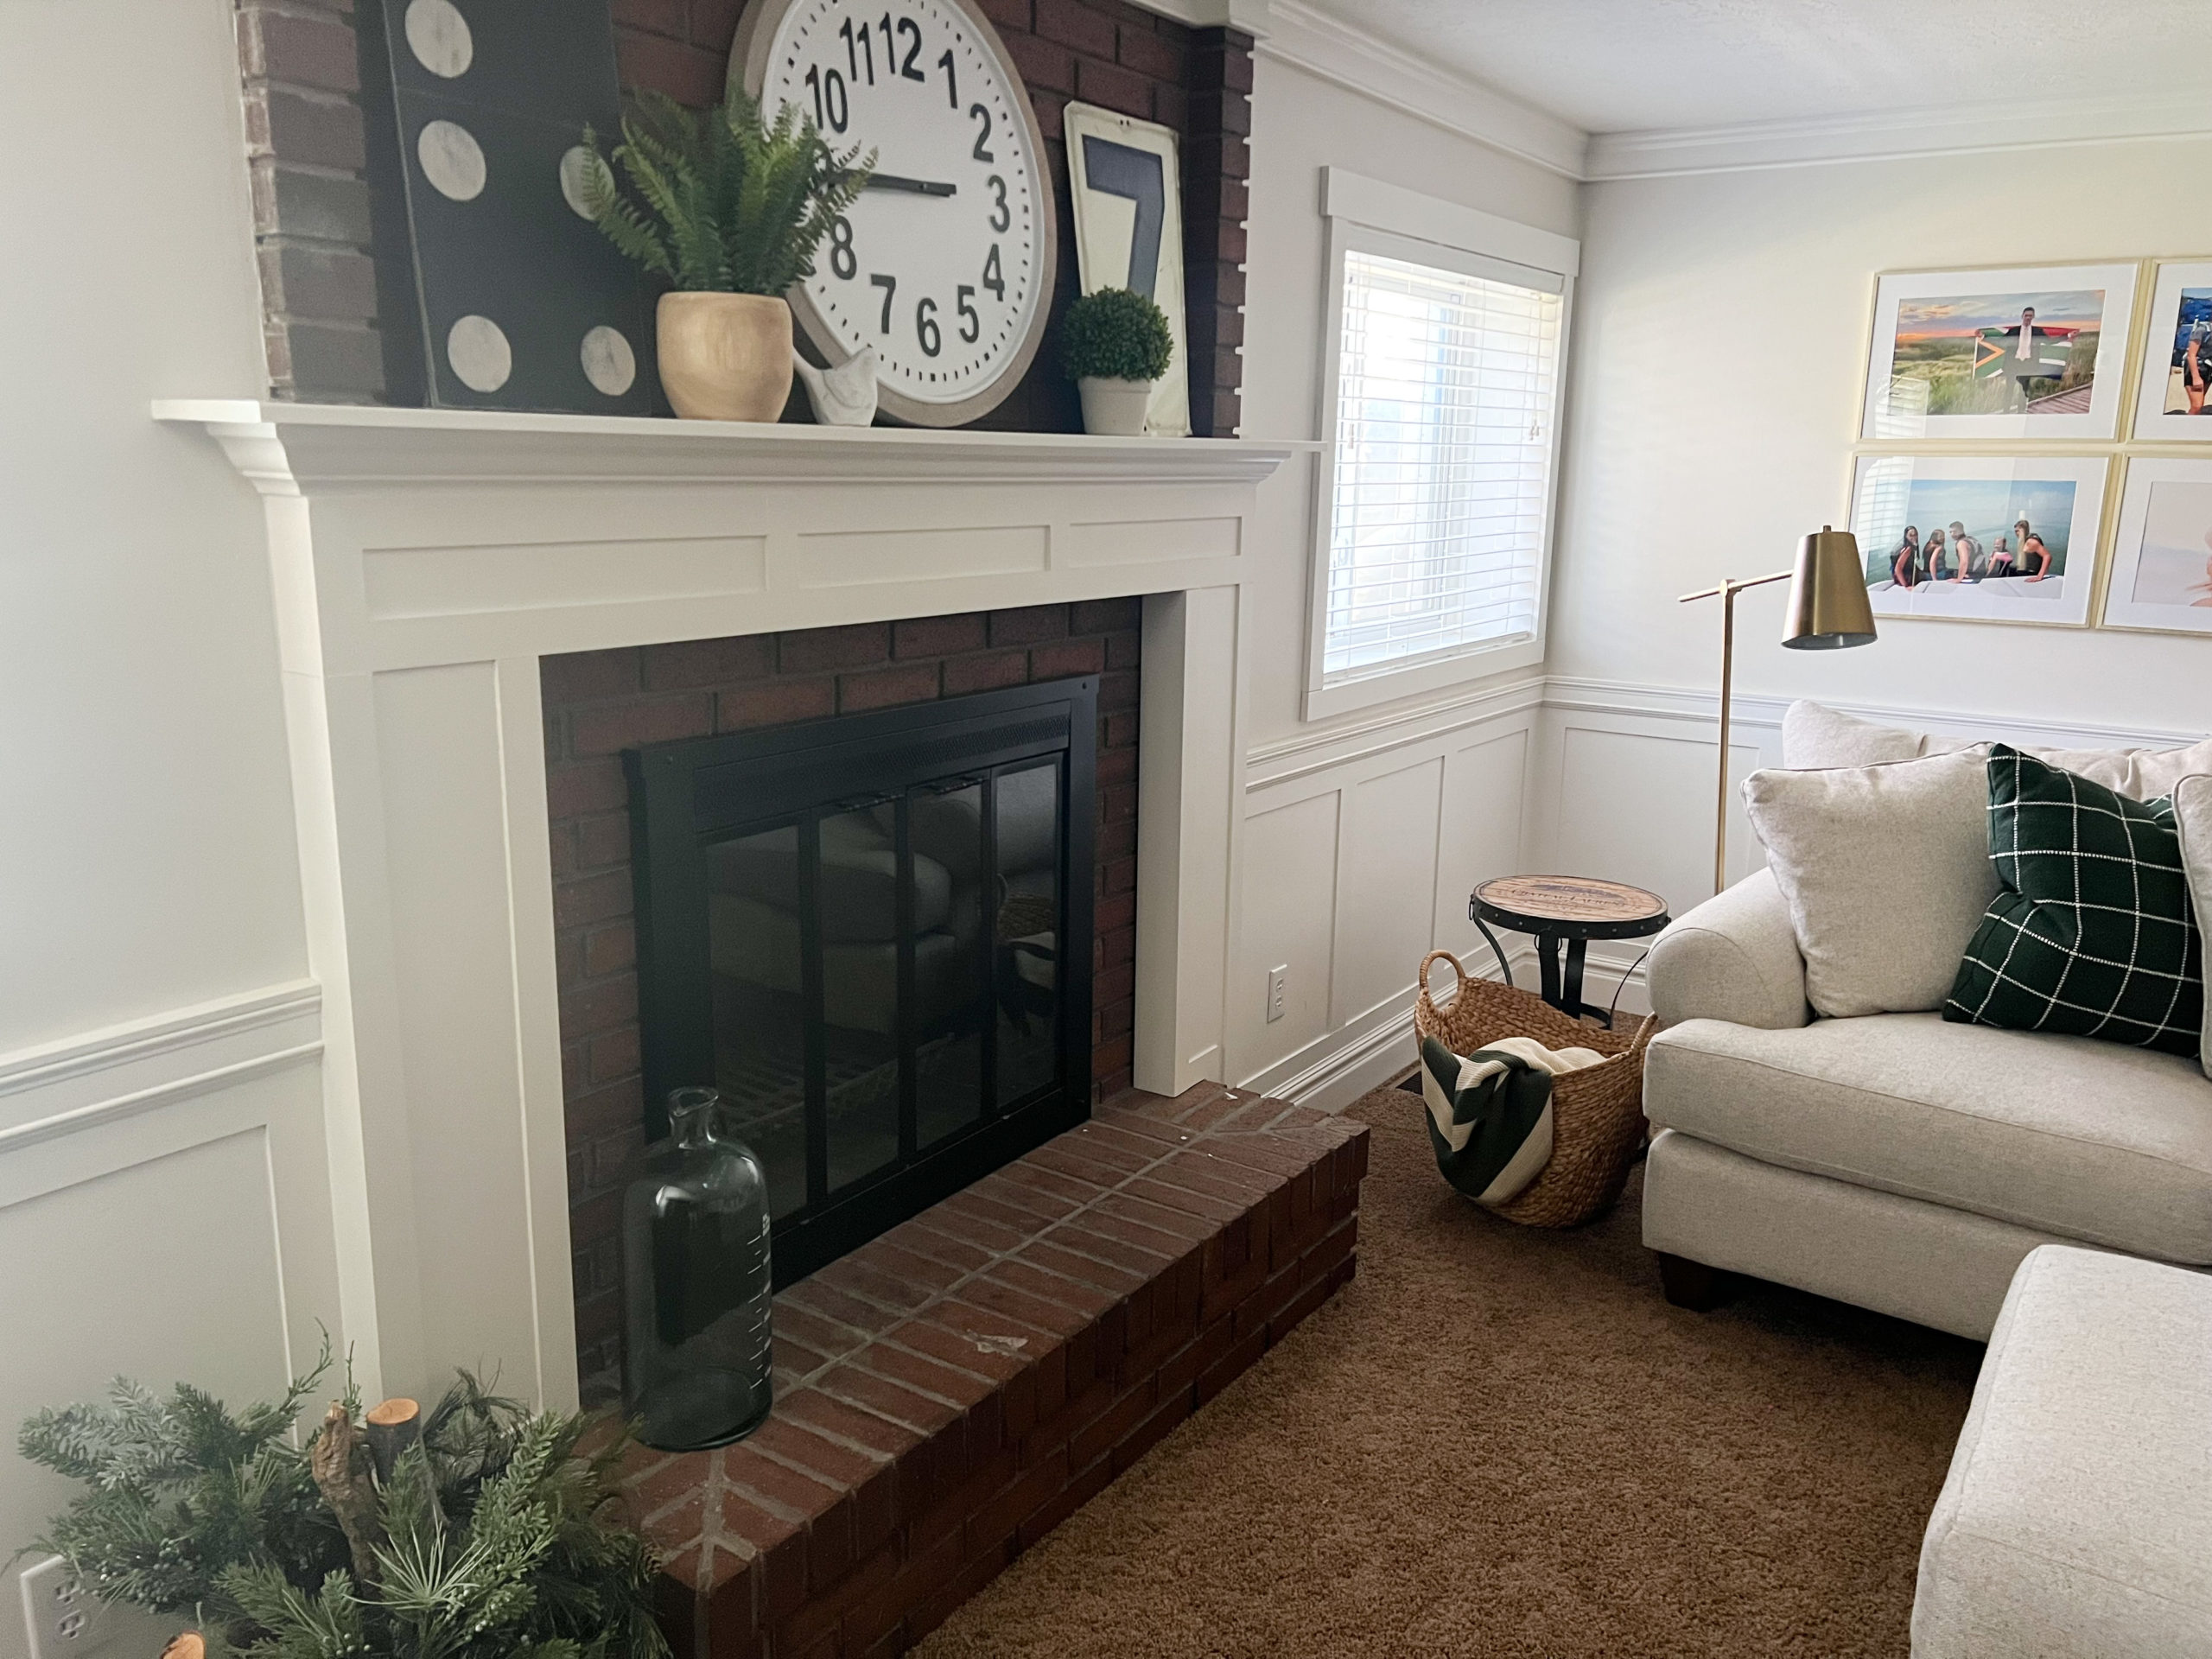
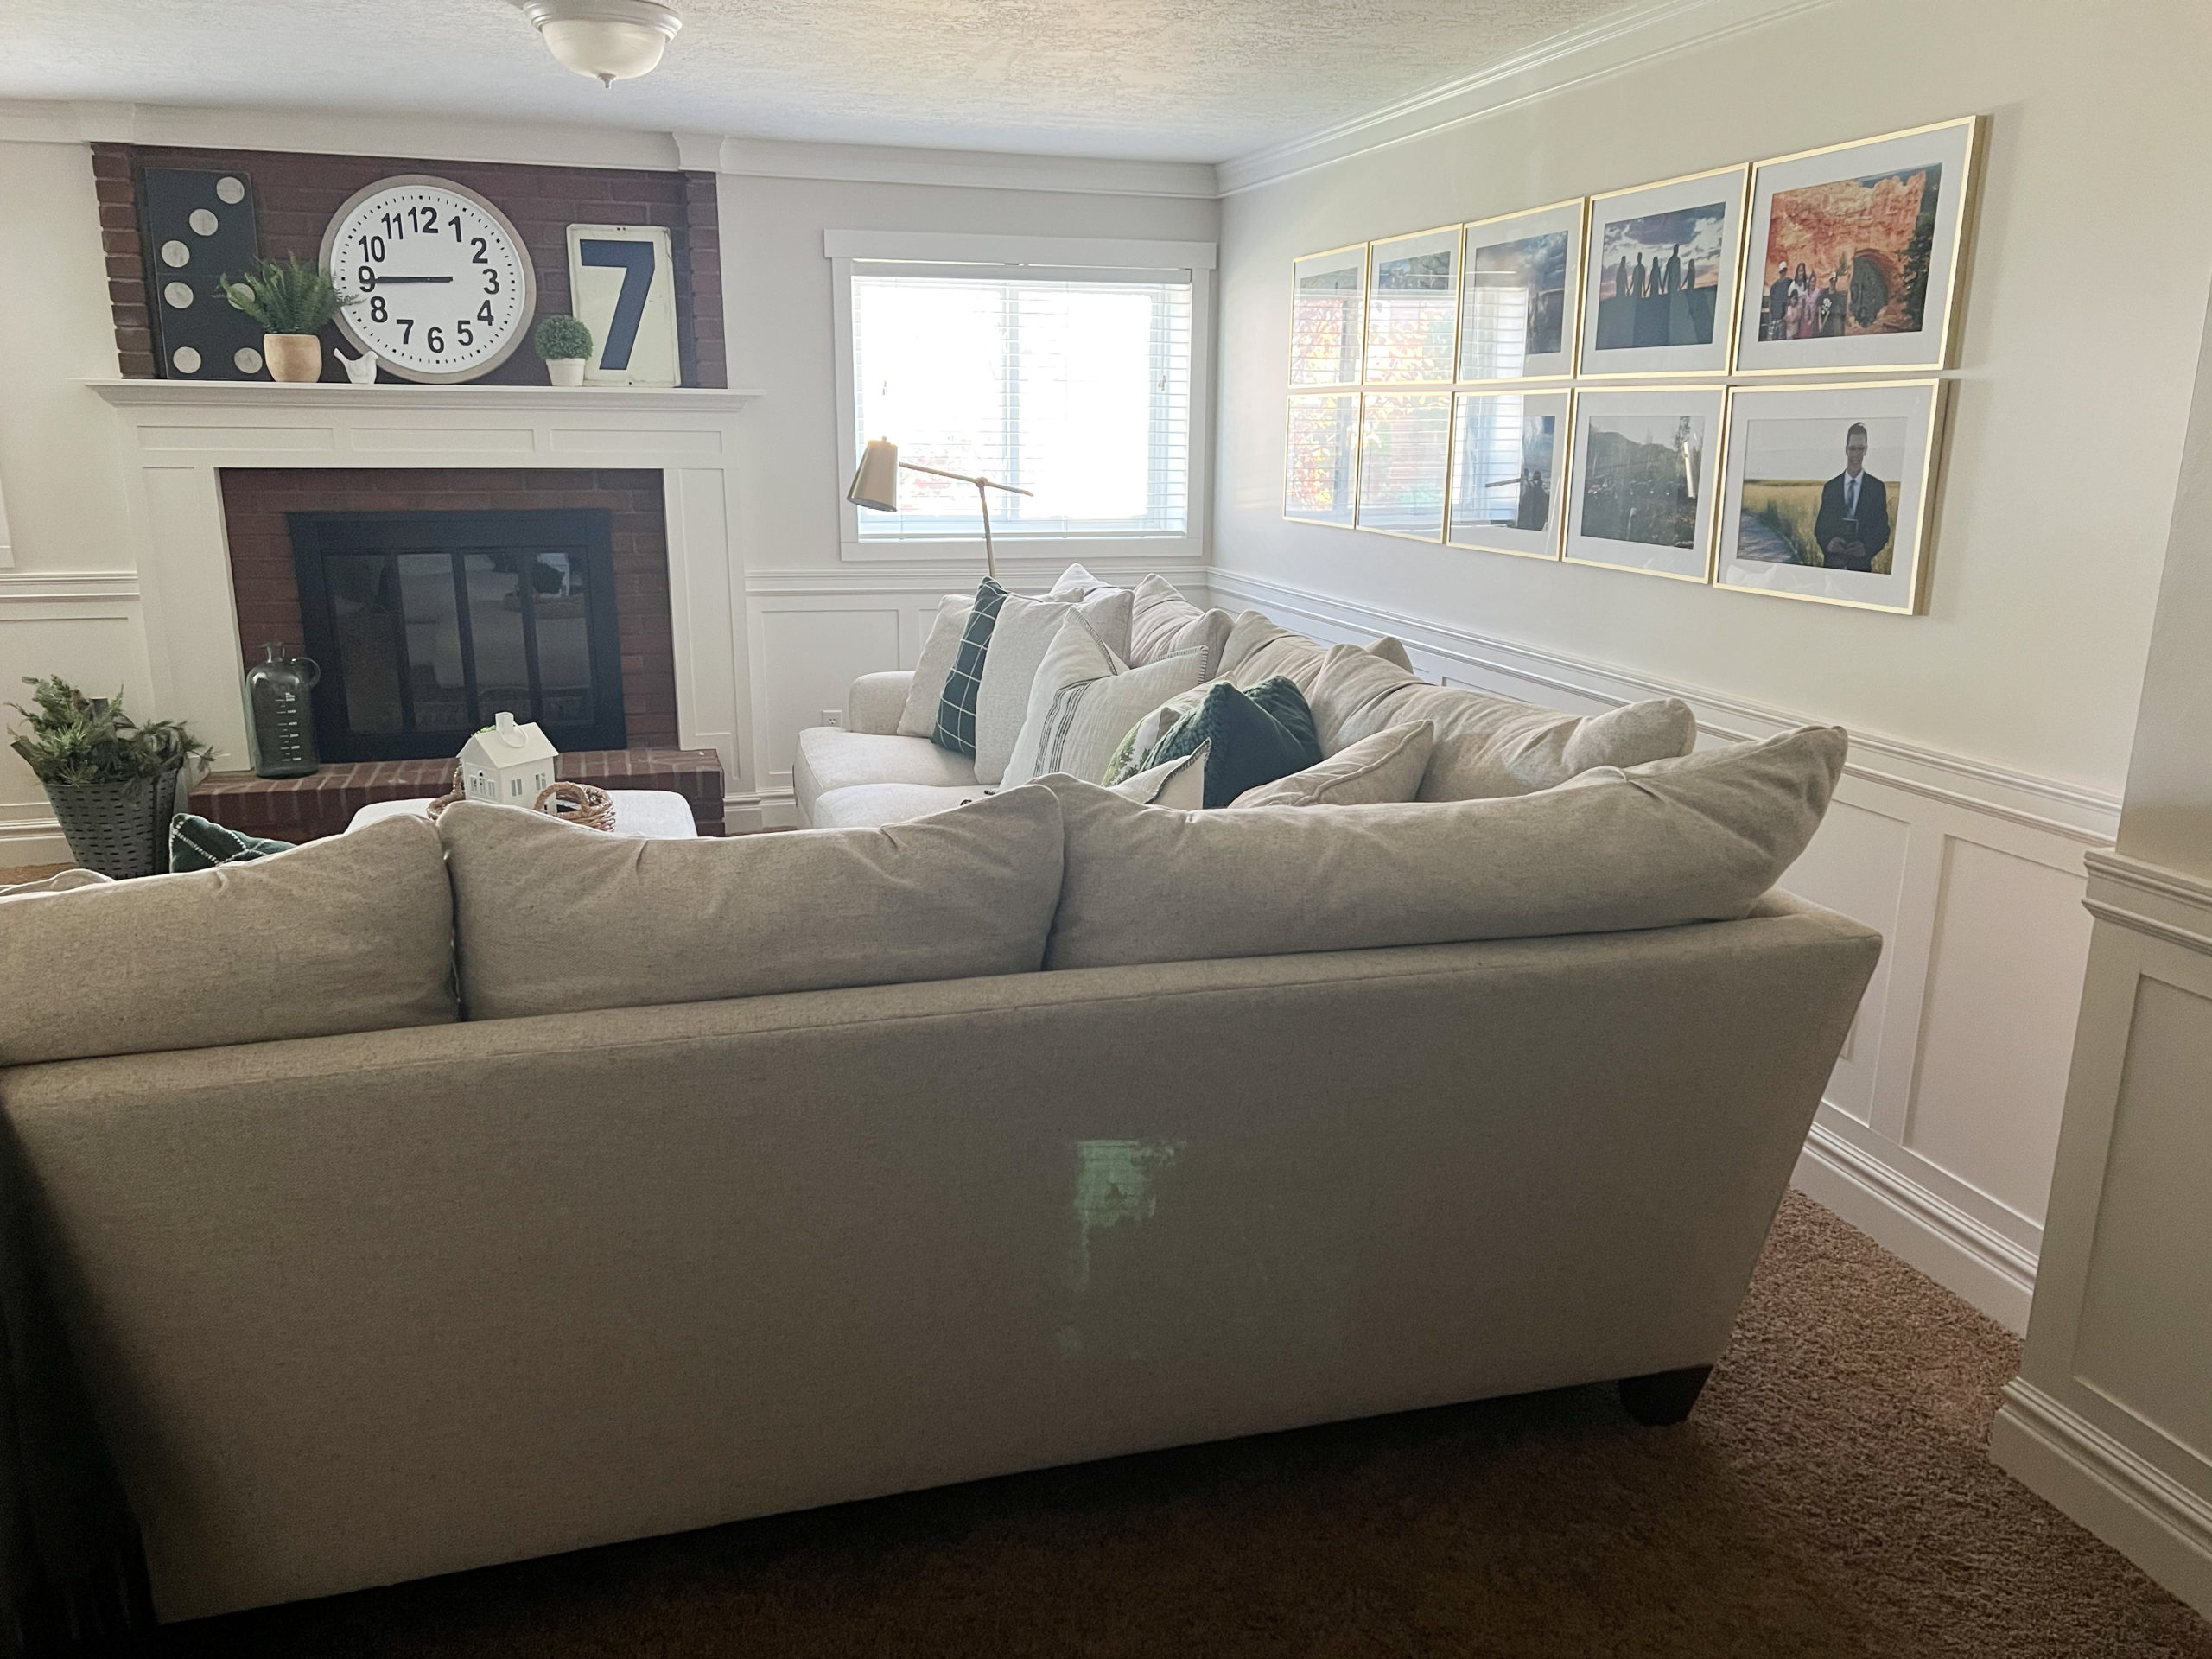
Looks really nice. Doesn't look like a basement at all. Really dresses the walls up. Great job!
This is exactly what I have been wanting to do, but had no idea how to do it! I have already emailed the link to my husband, and I see a trip to the lumber store in the very near future. You are awesome!
That looks really good! And it looked really easy to accomplish. Thank you for sharing!
Wowza! This project turned out beautifully! I love it lots and am totally jealous that you have a basement! Living in southeast Texas does not allow for basements, so I enjoy living vicariously in your "new" basement family room!
Way to go!
Blessings, — Jill
blessingsofalifetime.blogspot.com
This looks great! You did a fantastic job! Maybe one day I will do that!
Jill of oursevendwarfs.com
Wow, looks great! I wish I could do that in our house.
Just curious what the top paint color was.
Thanks!
That is AMAZING!
This turned out fabulous!
There wasn't a mantel on our fireplace either but bought one at Home Depot. My husband used a masonry drill bit and basically anchored a long 2×4 on the wall with masonry screws into the brick and then the mantel sort of sat on that and got screwed in from the top. It really changed the look of the fireplace. You can do it! :)
This looks fantastic!! I love how bright it looks with the molding! I would love to add some details to our house like that, it just looks so rich and finished!
xoxo,
Amy
I love this blog post! You gave great directions and pics, to the point that I am confident this is something I could even do! And I can't do much, lemme tell ya! ;)
I'm going to try this out. I am determined.
Thanks you!
Great job! I looks so nice!
Only $65!! That looks great!
It looks good! It really adds a lot of coziness to the room too.
You always have great ideas and tips to share with us. Thanks for sharing all of them. We are big fans of your blog so we awarded you the "Stylish Blogger Award." Please follow the link to get the details.
Shannon & Jill of Our Seven Dwarfs
http://www.oursevendwarfs.com/2011/02/we-won-award-stylish-blogger-award.html
I. Love. It. Seriously I've been wanting to do this for a while and just need to do it. It looks amazing!!!
You did an amazing job! I love "faux" ideas. Thanks for the look into your room.
looks great! We actually created the mantle on our fire place by taking pics of my brothers (we really liked his) and also took some measurements and built it all out of mdf, crown and a few wood accent pieces. Painted it all a semi-gloss white and LOVE it. It has made the biggest difference in our room. Our old mantle was a thick piece of cedar just held up by a few nails. Very 1980's.
We are going to put up some faux wainscoting in our dining room this spring, so I loved looking at your project! Good luck and have fun!
@Alisha-Thank you so much for your information on your mantle. I am really thinking that is something I really want to do!
WOW this was such an awesome DIY. Thankyou for sharing. I will soon be purchasing a home and I wanted to do this down stairs in the basement. It has a red brick fireplace just like yours. My space isn't nearly as large as yours. I was wondering what you thought about doing that to a smaller space and what you think it would do to the room. If you think it would make the room visually smaller bigger taller etc. ????
In my opinion, I think it actually helps the room to look larger. Especially if you have a darker paint on the upper walls. I also love the finished look it gives to the room. I have several smaller rooms done with this too. My daughter's room is particulary small (fits a twin bed and dresser and not much else) and it looks really good in her room. Hope that helps!
Ok, this turned out GREAT. I keep telling DH that I want to do fake Board and Batten or wainscotting in our kitchen but he always thinks it won’t turn out nicely. I’m going to forward him this link!
I LOVE this. I’m definitely going to do it in my dining room. Will the “big box” stores like Lowe’s and Home Depot cut the MDF for you, or did you need to go to a lumber yard? Is 1/4″ MDF hard to find? Thanks for posting your wonderful project!
We went to a local lumber yard and they cut it for us for a small fee ($20 if I remember right). You could try Lowe’s or Home Depot though. They have cut stuff for me before but never so much at once. Not hard to find at all. Should be at most big box and local stores.
Hello Amy, I am doing something g similar to your project right now. Did you paint the wainscot area with a semi gloss paint?
James- I like semi-gloss or satin best. It’s just what you prefer. Satin is great because it is easy to clean but if not as shiny as the semi-gloss. Hope this helps.
I know of this and we chose wainscoting instead. I like this but not the White they painted with the light Beige wall. There are sooooo many colors out there WHY do people choose white? Sorry just my opinion
You said you had te MDF cut into 2 and 3 inch strips. Do you mean 2 and 3 inch strips wide? Or is that supposed to be 2-3 feet long strips?
Thanks for posting instructions on the shelf you made for the bathroom. It is beautiful, and just what I need!!
Actually, I think you could use the same idea to make a mantle. Then you would have to buy a special drillbit to go through the bricks and screw it into the bricks. I had the same fireplace you have in my old house and I bought the drill bit many years ago, just asked the guy at Home Depot what to use. It cost $3.50 10 years ago and worked like a charm.
i love the wainscoting, as far as the mantle goes i did one for my father-in-law by simply installing a floating shelf …..it turned out GREAT! if u want to see i have pics i can send you!
p.s.- i LOVE your site, i just fell upon it as i am a new home owner!
How far apart were the vertical pieces roughly? I know they were not all exactly the same I am just looking for a starting point.
Amy- I’m just getting together my game plan to do this in my Master and this is a great tutorial!!! Very detailed thanks! This is such a great update.
Adding a mantel is no harder then what you have already done, you make up a back hanger, and it spanes the mantel on back, and it is made at a 45% degree angle, and you put one on the back of the mantel, with an upside down 45% degree angle hanger made of a 1 by 1 or 1 by 2 and it hangs on the other piece of wood you hug on the wall that has the 45% up, and they lock into each other, good luck, I am doing this for my fake fireplace, even went to the extent, to by a basket for wood, and the fireplace tools, and a cover to go infront of the fireplace, to catch any fake sparks coming out of the fireplace, I am also buying the faux rock brick, and will do the whole wall. Thanks for the info. HC
I am interesser in the wainscoting project for one wall in my small dining room. Am interested in your comments area.
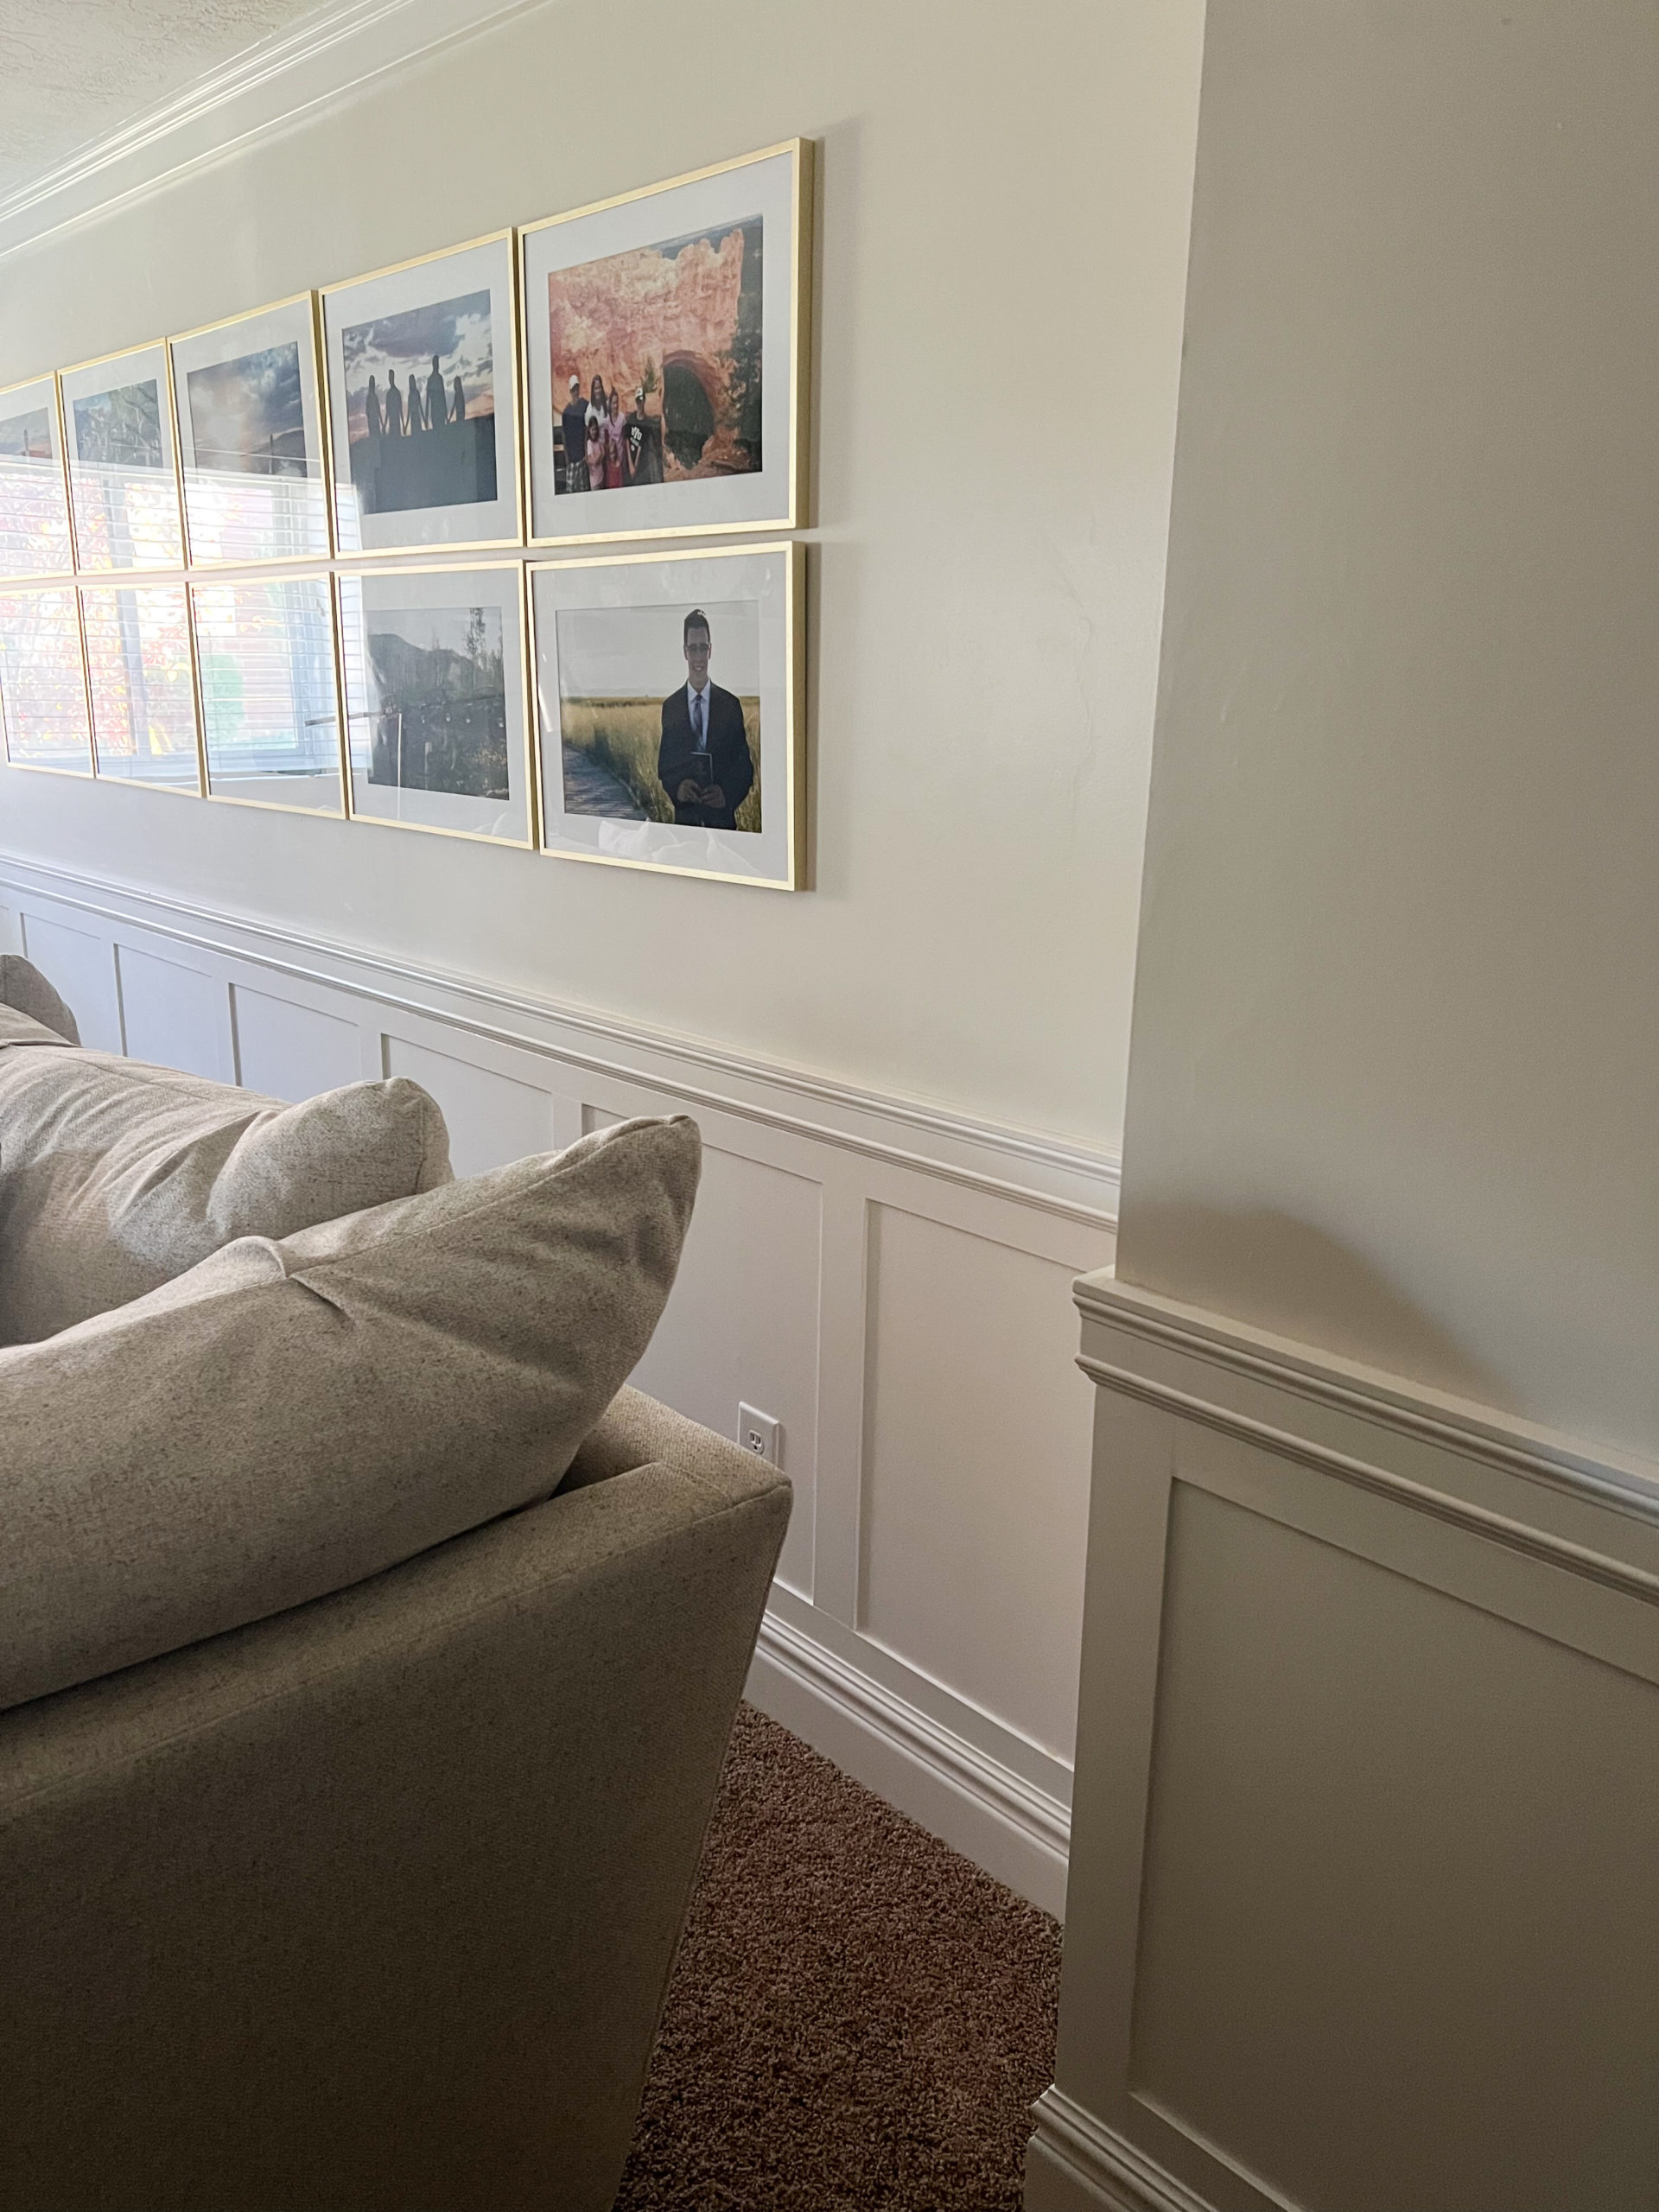
Wow!! Great job. I have seen this and want to try it. Are your walls smooth or do they just appear that way in the pic? My walls have a light texture and I am wondering if it would be okay to do this without adding plywood to the wall first. I do not have many tools and am not sure how I would cut plywood. Sorry for all of the questions but I am new at this. I love, love your ideas!!
They have a little bit of texture to them due to the paint roller brush…but overall are not textured walls.
Beautiful! the cuts that you made at home, would a hand saw work? Or would I need a circular saw? Thank you! Can’t wait to start this project.
You could use a hand saw since they are simple straight cuts. Better yet…go to your hardware store and see if they will make the cuts for you. They may charge you a small fee but it might be worth the time it saves you!
This is an awesome idea and looks great! Thanks very much for sharing. The existing base trim I have is similar to yours but the smaller piece at the top of it only has a 1/8 inch lip, meaning the top only sticks out 1/8 inch from the wall though the rest of the base trim is deeper. Is your base trim 1/4 inch or is it smaller? Just wondering if it would look really weird if the MDF strips stick out 1/8 inch farther than the top of base trim. I was thinking maybe I could make it appear more flush by filling in with caulk. Thanks!
Amy, what kind of putty did you use on the seams? Did you use it where the horizontal boards met up as well as where the vertical met the horizontal? Since your sheets were only 8′ long, I’m guessing you had to piece the together along the long spans of wall? Thanks!
Ally- We used DAP Painters Caulk. Yes, we caulked the seams where the boards met up. Hope this makes sense. Thank you.
I absolutely love this idea! Your step-by-step guide makes it seem so achievable, and the before-and-after pictures are inspiring. Can’t wait to try this in my own home to give a fresh look to my walls. Thank you for sharing such a detailed tutorial!
Thank you.