
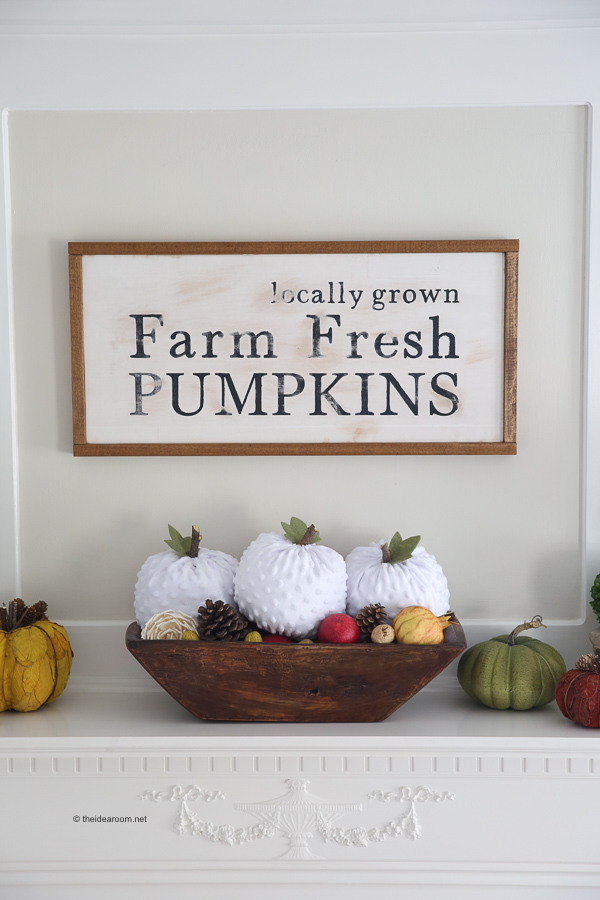
How to Make DIY Fabric Pumpkins
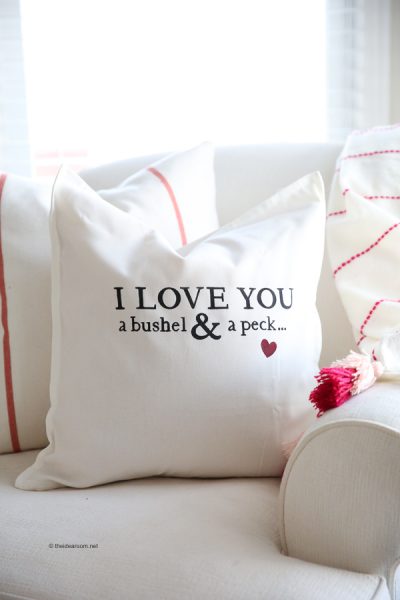
Bushel and A Peck Pillow
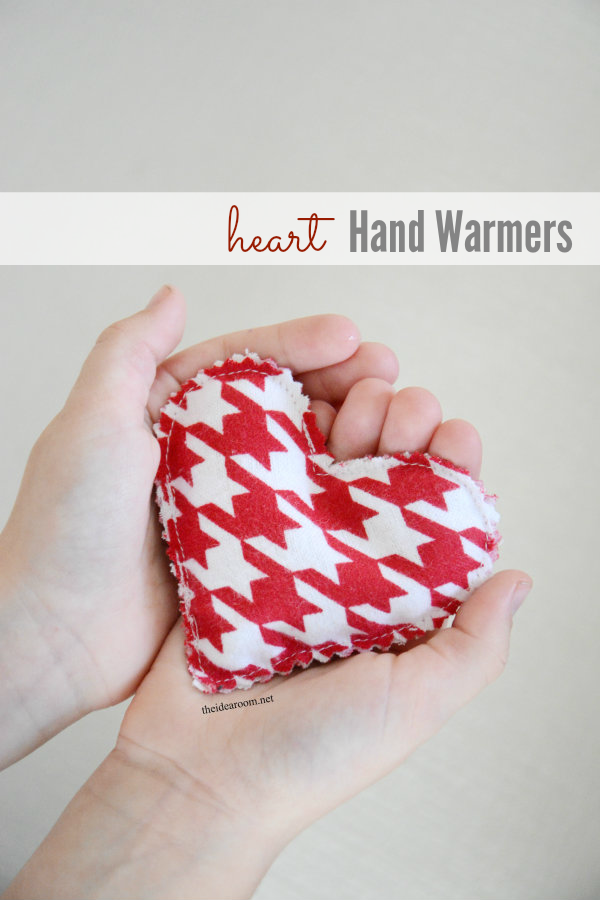
How to Make Hand Warmers
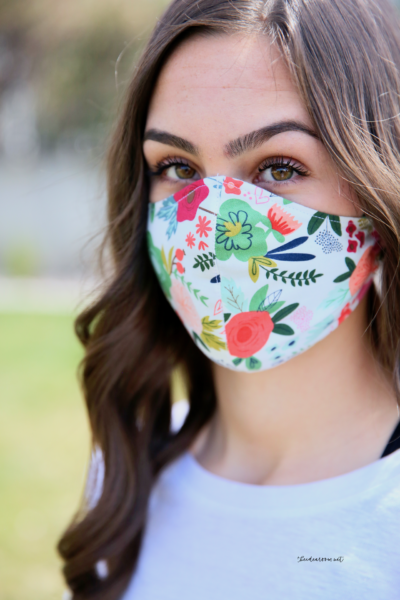
How to Make a Face Mask with Cricut (+VIDEO TUTORIAL)
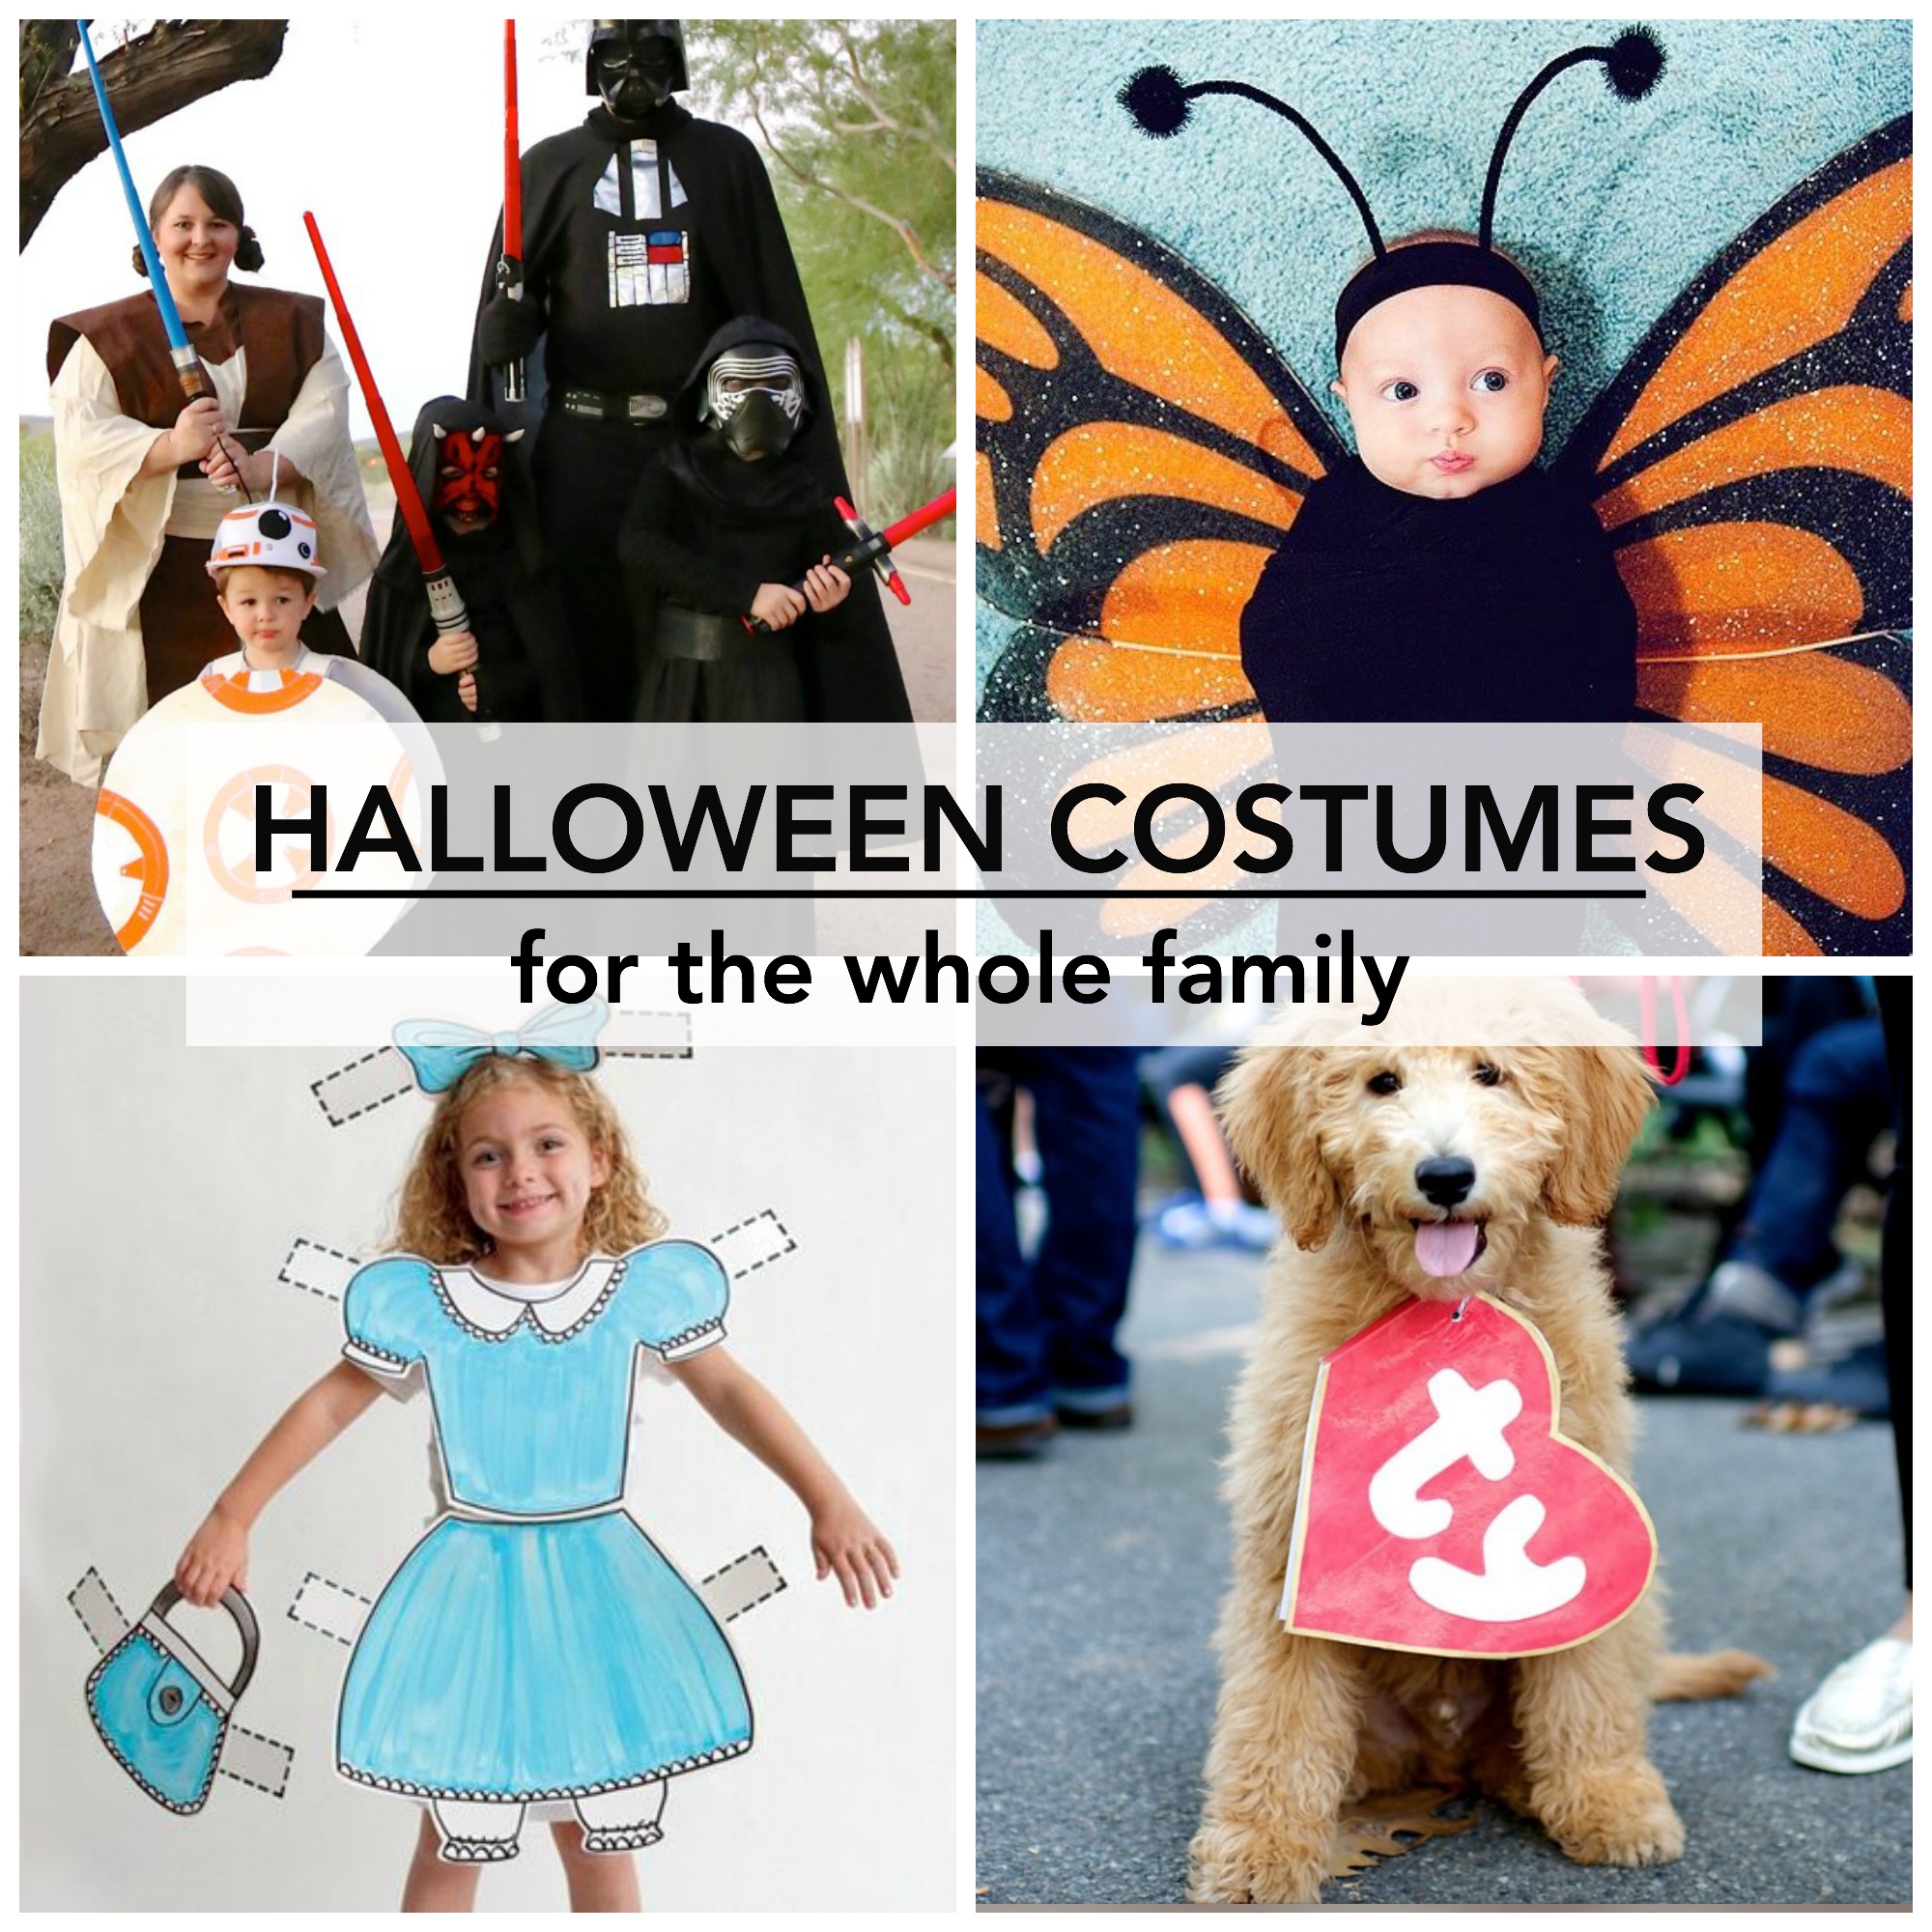
Halloween Costume Ideas
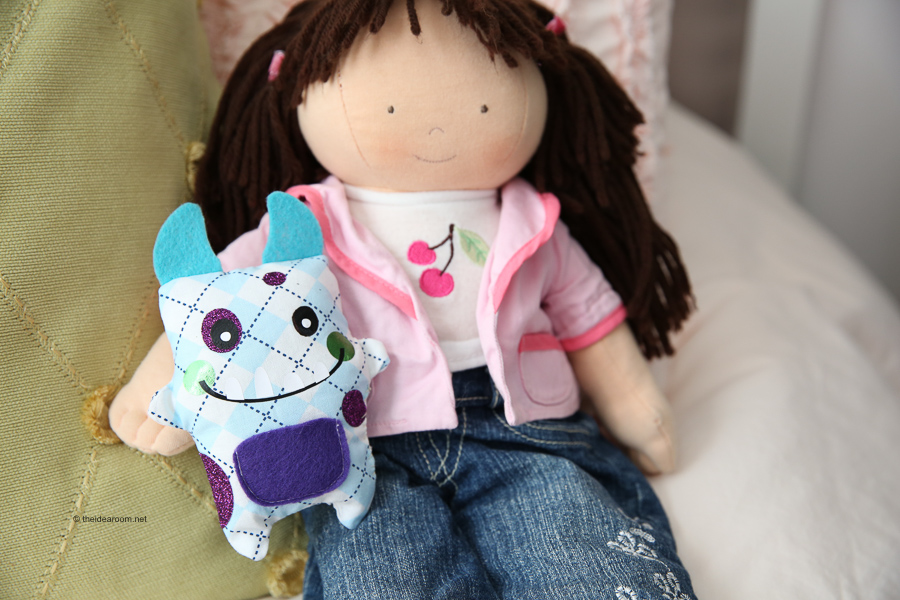
Tooth Fairy Monster Cricut Maker and a Cricut Maker Giveaway!

How to Make DIY Cord Keeper + Cricut Maker
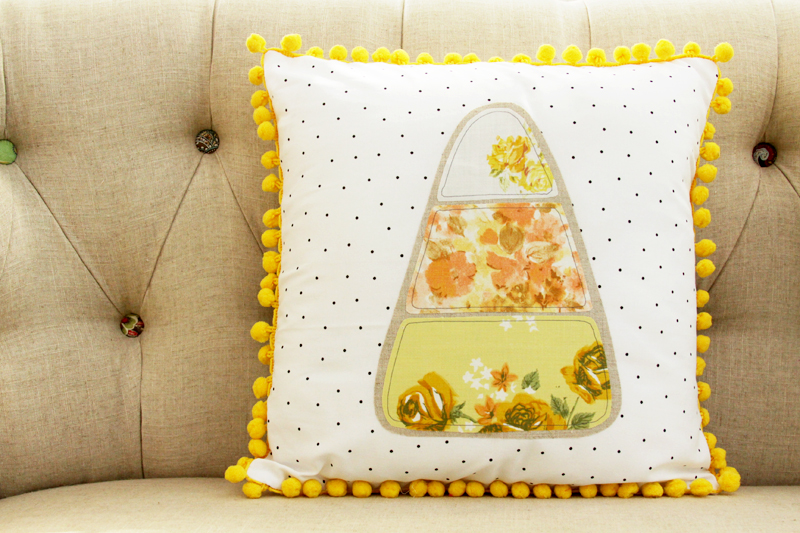
DIY Halloween Candy Corn Pillow
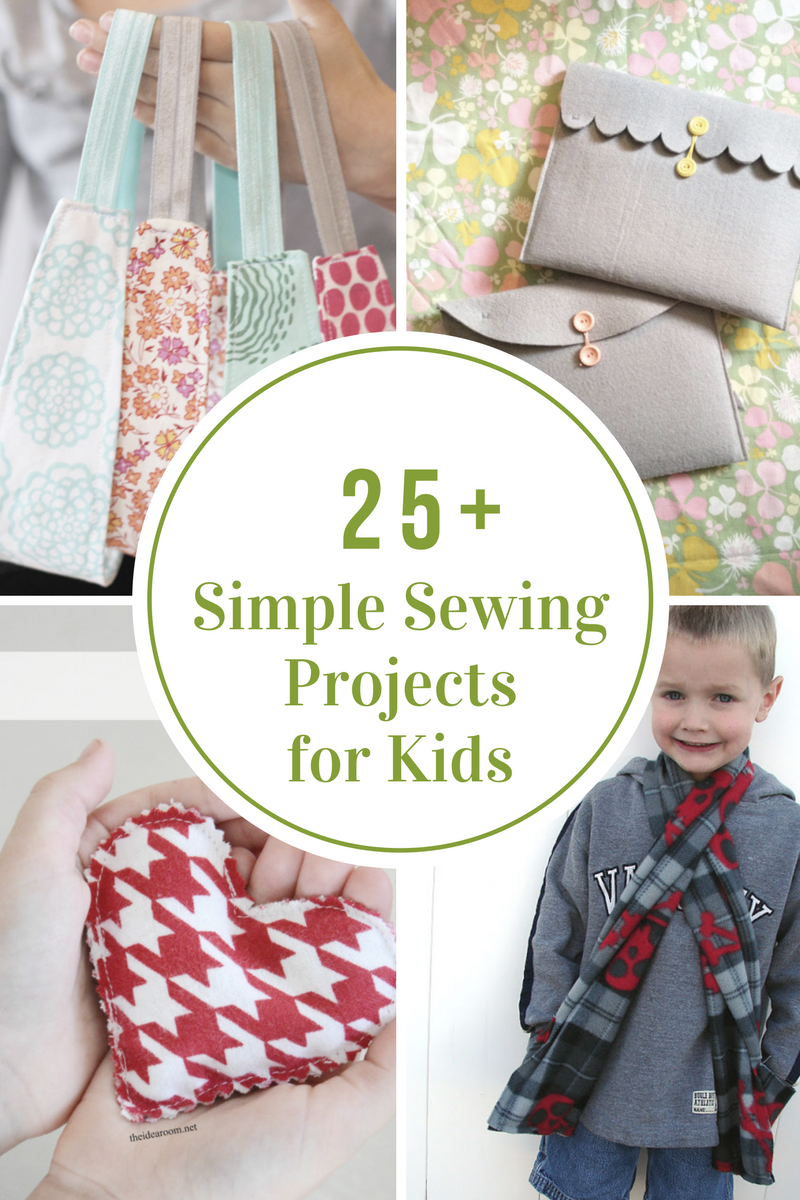
Simple Sewing Projects for Kids
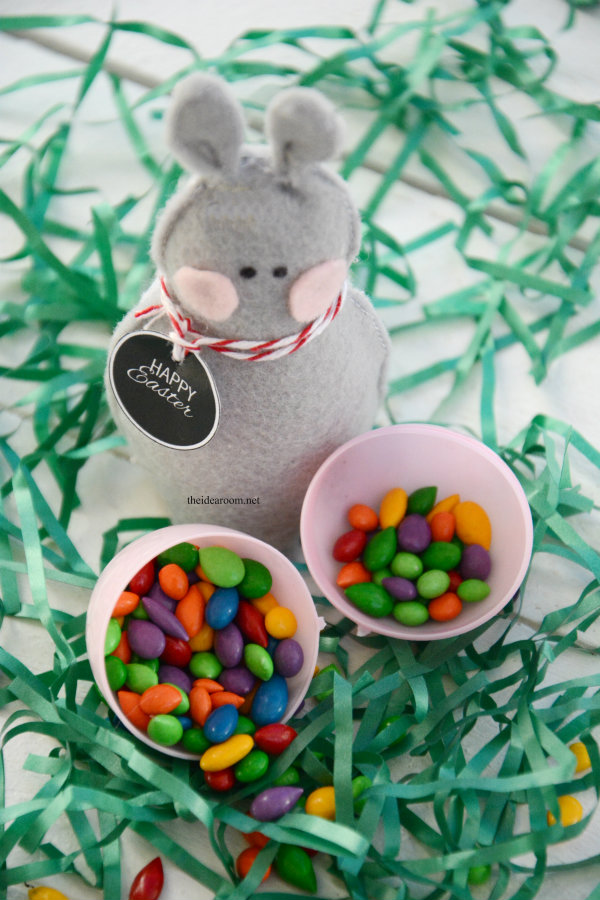
Felt Easter Bunny
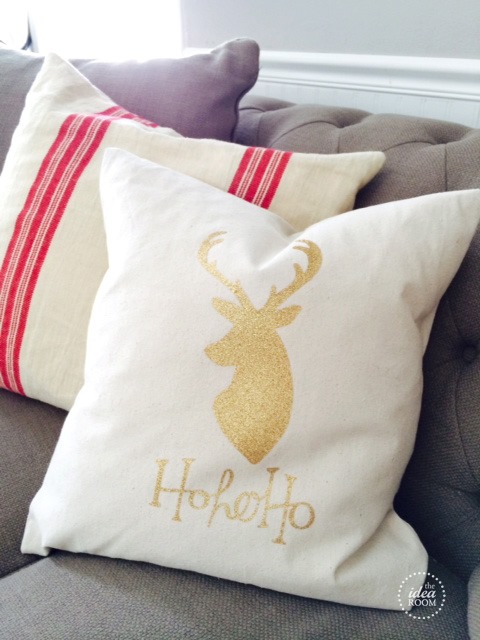
How to Sew an 18 inch Pillow Cover Tutorial
- 1
- 2
- 3
- …
- 5
- Next Page »


