
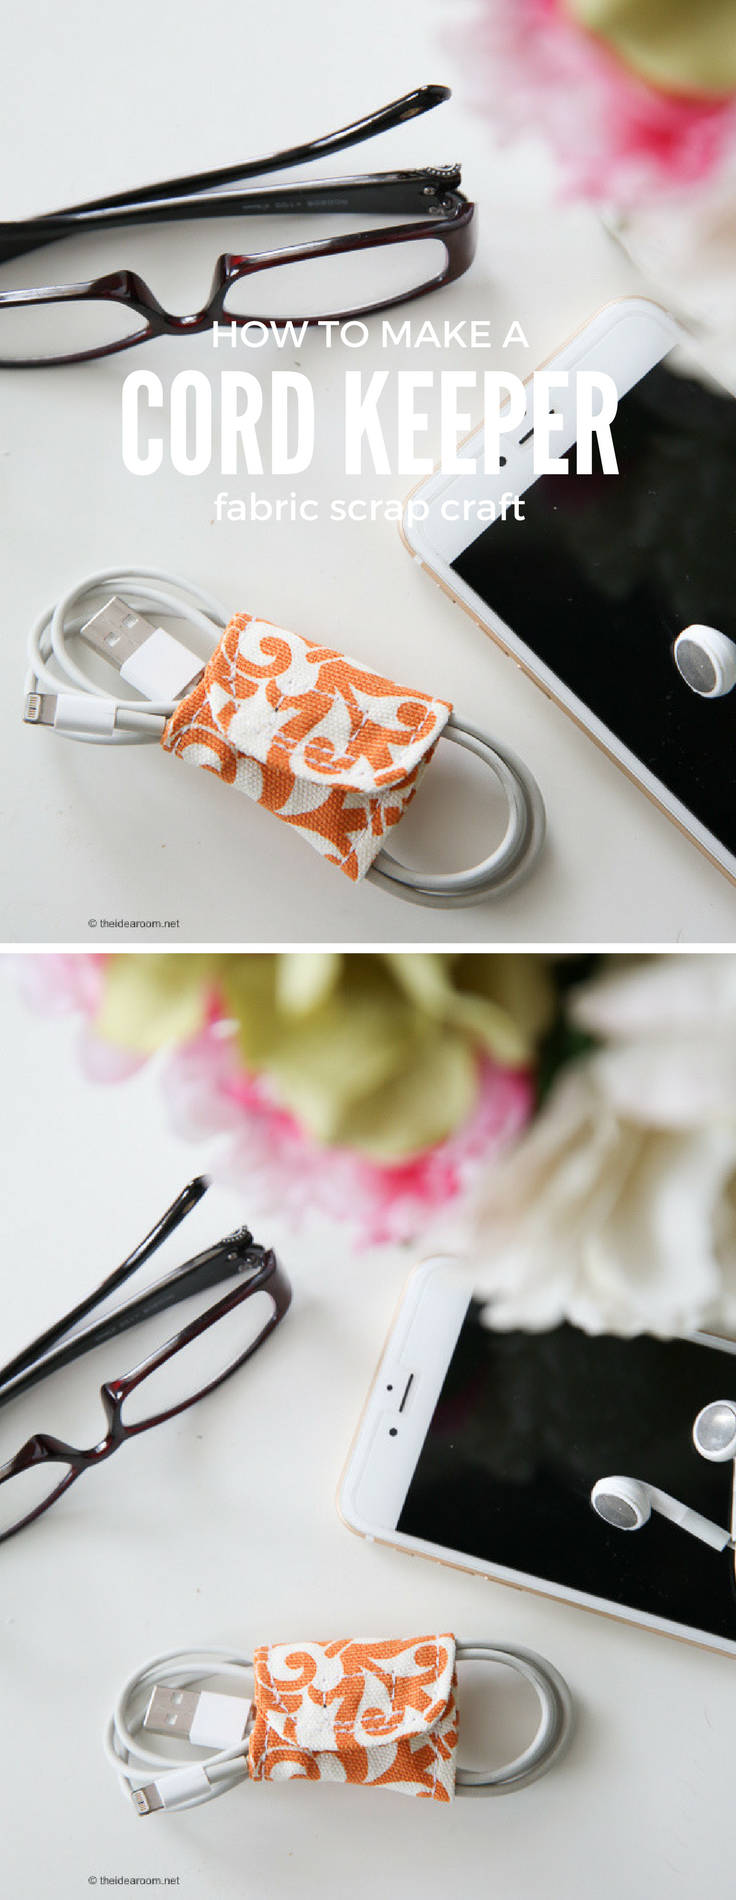
With the holidays right around the corner, it’s nice to start thinking about gift ideas! Today I am sharing a super simple gift idea for almost everyone on your gift list! I am sharing how to make a DIY Cord Keeper with this easy to follow tutorial.

I cut the fabric with my new Cricut Maker and it was so easy!
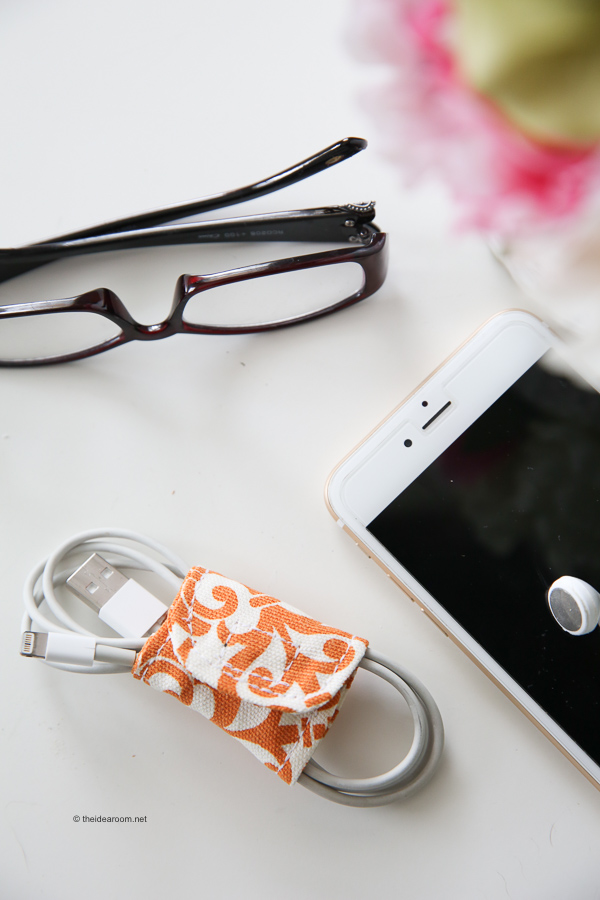
You can make one by following my tutorial too! I love these because they are a great way to keep all your cords together without them getting all tangled up! They are also great for traveling! Everyone needs help with their cord clutter and this is an easy and simple project that makes a fun and unique gift idea! They also make great stocking stuffers or friend gifts for your teenagers friends!

How to Make A DIY Cord Keeper
Materials needed:
fabric scraps of your choice
interfacing (optional)
Directions:
1. Download and print the Cord Keeper pattern here OR make it with your Cricut Maker by uploading this cut file here.
2. Cut your material by hand or on your Cricut Maker machine. If you have a thinner material, apply medium weight fusible interfacing to the back of one piece of scrap fabric. Cut one piece of interfaced fabric with the template, and one without. (if you have a thicker material you don’t need to use interfacing).
You will need 2 total pieces of fabric for each cord keeper.
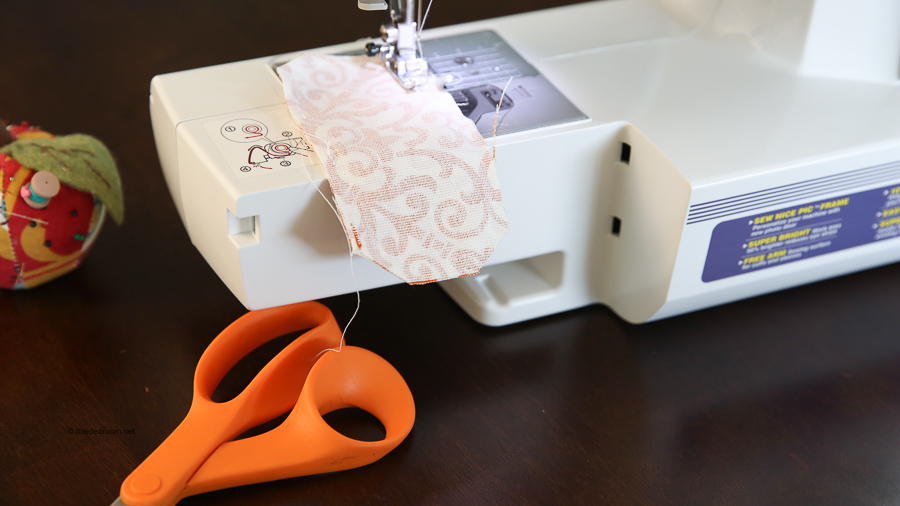
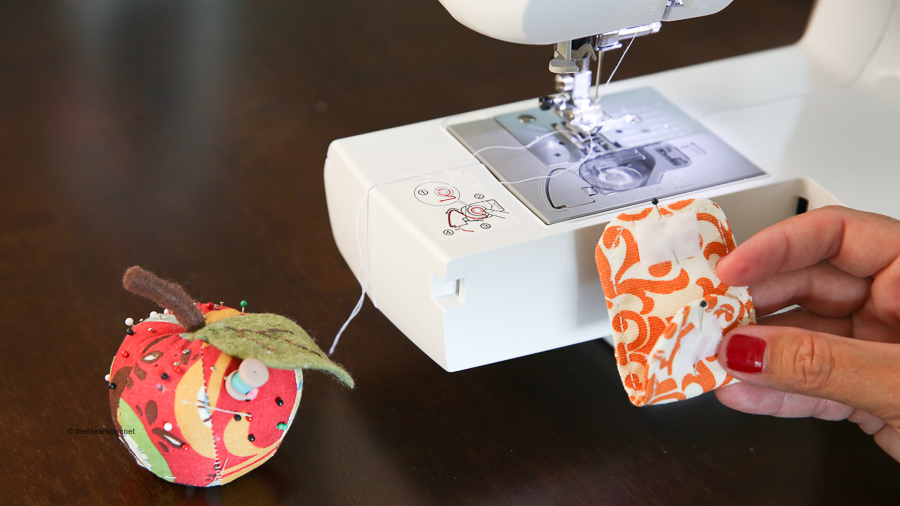
3. Place right sides of material together and sew around the edges using a 1/4 inch seam allowance. Be sure to leave a small opening on one of the long sides so that you can turn it inside out. If your material is thin you may want to use a piece of fusible interfacing in-between the material.
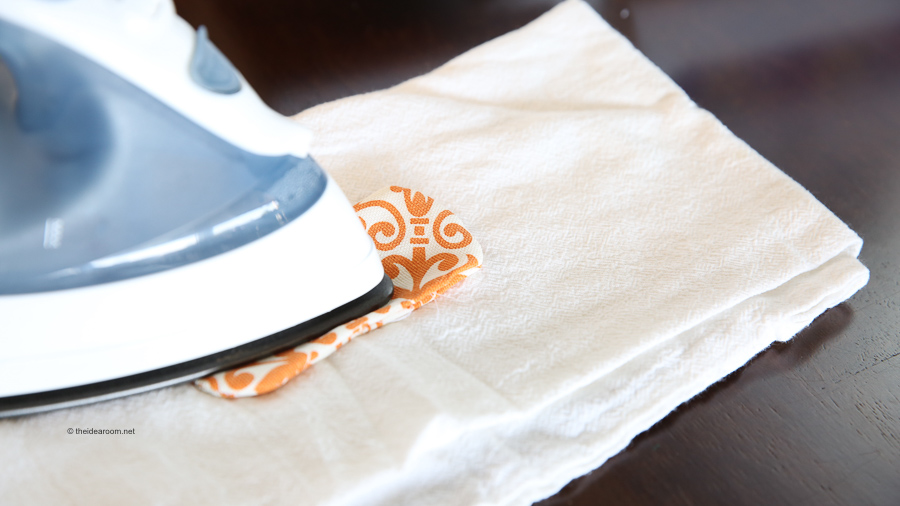
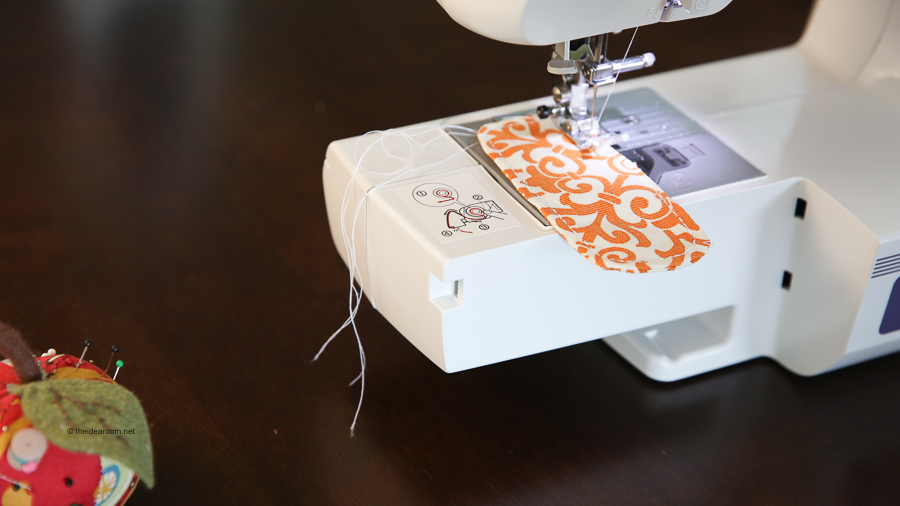
4. Press your material so that it lays nice and flat. Be sure to turn in the edges of the side that is not sewn so that it matches evenly. 5. Sew around the entire piece of fabric about 1/8 inch away from the edge. This will seal off the open seam and finish it off nicely.
6. Cut a piece of velcro that is about 1 inch in size. Pin one piece of the velcro to the top of the material and sew it onto the fabric. I sew around it in a square. 7. Pin the other piece of velcro on the opposite side of the fabric at the bottom. (Make sure they are on opposite sides so that when you wrap the cord keeper around the cord, the velcro pieces will join up and seal together). Sew it onto the fabric. 8. Trim any long pieces of thread.
That’s it! So easy right?! I love this project because it is so practical and makes a great gift for all ages! And you can use up all of your fabric scraps for this simple fabric scrap craft!
You may also be interested in these other Cord Organization Ideas.
Now get in your craft room and start sewing these up! They take just a few minutes to make! Thanks for stopping by! xo
This is a sponsored conversation written by me on behalf of Cricut. The opinions and text are all mine.
JOIN OUR NEWSLETTER
Would you like more Recipes, DIY, Printables and Organization Ideas?
Subscribing to the newsletter will enable us to periodically send you creative content exclusively for Idea Room subscribers.
*View our Privacy Policy here.


Great and simple idea. It will be really useful for traveling or for any woman’s bag. Thanks for sharing this!
Hollie- Thanks and hope you enjoy making one.
I don’t have a hyperlink for the dimensions of the fabric pieces? Can you give dimensions? Thanks!
Leigh-Looking into this. Thanks.
I don’t see link to pattern for the diy cord keeper
Amanda- Looking into this. Thanks.
Great, it will definately save my cords. Till now, I have lost a number of cords.
Me too!
What a simple and practical idea, thank you for sharing.
Thank You.
Hi Amy, I have tons of fabric scraps that will be perfect for this project. Can you please repost the link for the pattern (not Cricut link)
Thanks!
Karen- I am looking into this. Not sure if they are still offering the pattern. I will get back to you. Thanks for making me aware of this!