
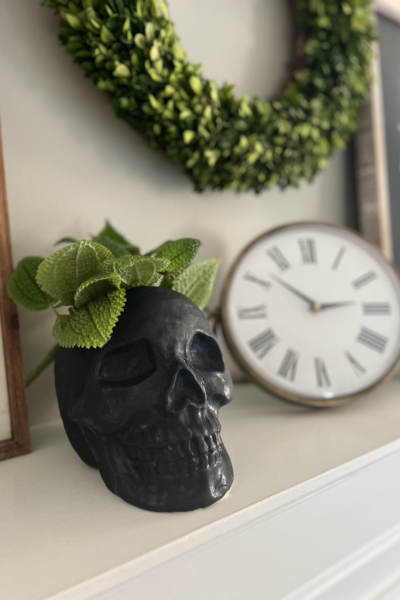
How to Make DIY Skull Head Planter Dupe
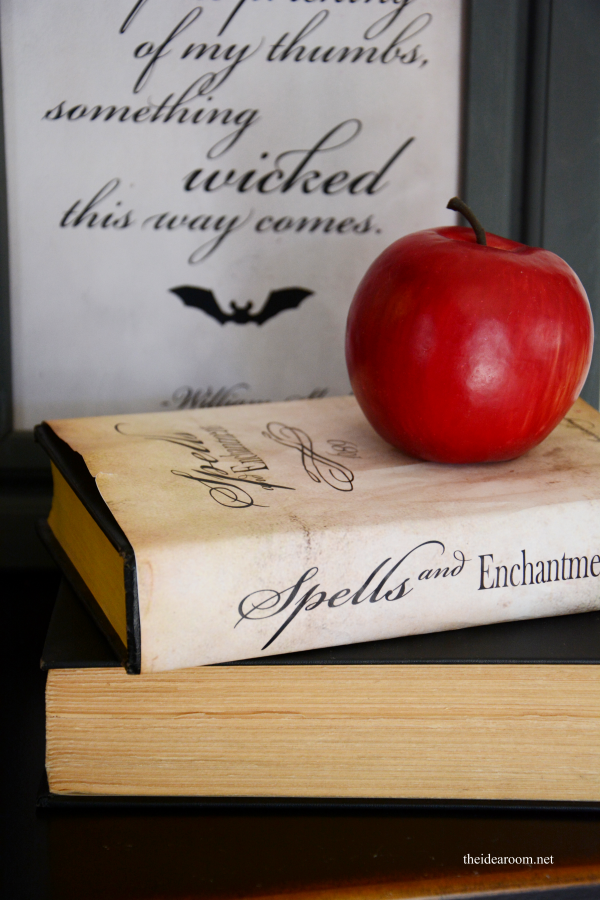
Make a Spell Book with my Free Printable Spell Book Pages

How to Make a Printable Halloween Potions Book Cover
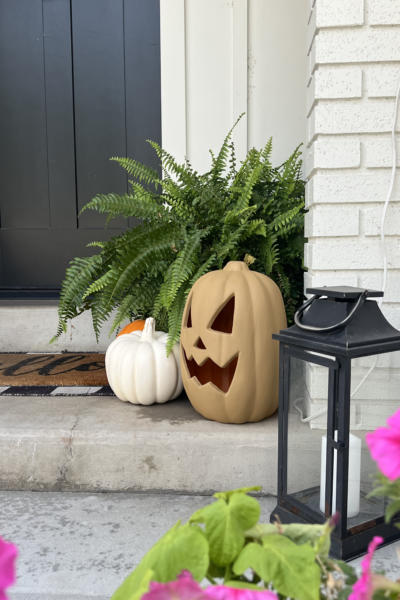
How to Make Faux Terra-cotta Pumpkins
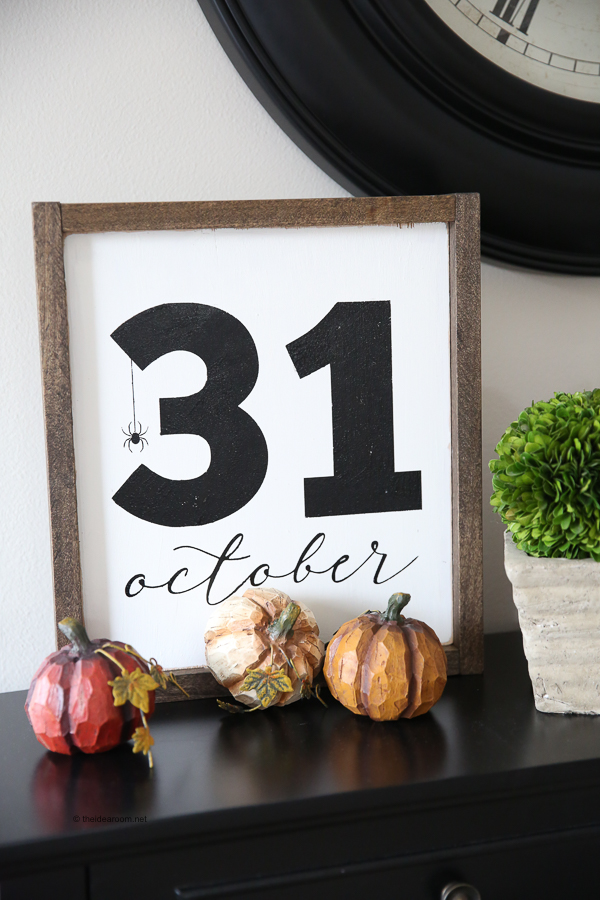
Make a October 31 Halloween Sign
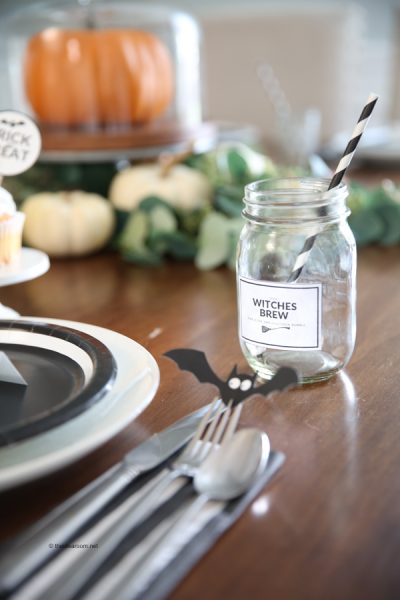
Download Printable Halloween Tablescape and Halloween Dinner Ideas
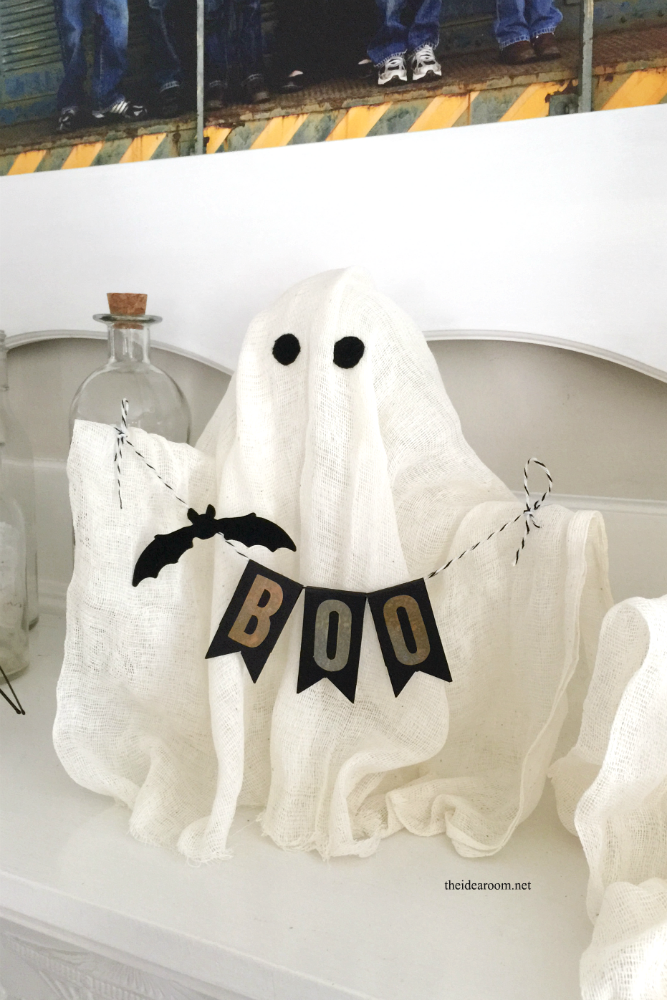
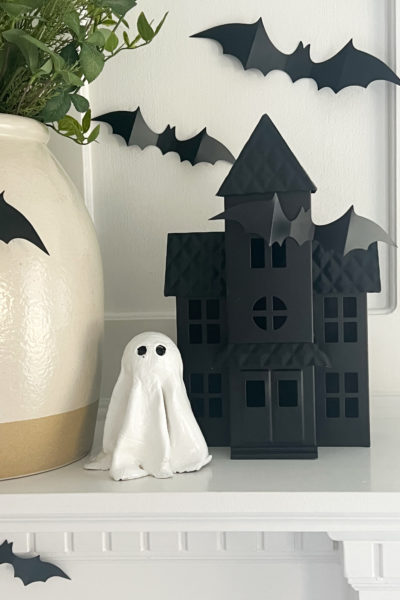
DIY Halloween Ghosts
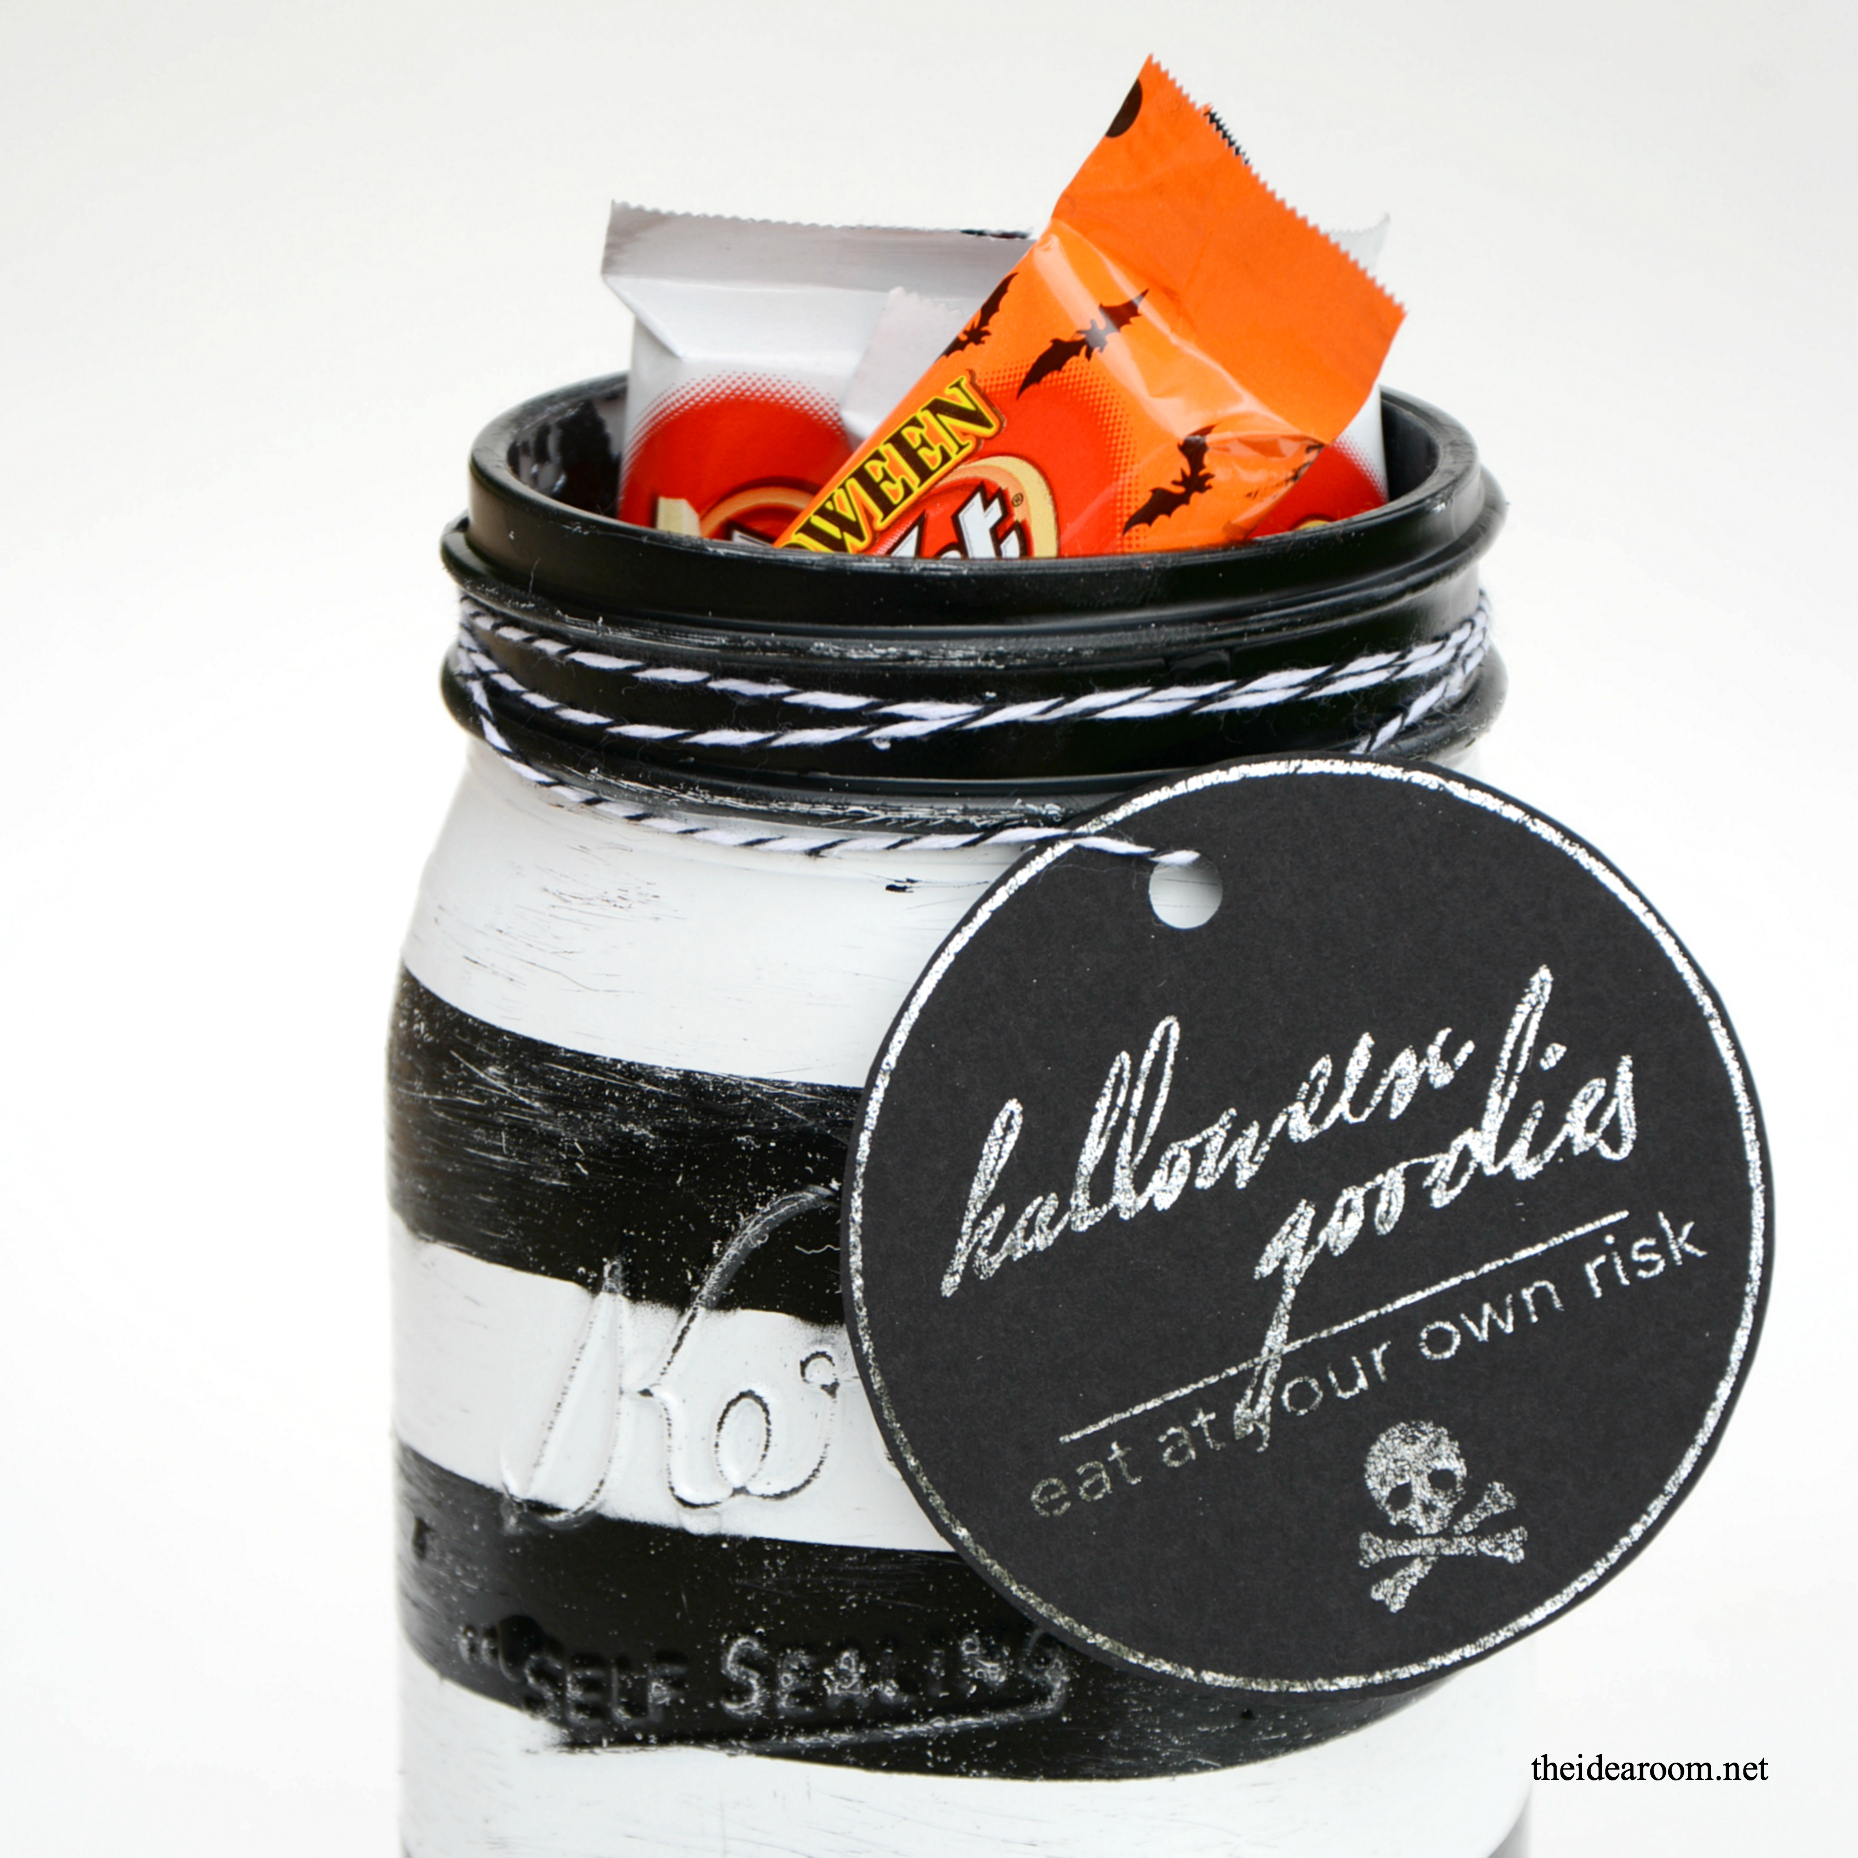
Halloween Treat Jar
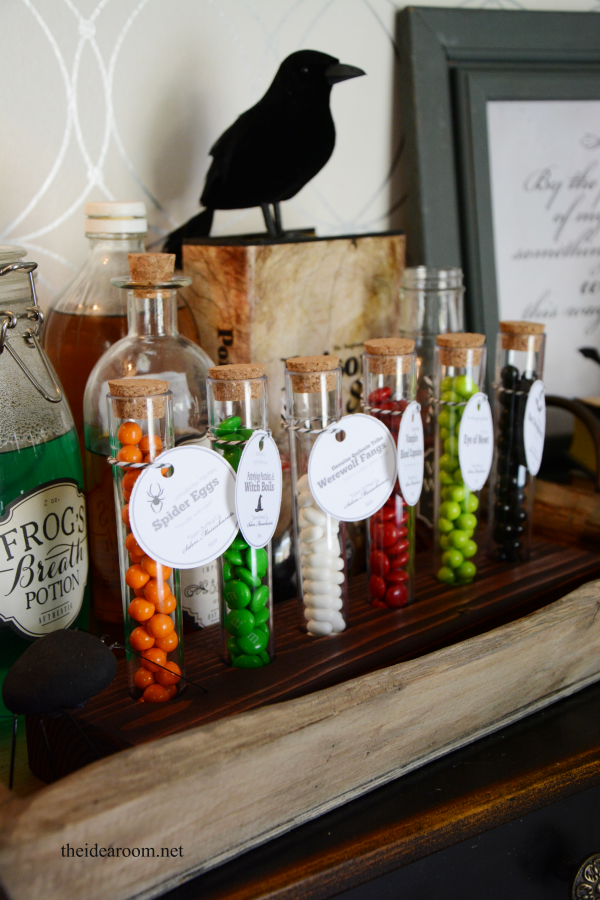
Download My Free Halloween Potion Names and Labels
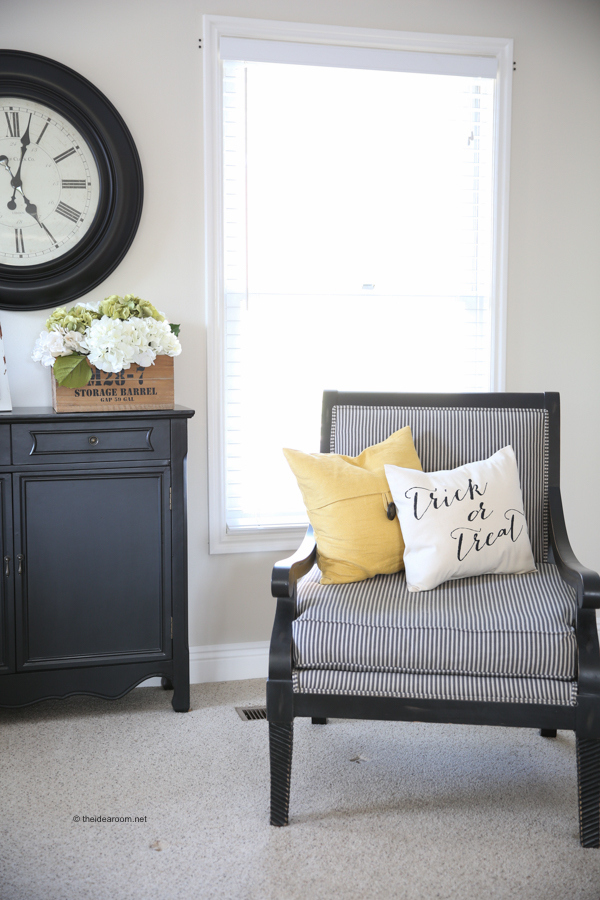
Halloween Decor: Pillow Covers
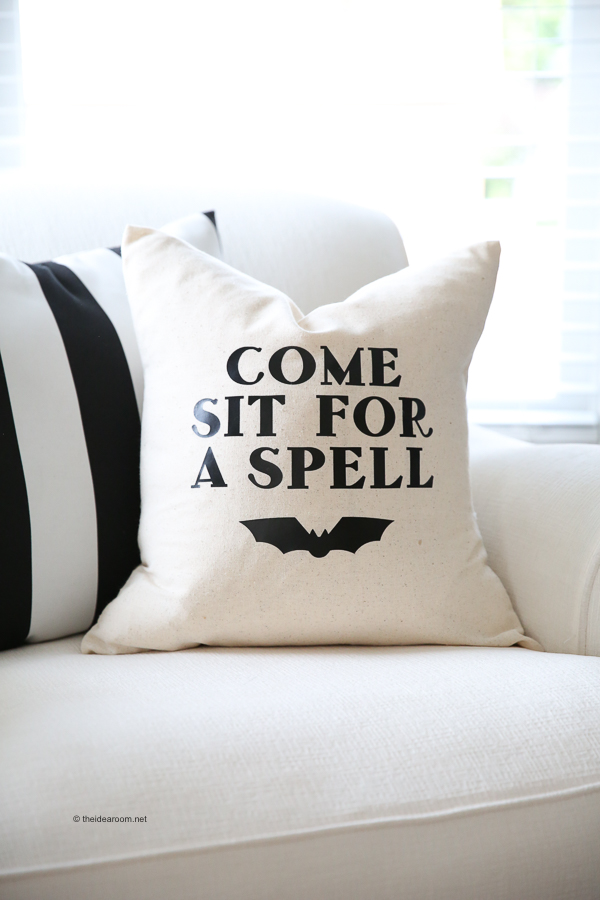
DIY Halloween Pillows + Cricut Easypress 2
- 1
- 2
- 3
- 4
- Next Page »


