
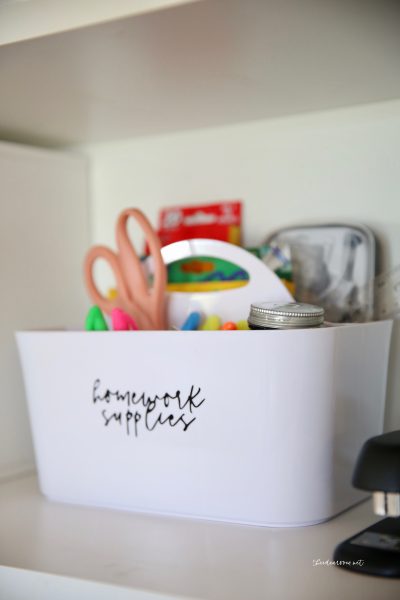
Homework Station
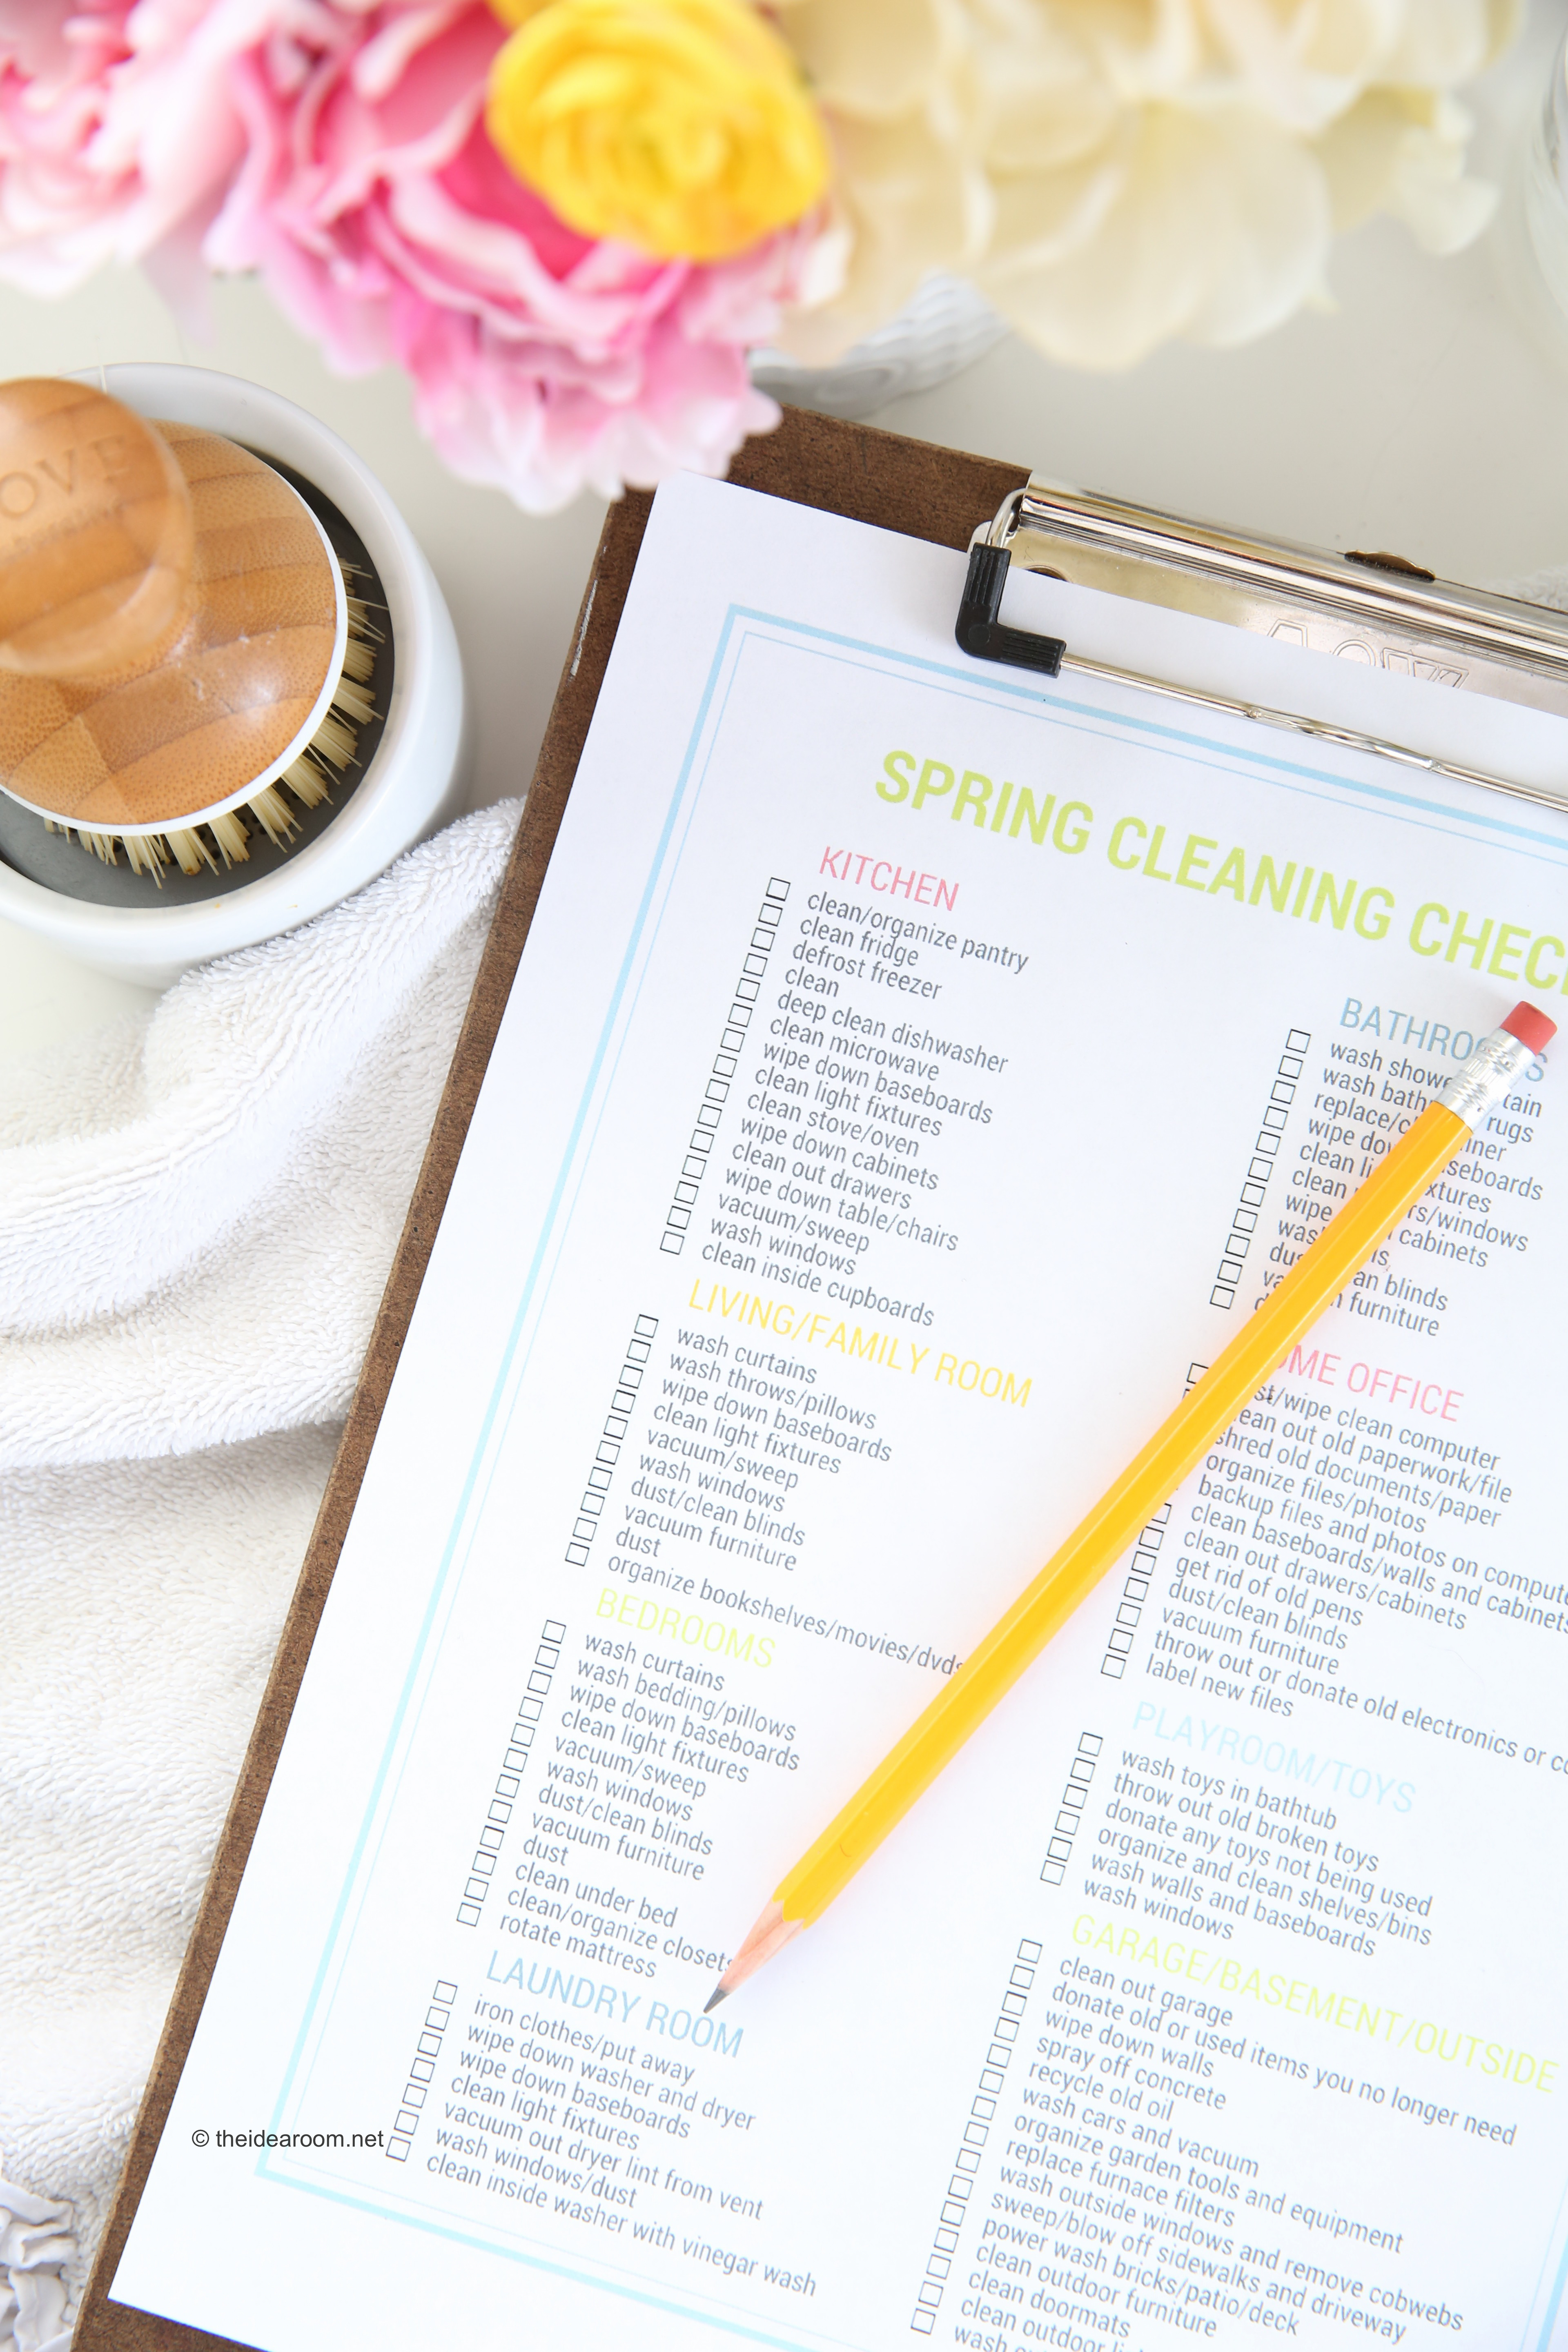
Spring Cleaning Checklist
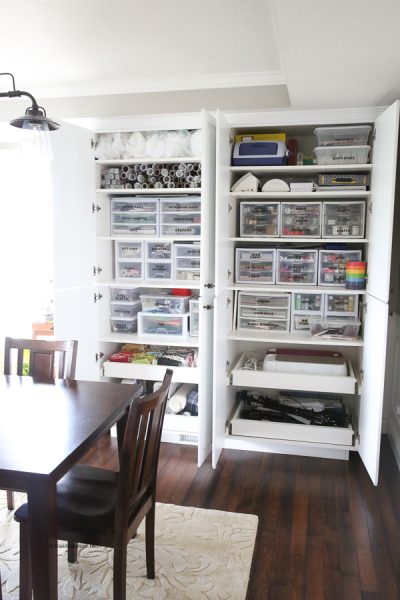
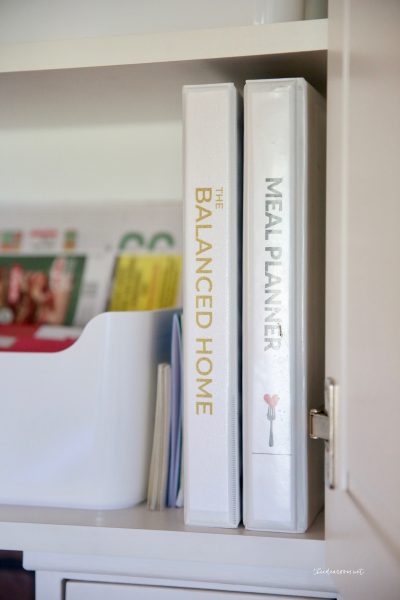
Office Organization
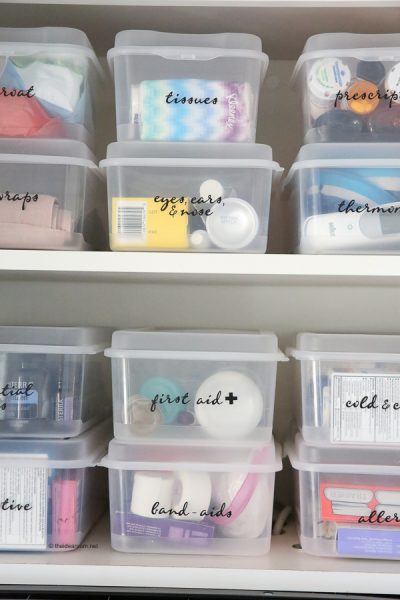
Easy Tips for Medicine Cabinet Organization

Under Kitchen Sink Organization Ideas
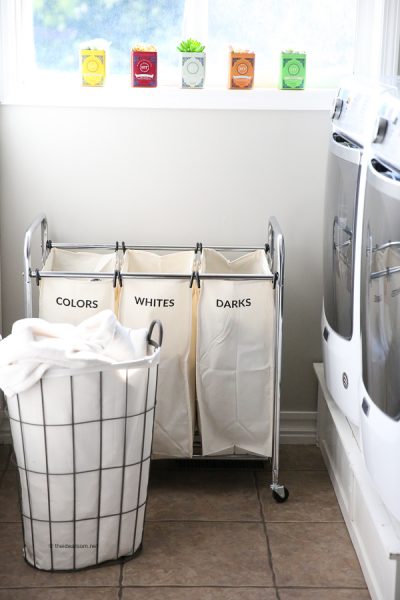
Laundry Room Organization and Printable Laundry Room Labels
How to Organize Your Fridge
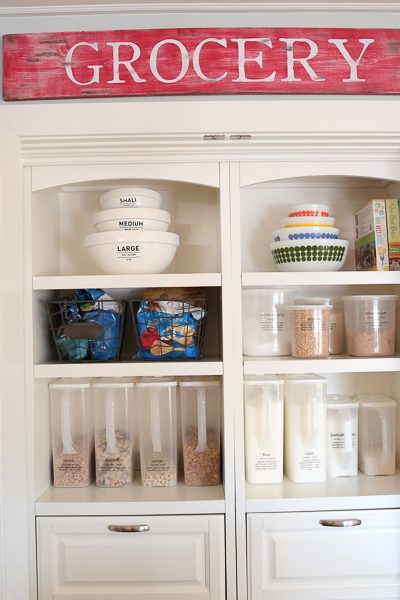
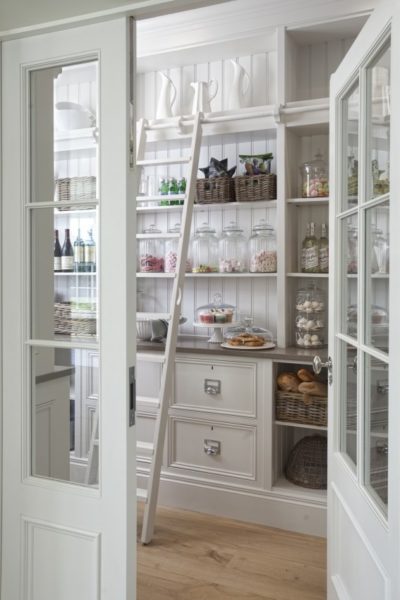
Printable Pantry Labels
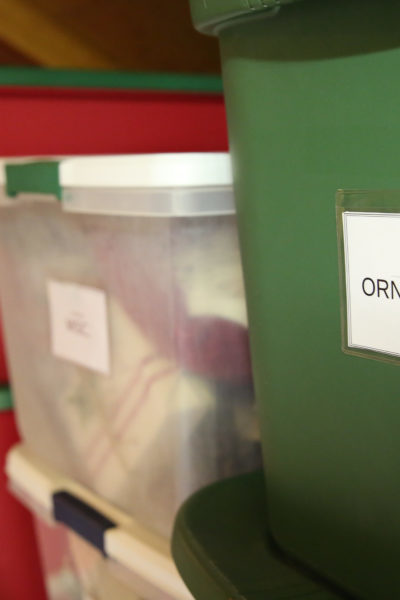
Holiday Decor Organization Labels
Home Organization Course
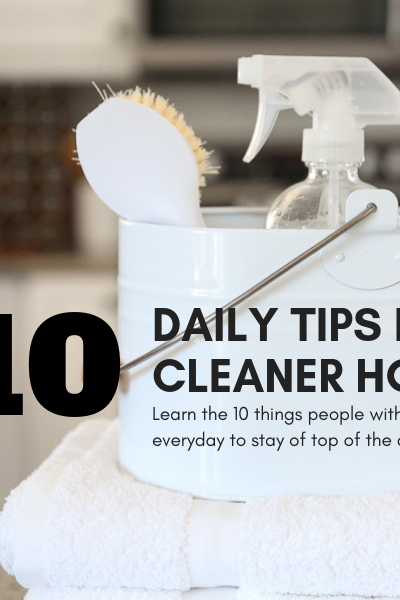
10 Tips for a Cleaner Home
- 1
- 2
- 3
- …
- 7
- Next Page »


