
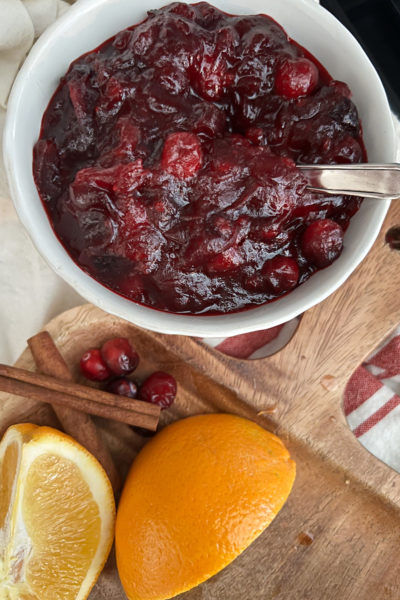
How to Make Homemade Cranberry Sauce Recipe
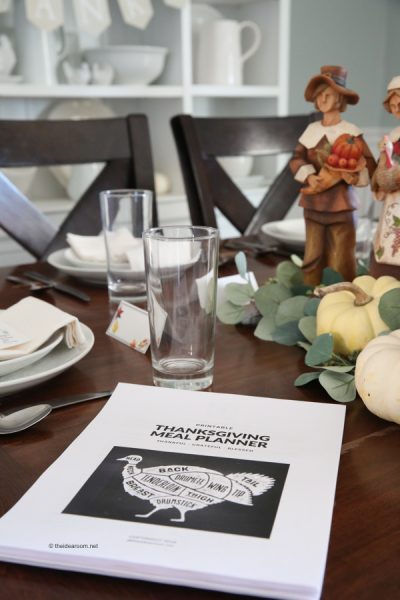
Hosting? Download Thanksgiving Meal Planner
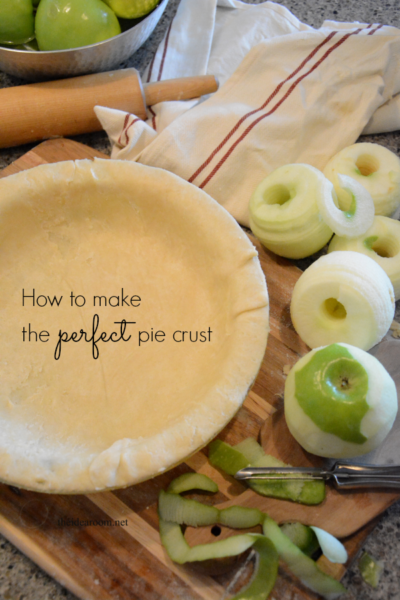
Learn How to Make Homemade Pie Crust Like a Pro
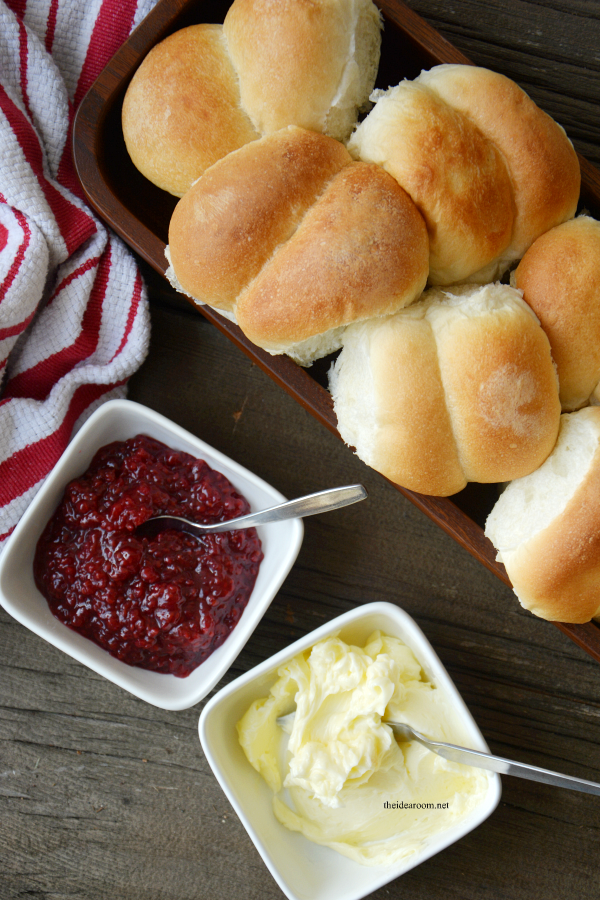
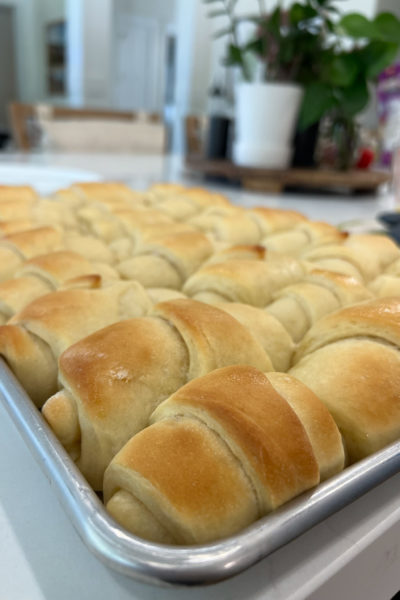
How to Make Rhodes Rolls Copycat Recipe
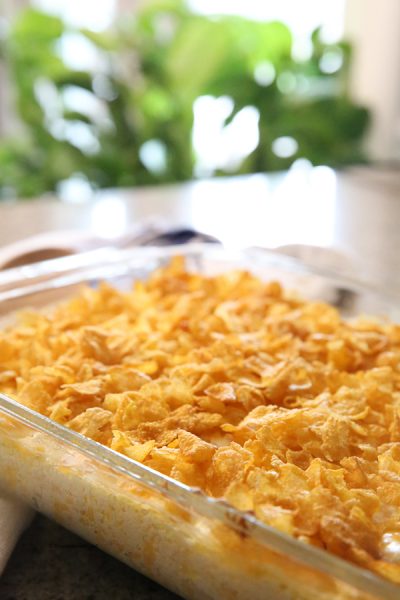
The Best Cheesy Potato Casserole Recipe
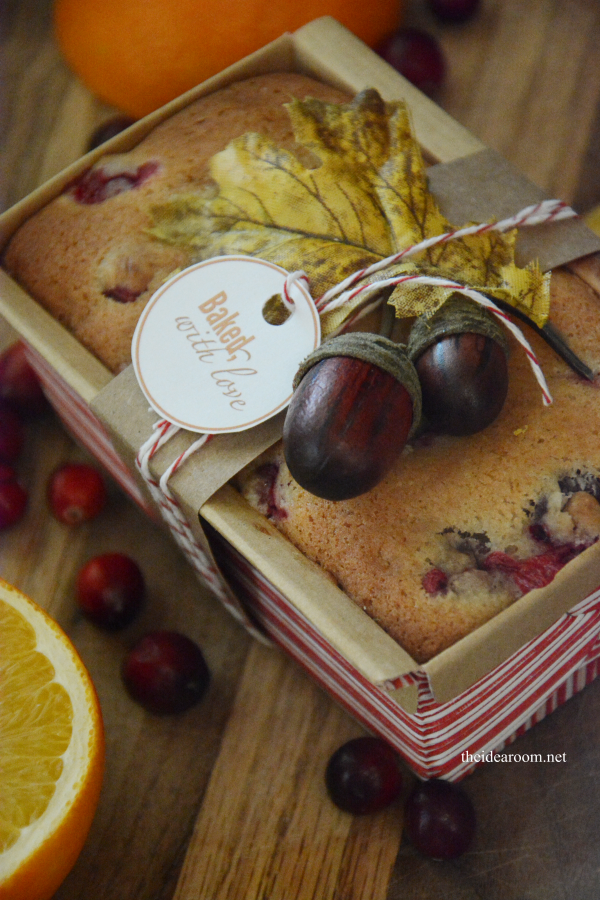
The Best Cranberry Orange Bread Recipe
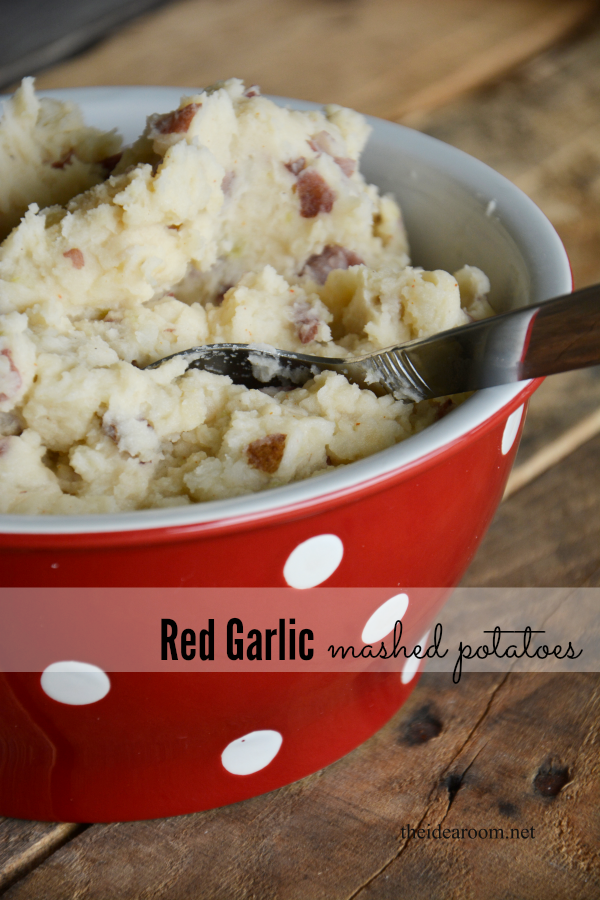
Garlic Mashed Potatoes Recipe
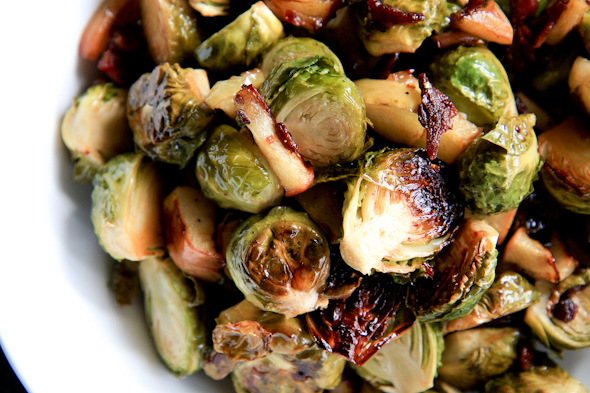
The Best Thanksgiving Appetizers to Serve
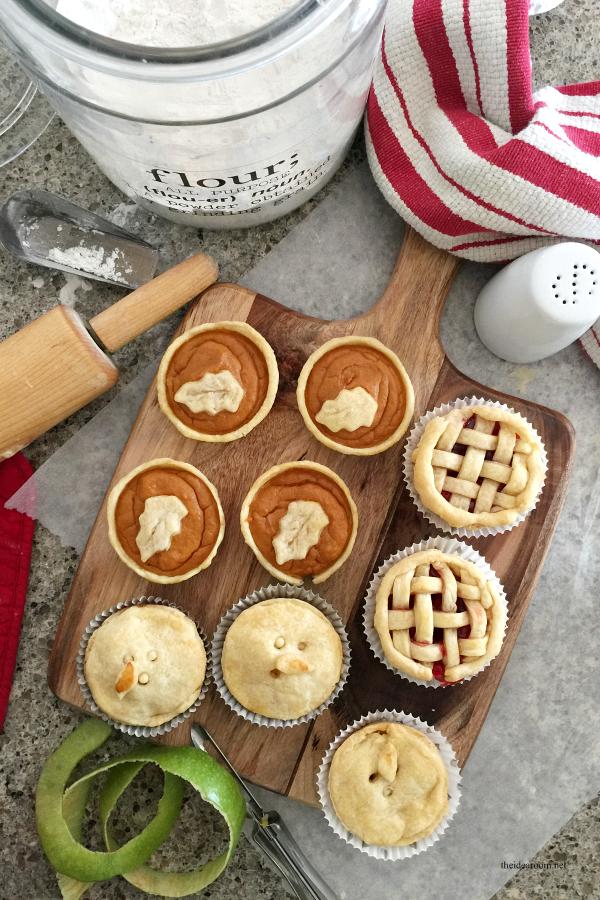
Mini Pies
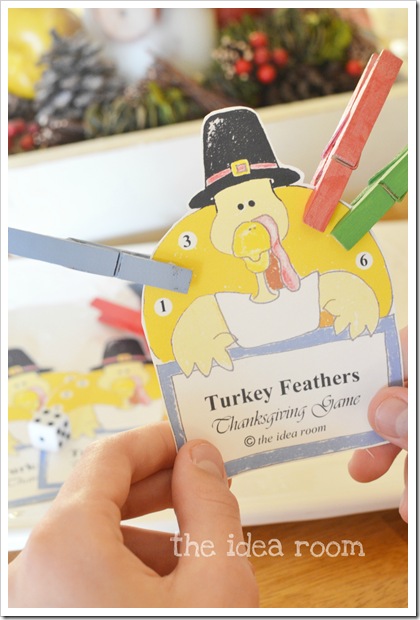
Free Printable Thanksgiving Game For The Whole Family
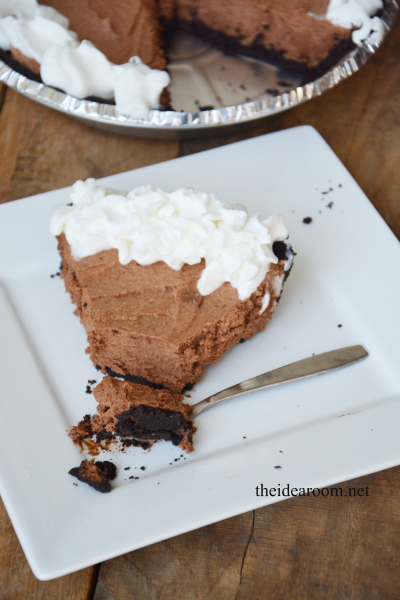
Chocolate Silk Pie
- 1
- 2
- 3
- …
- 7
- Next Page »


