
*This is a sponsored post with Cricut. I am so honored to be working with a company I adore and use in my own home.
Introducing you to a new and exciting Iron On Vinyl from Cricut…SportFlex Iron On Vinyl. Learn how to use it and create iron on projects that are able to stretch along with your athletic clothing!
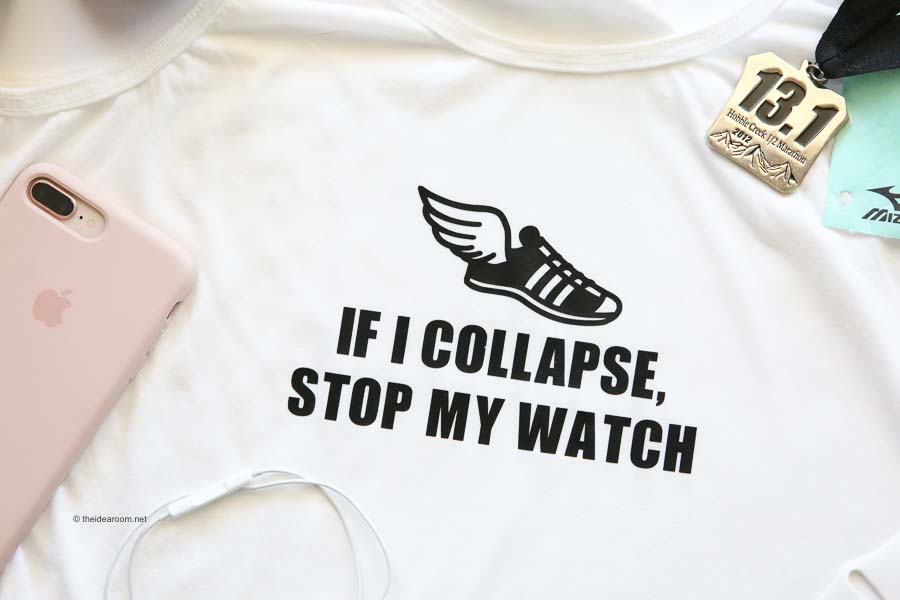
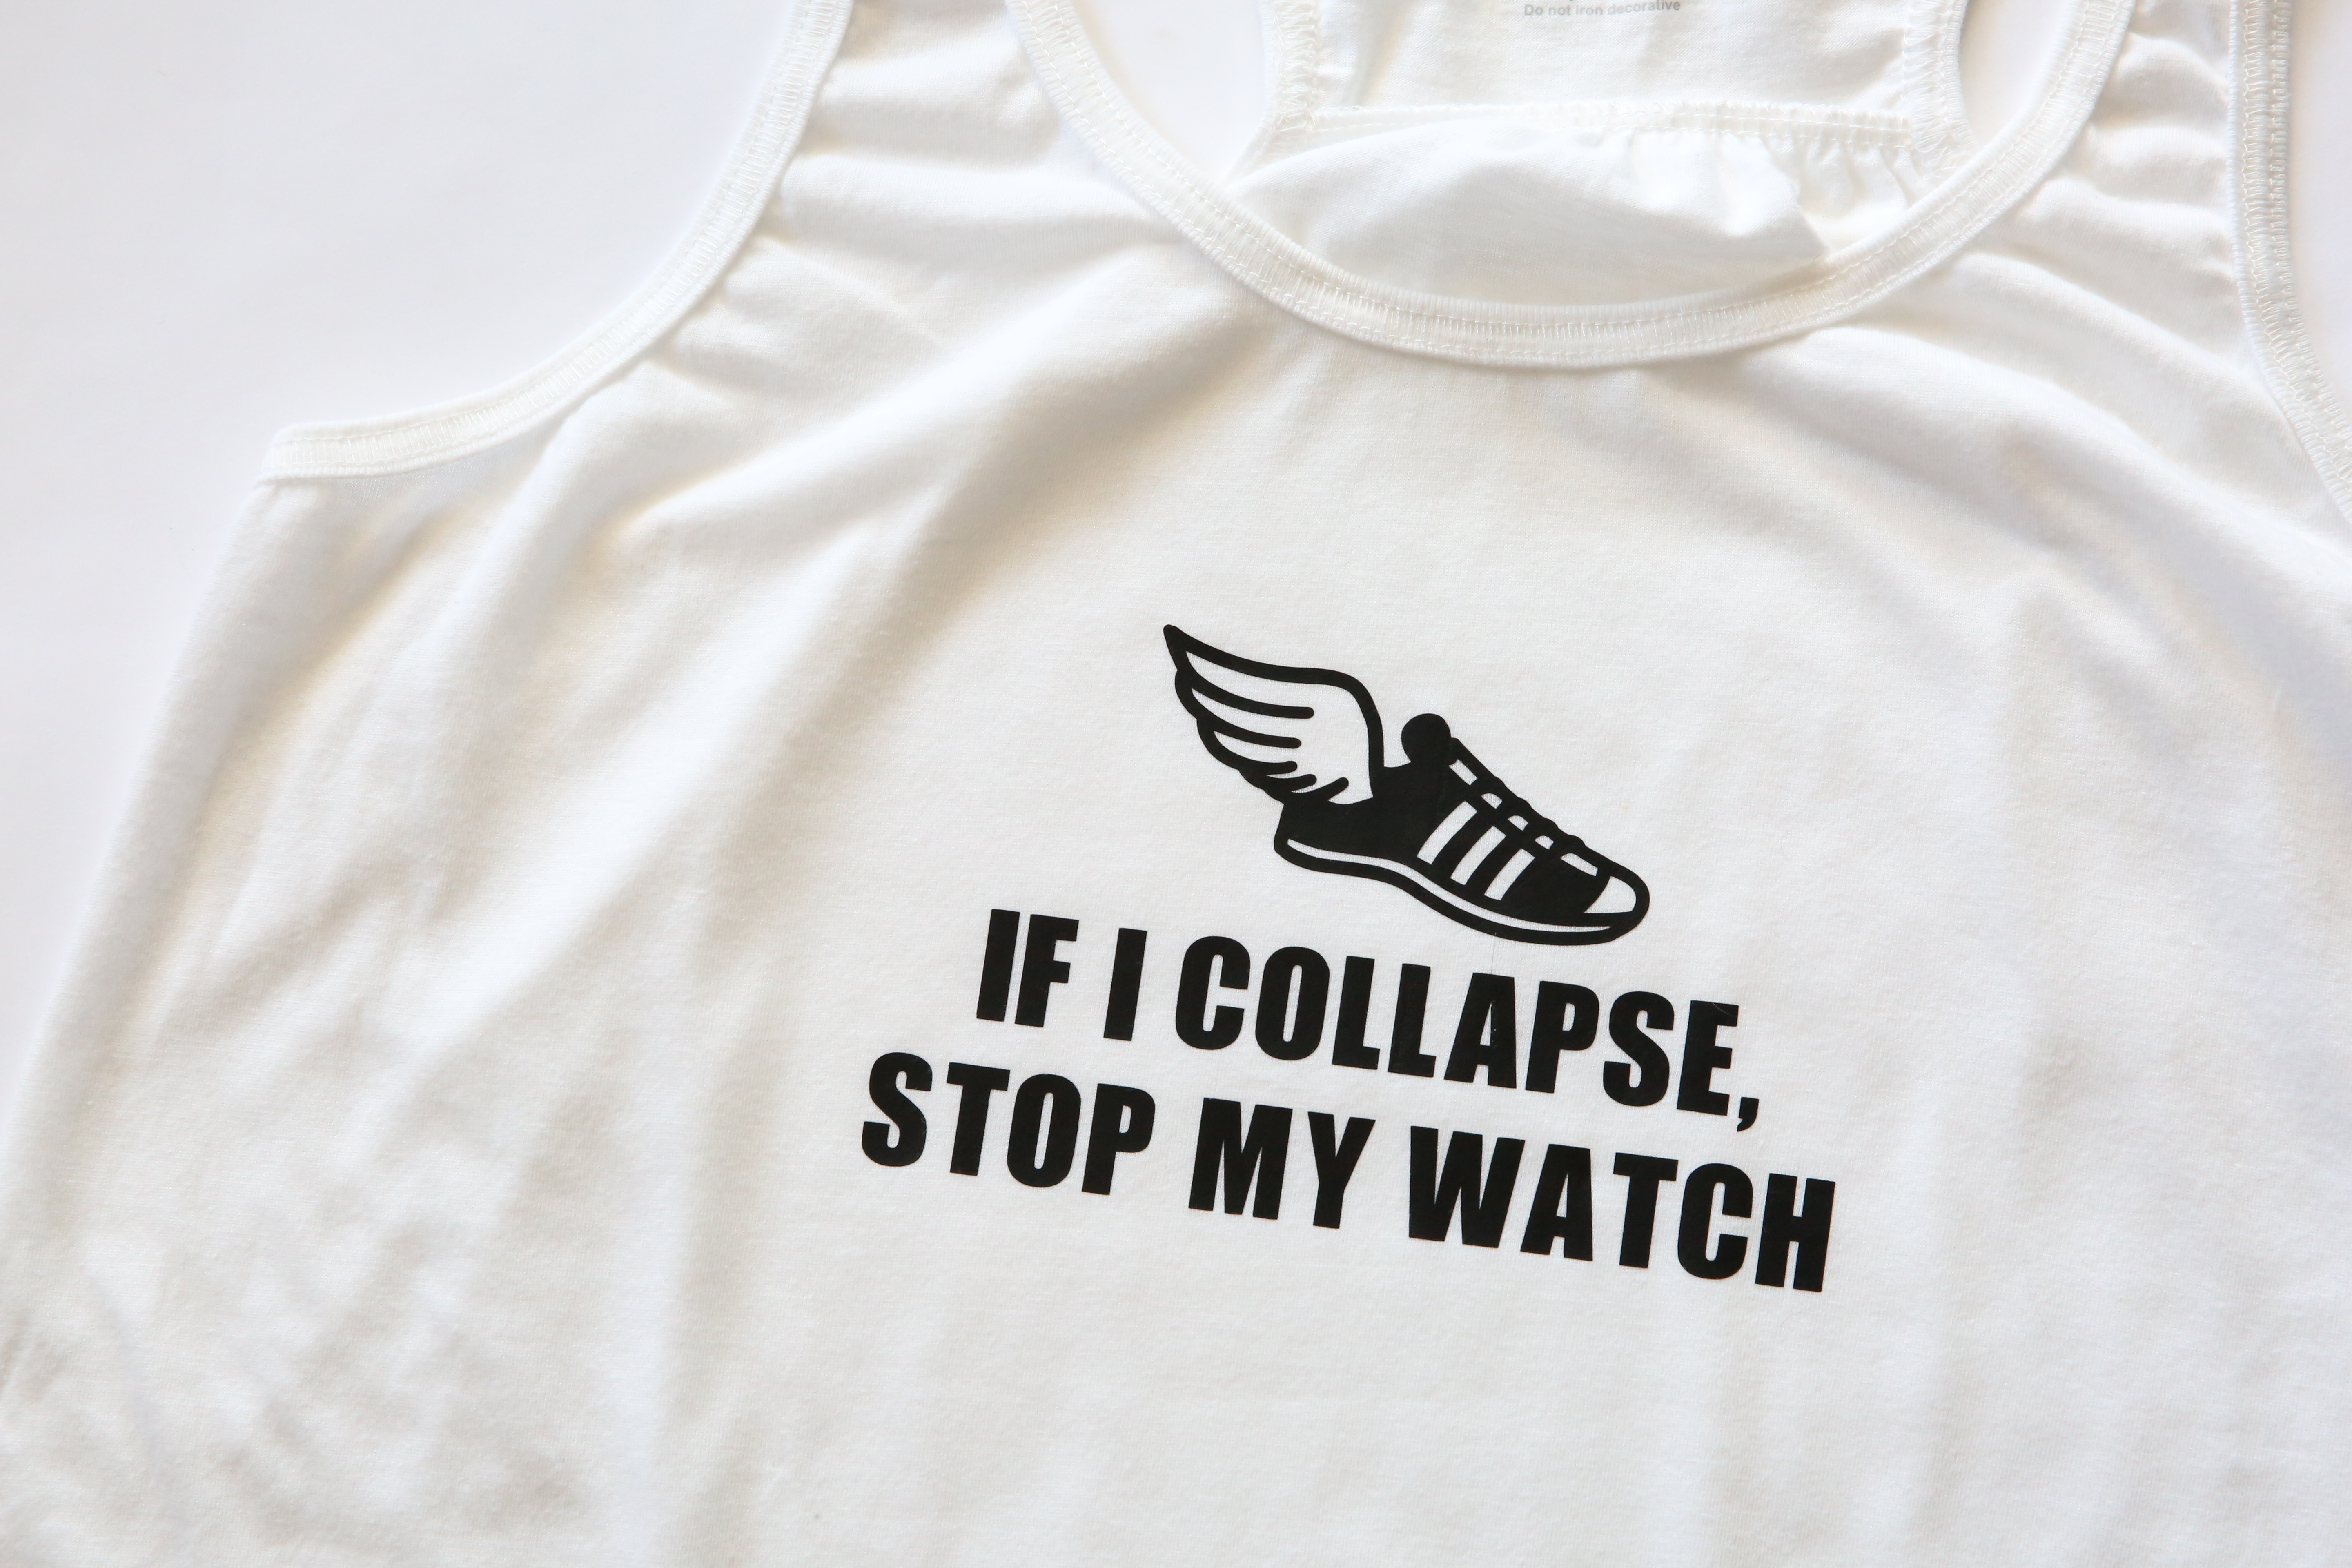
Today I am sharing with you this cut file so you can make your own DIY Running Shirt just like the one I made. If you are a runner, I am sure you will understand the importance of stoping that running watch. Haha! I am excited to be partnering with Cricut to share with you the release of their exciting new product…SportFlex Iron On Vinyl! This is a game changer you guys and I am so impressed by the quality of this iron on. I can’t wait to customize all my workout gear!
CRICUT IRON ON
SportFlex Iron On Vinyl
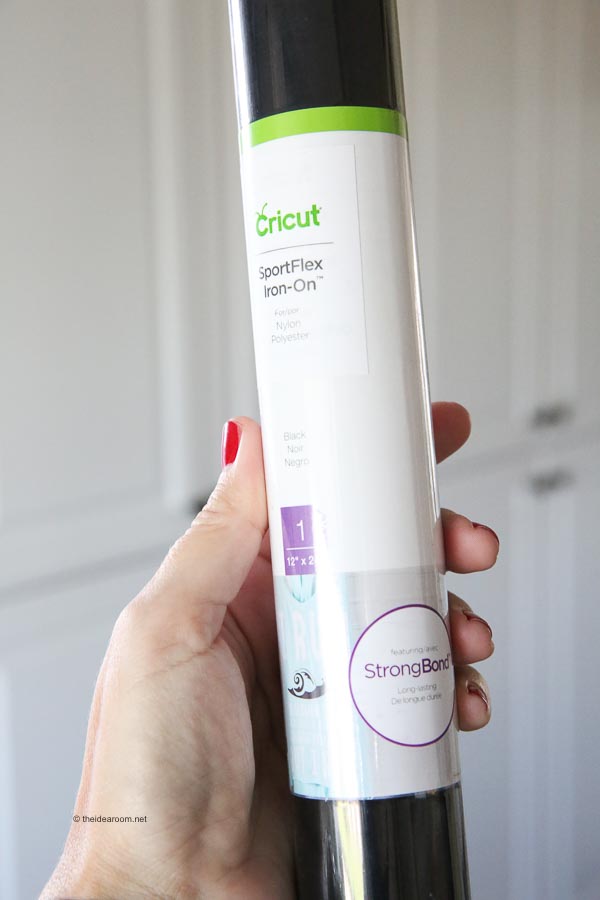
Cricut recently released their brand new SportFlex Iron On Vinyl and I am so excited to be able to share it with you! The SportFlex Iron On Vinyl is made for tech fabrics like Nylon and Polyester! So, it’s the perfect choice to use when you are creating an iron on for activewear.
The vinyl is thin, flexible, stretchable and lightweight! So it is perfect to use for your kids athletic teams, or your own exercise and athletic wear!
Cricut SportFlex Iron On Vinyl Colors
- Orange
- Red
- Midnight
- Bright Yellow
- Fushia
- Metallic Gold
- Metallic Silver
- White
- Black
With the SportsFlex Iron On, you can layer different colors of the vinyl on top of each other, but Cricut suggests not layering more than two layers together for best results.
The SportFlex Iron On comes as one roll in an 11.8” x 24” sheet.
HOW TO USE CRICUT IRON ON VINYL
CRICUT DESIGN SPACE
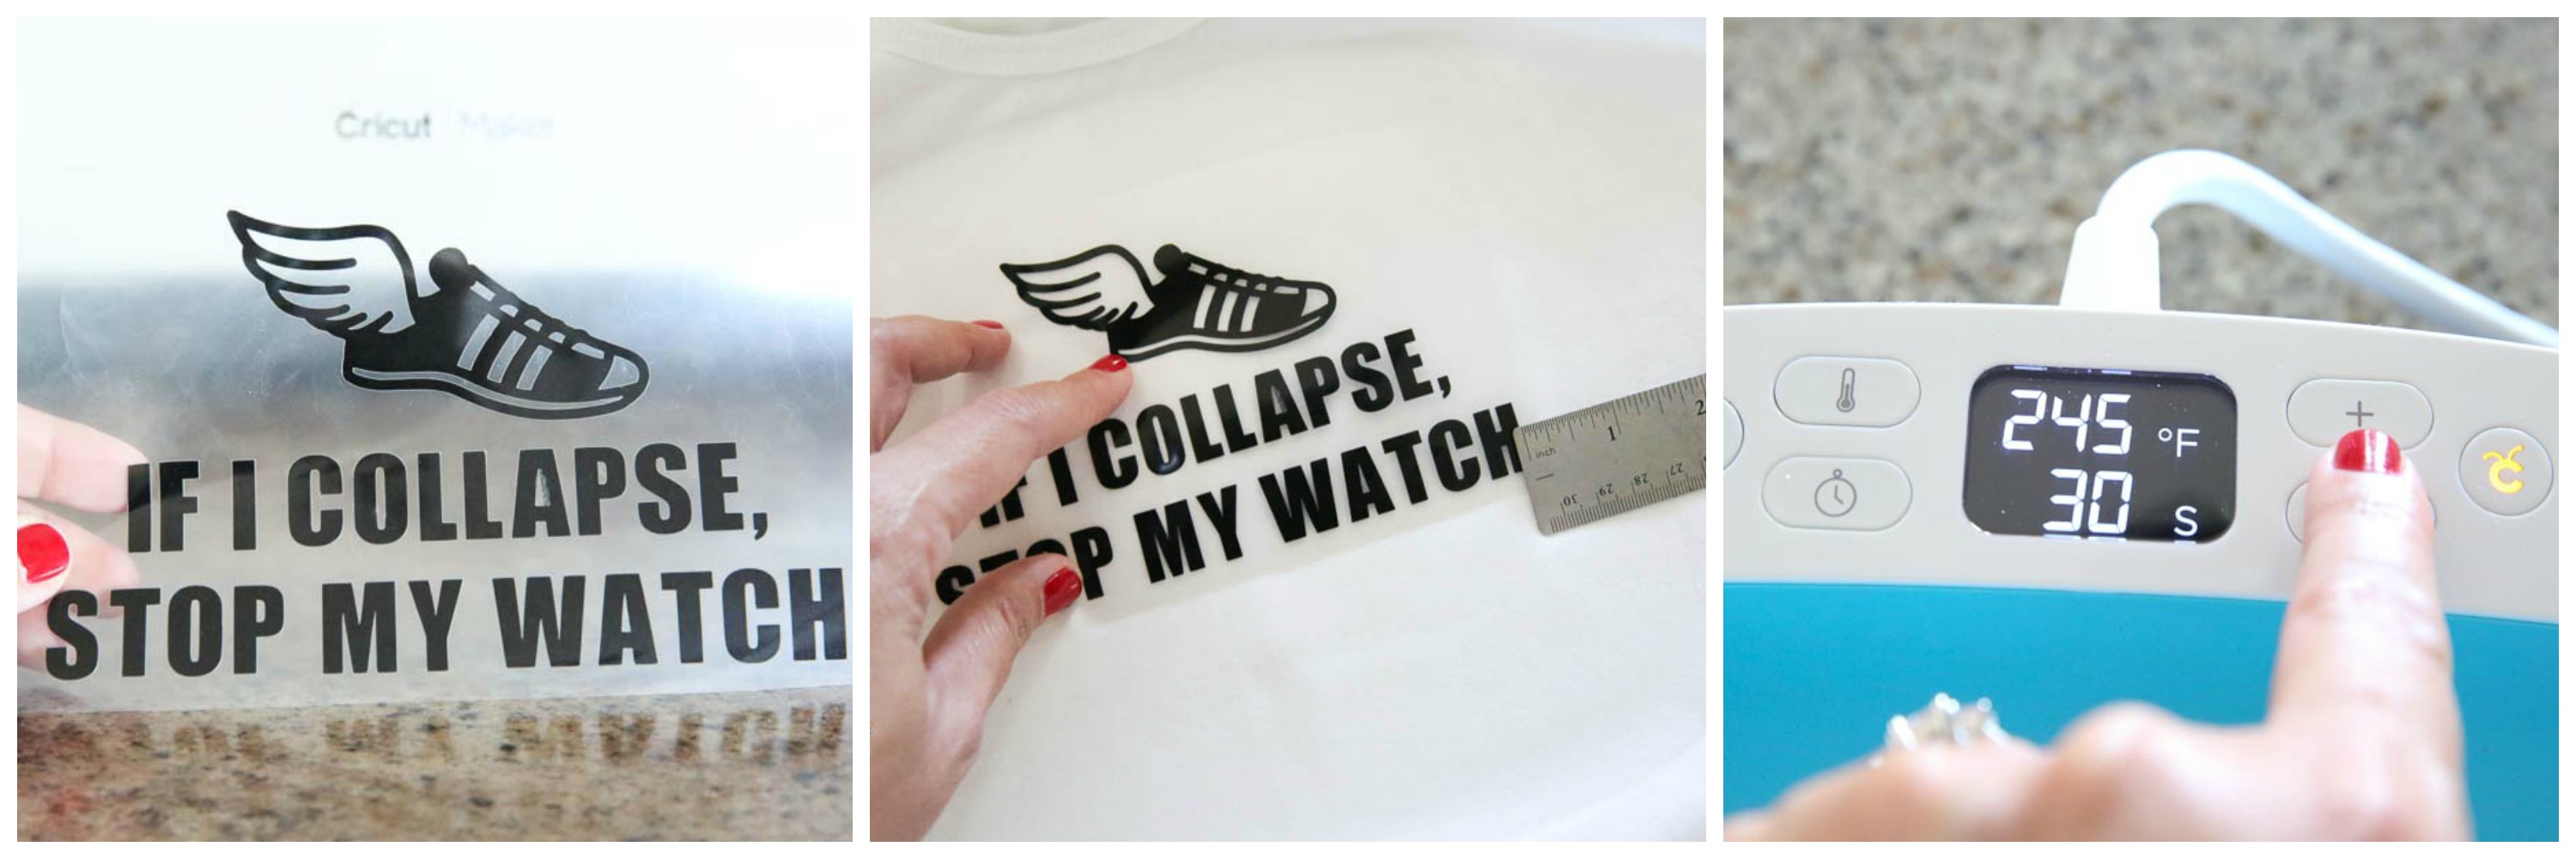
Here are the step-by-step instructions for creating this project. Click on the button below to be taken to my DIY Running Shirt Cut File (pictured) so you can make your own!![]()
- Design your cut file in Cricut Design Space, or use a pre-designed cut file and then make sure it is the size you need to fit on your material.
- Click on the green box “Make It”.
- Turn on the Mirror function. (You always need to do this for iron ons).
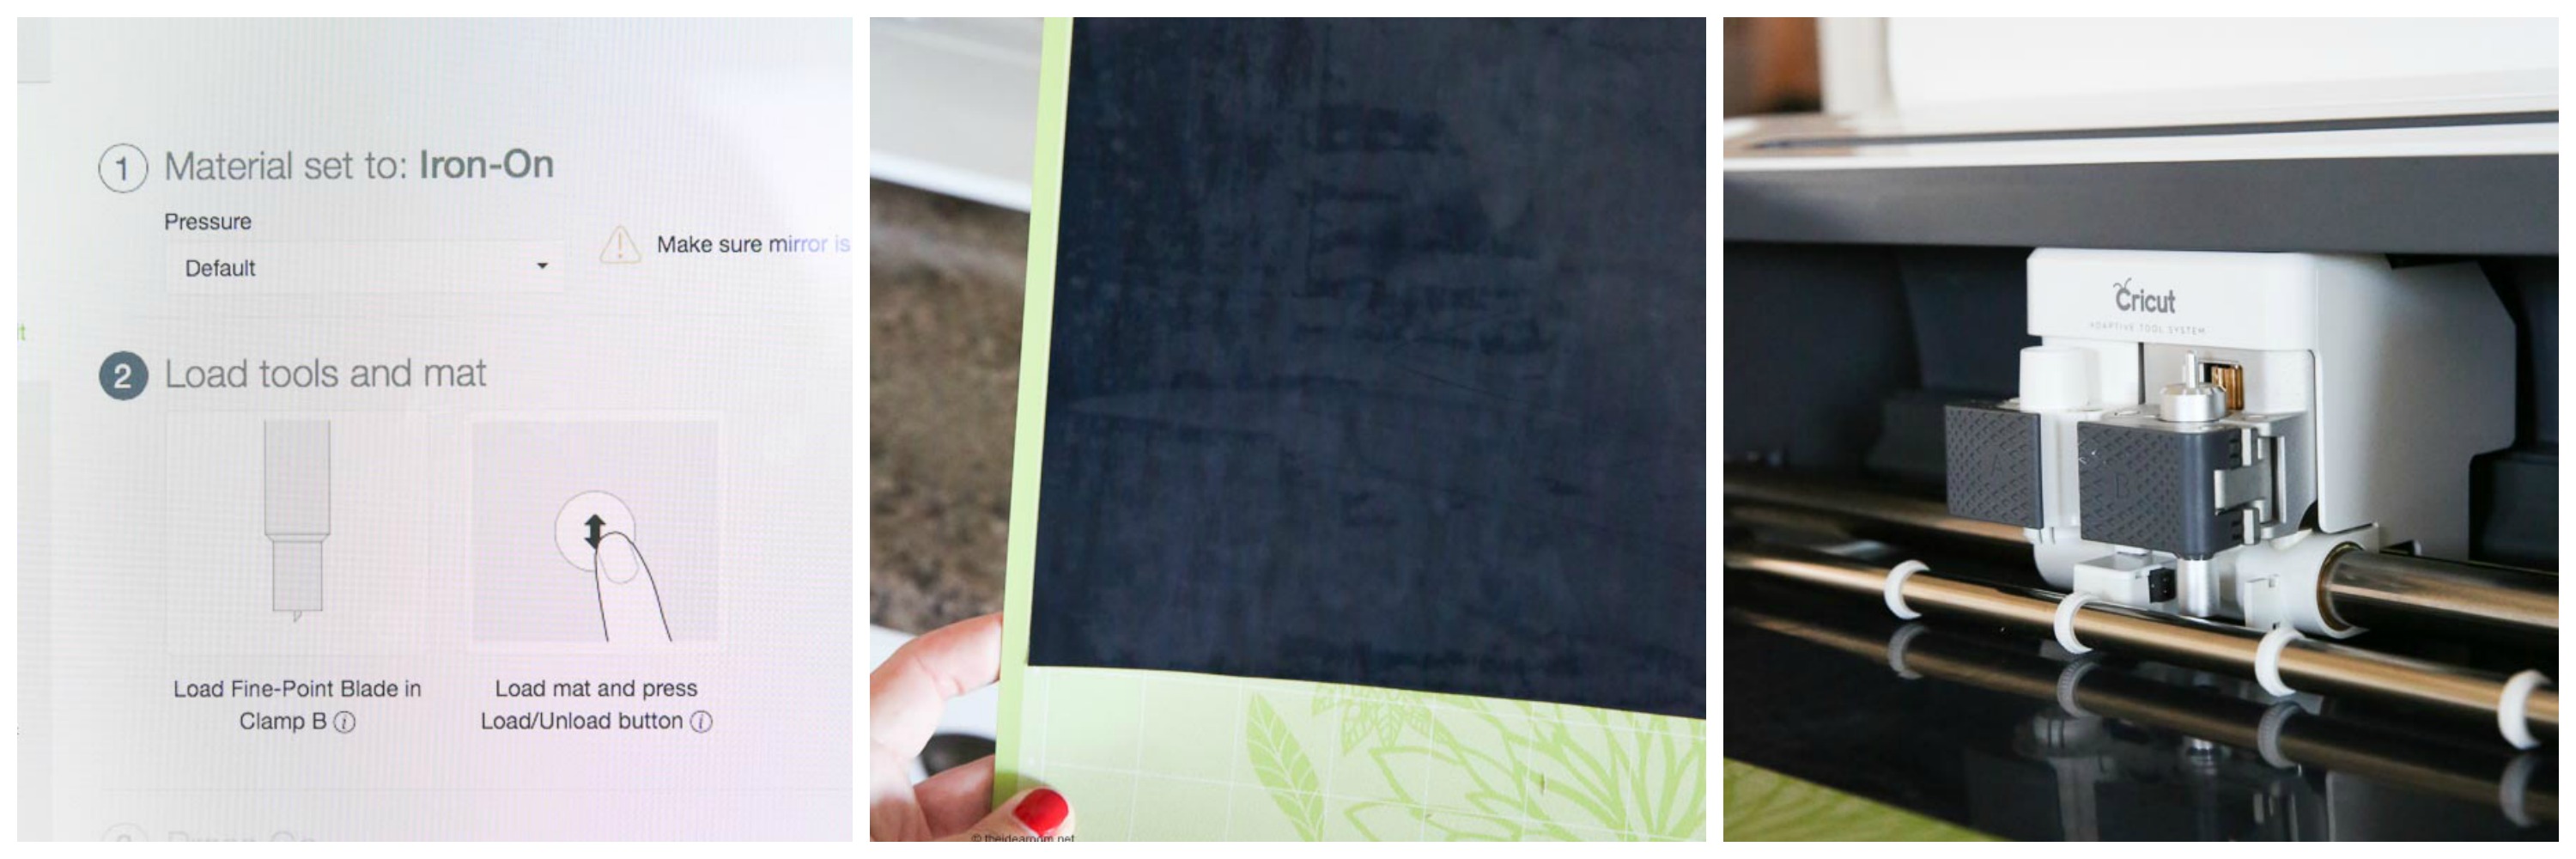
- Choose iron vinyl as your material.
- Cut a piece of your SportFlex Iron On Material to fit your design and place it onto a light grip cutting mat so that the shiny side of the material is facing down on the mat.
- Cut your project on your Cricut Machine. I used the Cricut Maker.
- Remove the project from the mat and then weed out the excess iron on material with a cricut tool.
- Measure so that your iron on is centered and where you want it on your garment.
- Use the EasyPress or an Iron to iron on your vinyl. (See below for specifics on how to use the EasyPress).

HOW TO USE CRICUT EASY PRESS
EASYPRESS SETTINGS FOR SPORTFLEX IRON ON
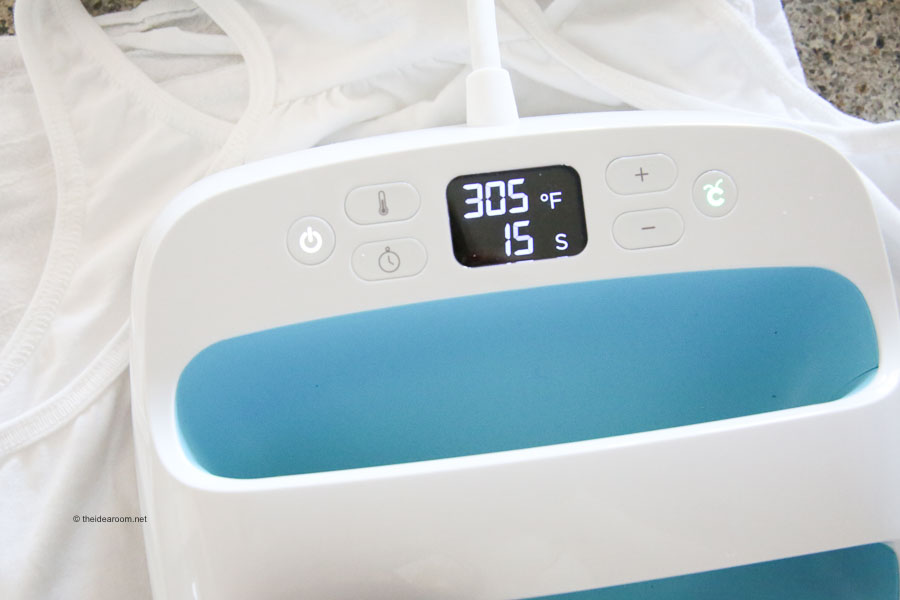
- Plug in the EasyPress and set the temperature to 305 degrees F and let it heat up.
- Preheat the material where you will be applying the vinyl for 5-10 seconds with the EasyPress. Remove.
- Set the timer to 30 seconds.
- Place the vinyl on your material where you want it.
- Hold the EasyPress with a medium pressure on the vinyl for 30 seconds on the front of the material.
- Turn the material over and hold the EasyPress on the back of the material for 15 seconds with a medium pressure.
- Remove the EasyPress and let the vinyl cool.
- Carefully peel away the plastic backing.
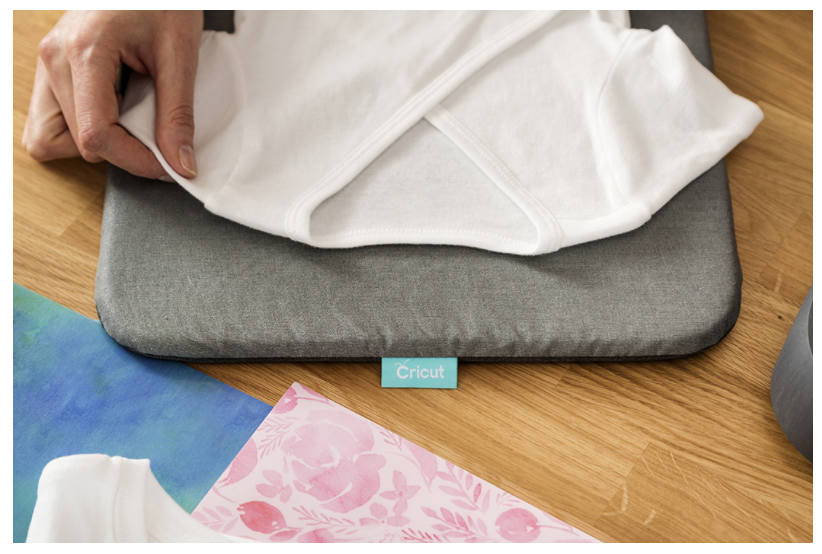
CRICUT EASYPRESS MAT
The Cricut EasyPress Mat is ideal for flawless iron-on transfers for with your Cricut EasyPress!
- Innovative construction eliminates moisture and directs heat to the iron-on design
- Shields your work surface from damaging heat and moisture
- Also perfect for pressing sewing projects
EASYPRESS MAT TIPS
- Mat is one-sided. Be sure when you use it that the correct side is facing up while pressing. This allows the mat layers to function as designed for flawless transfers.
- EasyPress temperature settings for use with the EasyPress Mat are different than settings for use with other pressing surfaces. (See printable guides below).
- Keep the EasyPress mat dry. If necessary, wipe clean with a damp cloth.
- Surface of the mat will get very hot during use.
- Store flat, not rolled, for best results.
- Mat is intended for momentary application of heat as per instructions. Heat left unattended may cause damage or discoloration.
EASYPRESS IRON ON GUIDE
Knowing how long to apply heat to your iron on can be confusing. So I created a simple guide for you. to grab it click on the link here:
Cricut EasyPress Iron On Guide
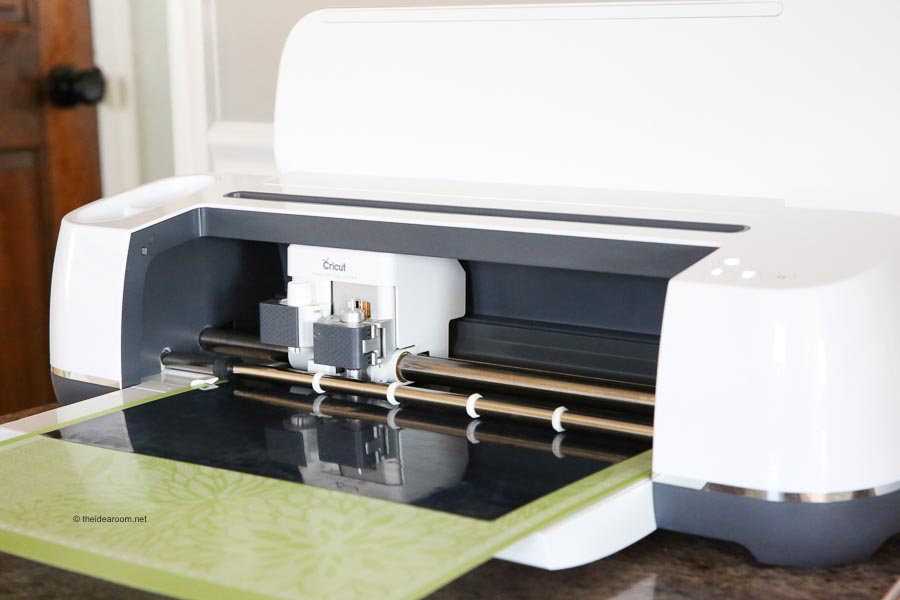
CRICUT MAKER
My favorite Cricut Machine is their Cricut Maker. I love how versatile it is and use it all of the time on projects in and around my home. From cutting sewing patterns out of material, making homemade cards to cutting vinyl to create large wood signs in my home, this machine can do almost anything! If you are interested in learning more about it’s capabilities, check out the post I shared here about the Cricut Maker.
Happy crafting! I would love for you to shoot me an email or leave a comment below if you end up making one of these shirts! I LOVE running and am always looking for a fun and unique running wear! Now I can create my own and make them exactly how I want them!
Cricut also released some new and exciting Patterned Iron On Vinyl! You can check the different colors and patterns they currently offer. So many fun ones to choose from, you might have a difficult time narrowing down which ones to begin with!
CRICUT MACHINE
CRICUT PROJECTS:
- Kitchen Hand Towel
- Pumpkin Wood Sign
- Thankful Wood Sign
- Kitchen Wood Sign
- Toothfairy Monster Pillow
- Constellation Lacing Cards
- Summer Tote Bag
- We’ve Moved Cards
- Animal Bookmarks
What will you use the new SportFlex Iron On Vinyl for? I can’t wait to hear what you are going to use it for!
This is a sponsored conversation written by me on behalf of Cricut. The opinions and text are all mine.
JOIN OUR NEWSLETTER
Would you like more Recipes, DIY, Printables and Organization Ideas?
Subscribing to the newsletter will enable us to periodically send you creative content exclusively for Idea Room subscribers.
*View our Privacy Policy here.


Hi my name is Cheryl. I AM USING THE SPORT FLEX VINYL FUSHIA ON A MAKEUP BAG TO PERSONALIZE IT. IM GOING TO USE AN IRON. WOULD I DO THE SAME TEMP & TIME AS I USE FOR GLITTER VINYL IRON ON? THANK YOU, YOUR OTHER INFO ON THE PRESS IS VERY INFORMATIVE BUT I DONT HAVE ONE. THANKS AGAIN CHERYL
Here is the temp for the glitter vinyl: Temperature: 320°F/160°C. Pressure: Firm. Press Time: 10-15 seconds *Preheat all fabric prior to pressing for best results!* Peel: HOT.
I wish I had an easy press, but unfortunately I’m still using an iron. I was hoping to find instructions for how long to leave the iron on the sportflex for best adhesion.
Vicki- I am not sure. The easy press is to be set at 305 degrees F and held there for 30 seconds. Not sure if this is helpful though.
Hi there! I know this post is very old but will you clarify if the temperature for an actual heat press is also 305 degrees? I can’t find that info anywhere! Thanks a bunch!!!
It can get as hot as 400 degrees.
Hi Amy
Do you know if sportflex iron can be used on the waistband of boxing shorts. The waistband is elastic. Think Rocky, and his name is on the waistband. Any helpful hints are appreciated.
Thank you so much!
Gini- I think it would be fine to use on waistband.