
Here are 2 self portraits I took this week. One in the mirror because I was happy to squeeze into a skirt that I got 6 years ago and can wear it again (hooray).

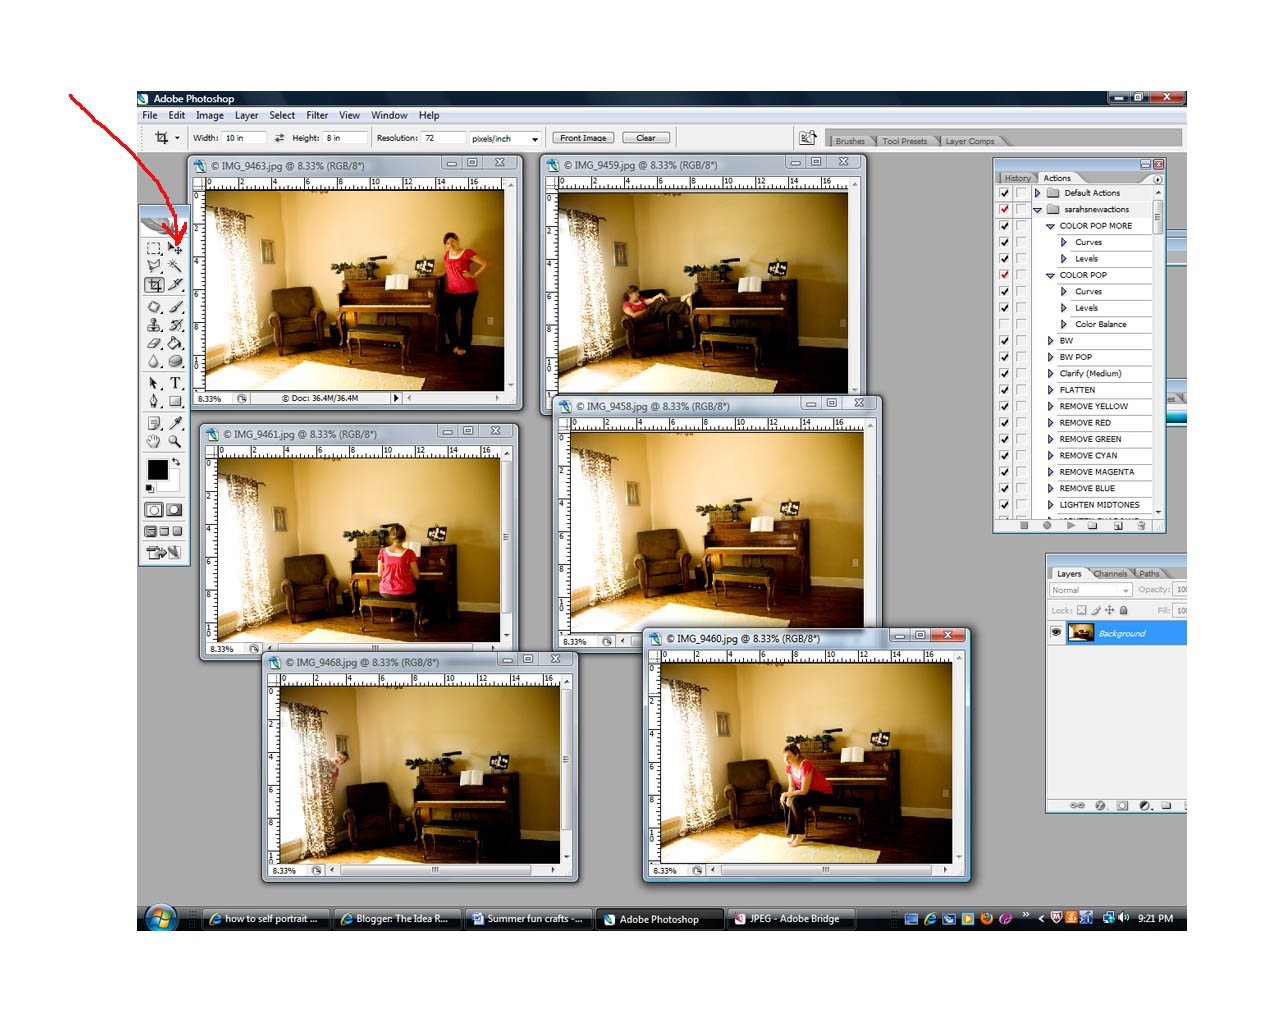
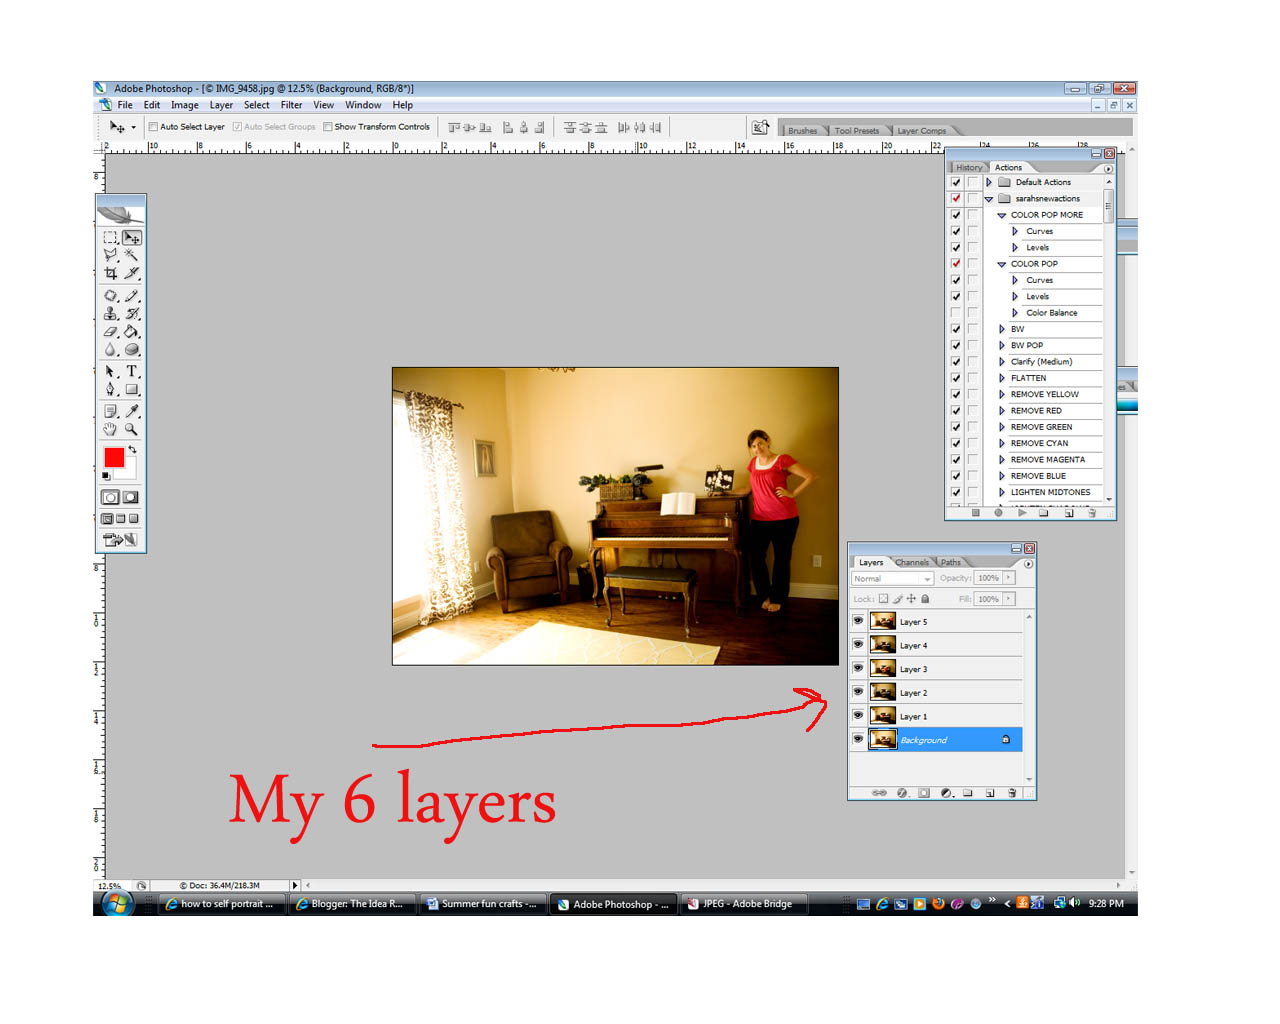
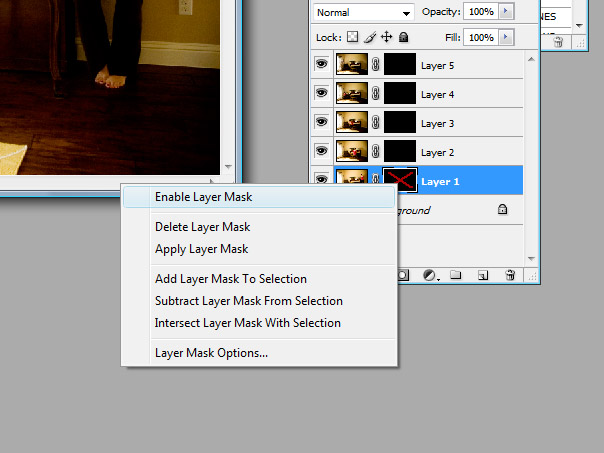
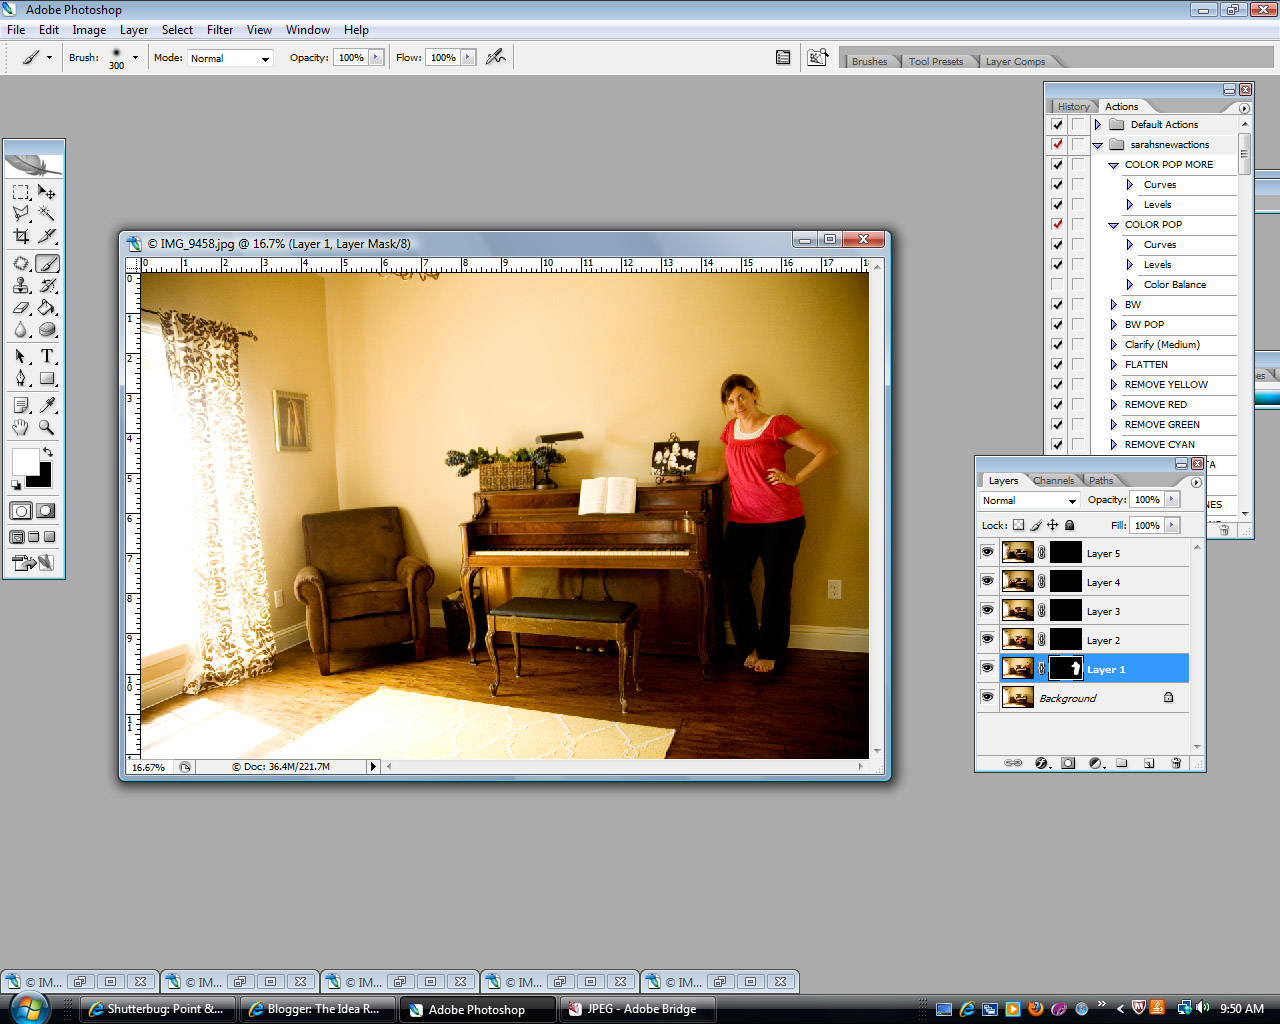
Then, I learned how to merge images from my friend (more about her later). It was so much fun to be creative with my photography and do something FUN! I did use photoshop for the merging.

So, I ask, do you want your family to have ZERO memories of you because you are always the one behind the camera? NO! Neither do I. I am often handing my camera to my husband and saying, “please document me at this event.” I want to be there in the photos, too! Do I feel silly/vain/annoyed passing the camera over because I wish he’d think of it himself? YES! But I do it anyway because I want to be represented (I just did it for my daughter’s birthday party pictures, here). I want my family to remember that I was present in their lives through the images they will view years from now. Am I always happy with how I look (weight, make up, hair, clothes)? Heavens, no! But I don’t let that stop me. I want to be remembered the good, the bad, and the beautiful. I want my daughters to know that I wasn’t always picture perfect, because that wouldn’t tell a true story of my life, and I want them to realize that mom isn’t perfect (and they don’t have to be, either).
Plus, I always say that if I don’t like myself in a picture, that is incentive to do something about it! Lose the weight, cut the hair, take 10 seconds to put on eye liner on every day–and then make sure I get pics of myself on those days:)
I am often surprised when taking portraits that the parents just want the kids in the pics. I understand they might not want a wall print of them–they prefer to look at the children, but at least be in a few to put in an album or in a family room out of the way for your children to see you together. I think it is important–for the sake of the children. **Edited to add: An Idea Room Reader posted this in the comments, but I thought it was so awesome, I wanted to share. CLICK HERE Another great reference HERE from another photographer with tips.
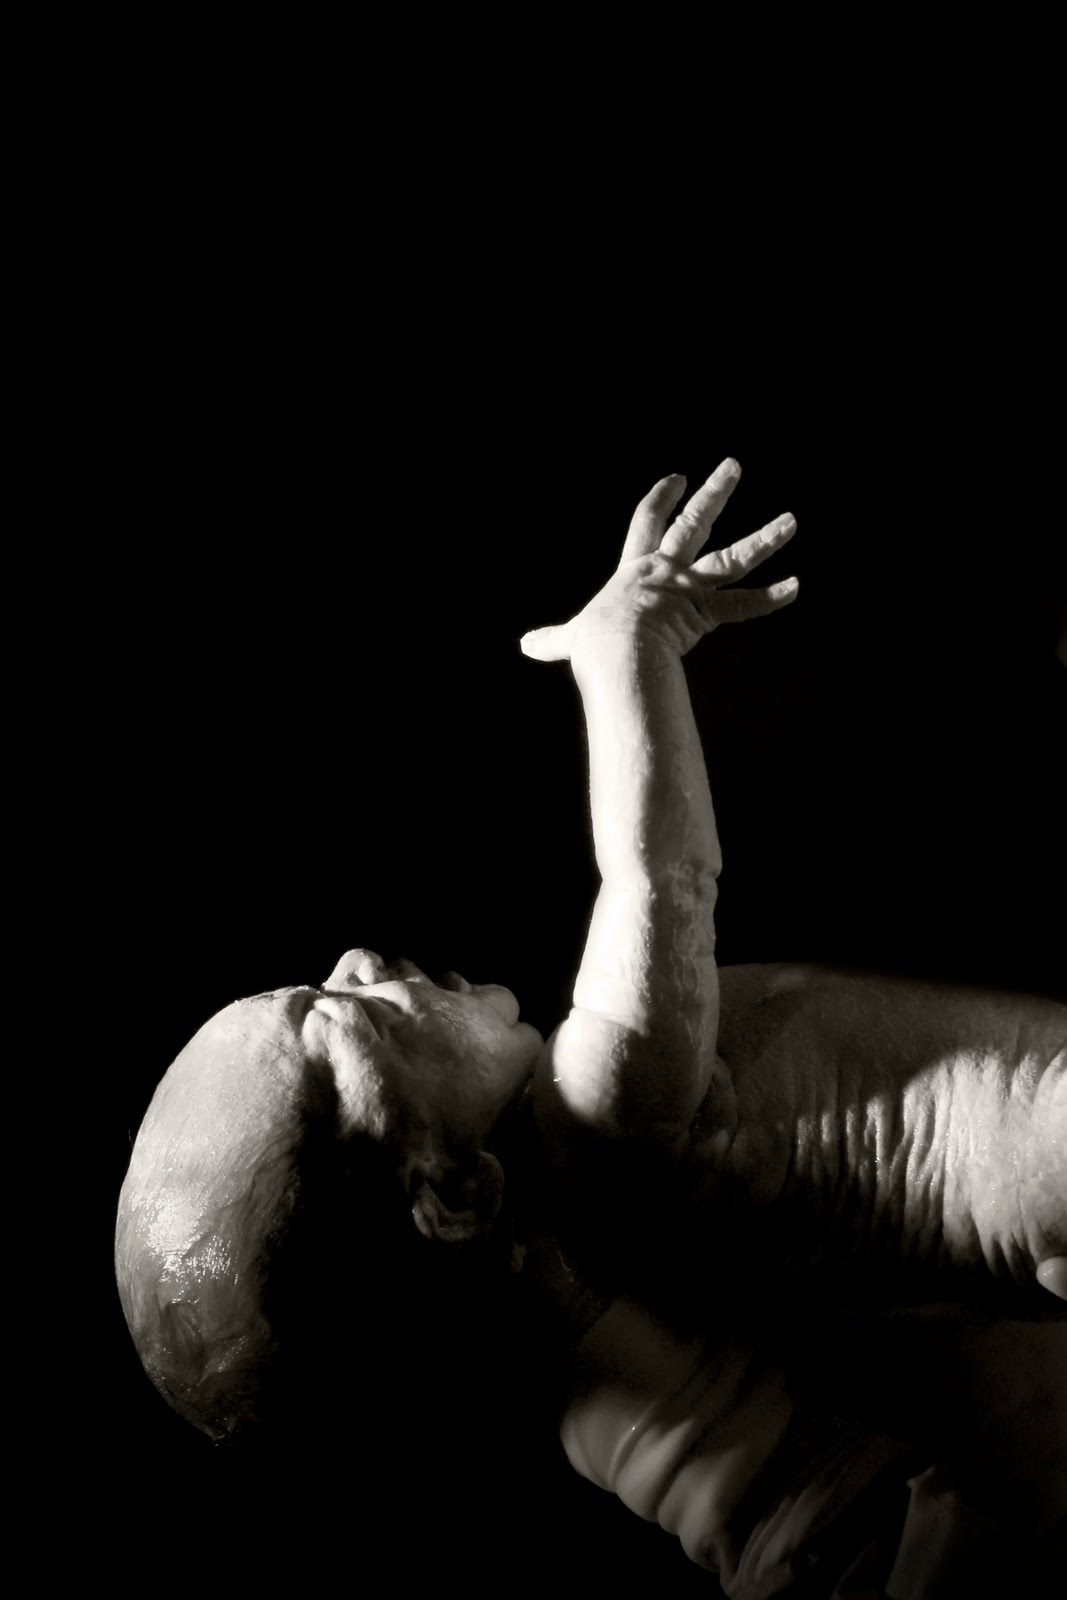
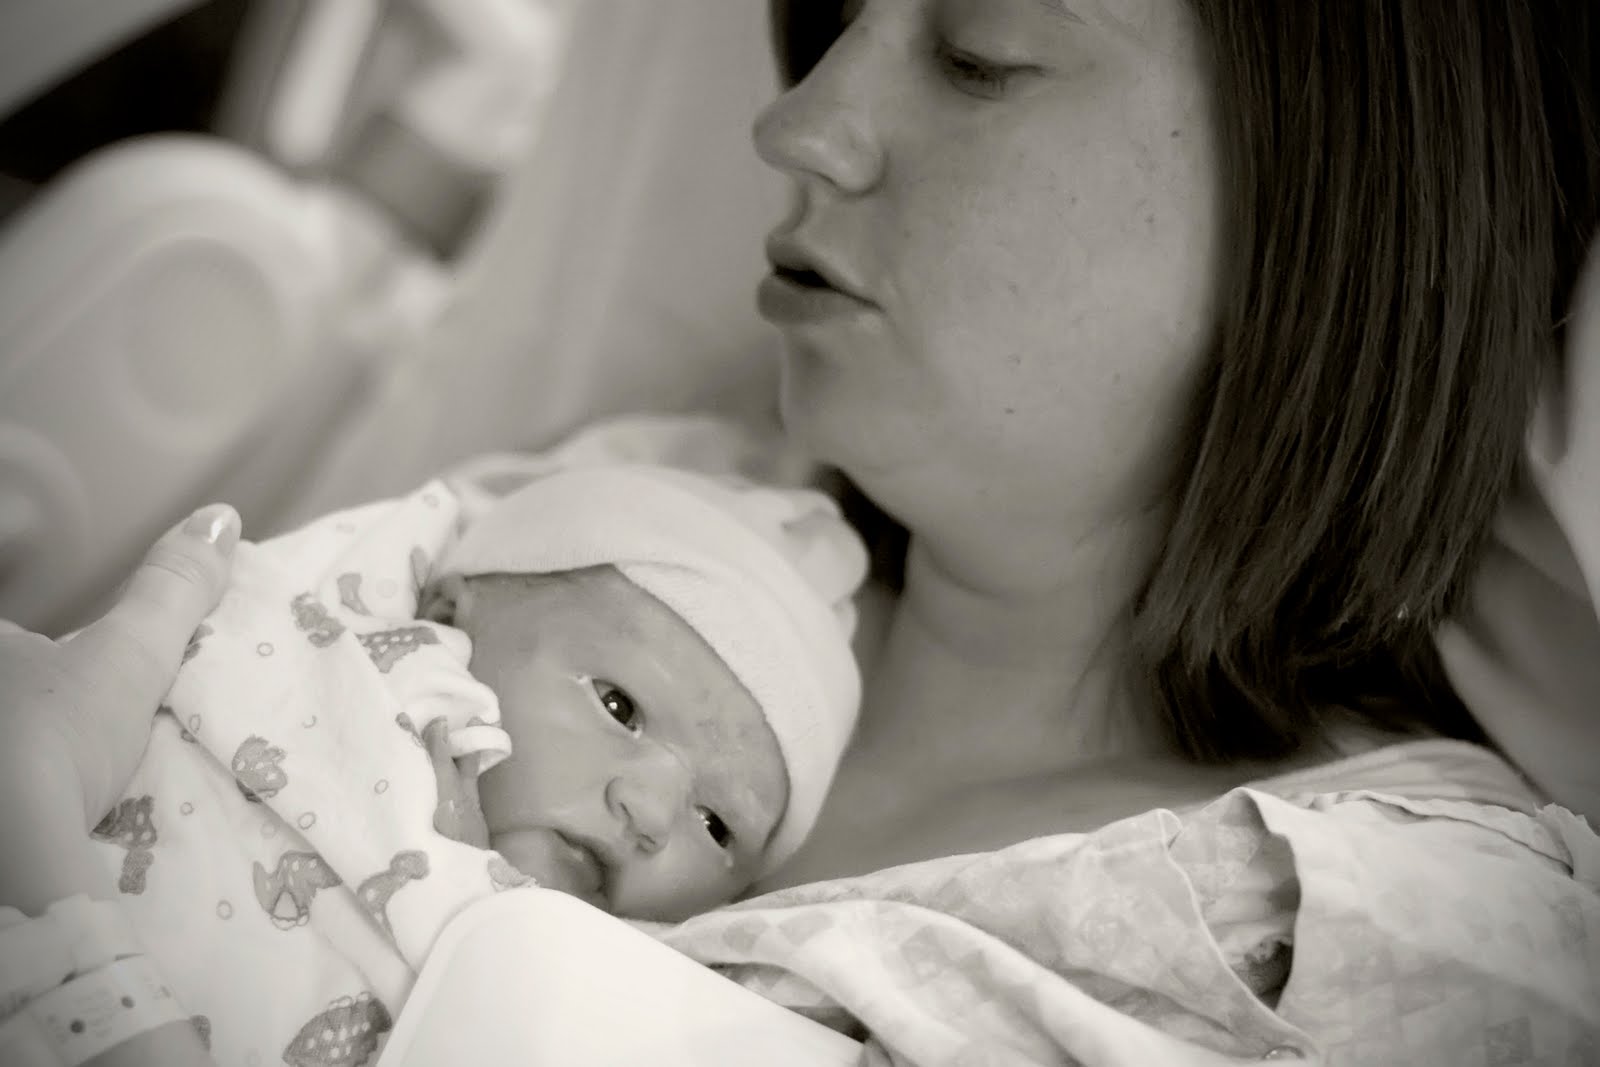
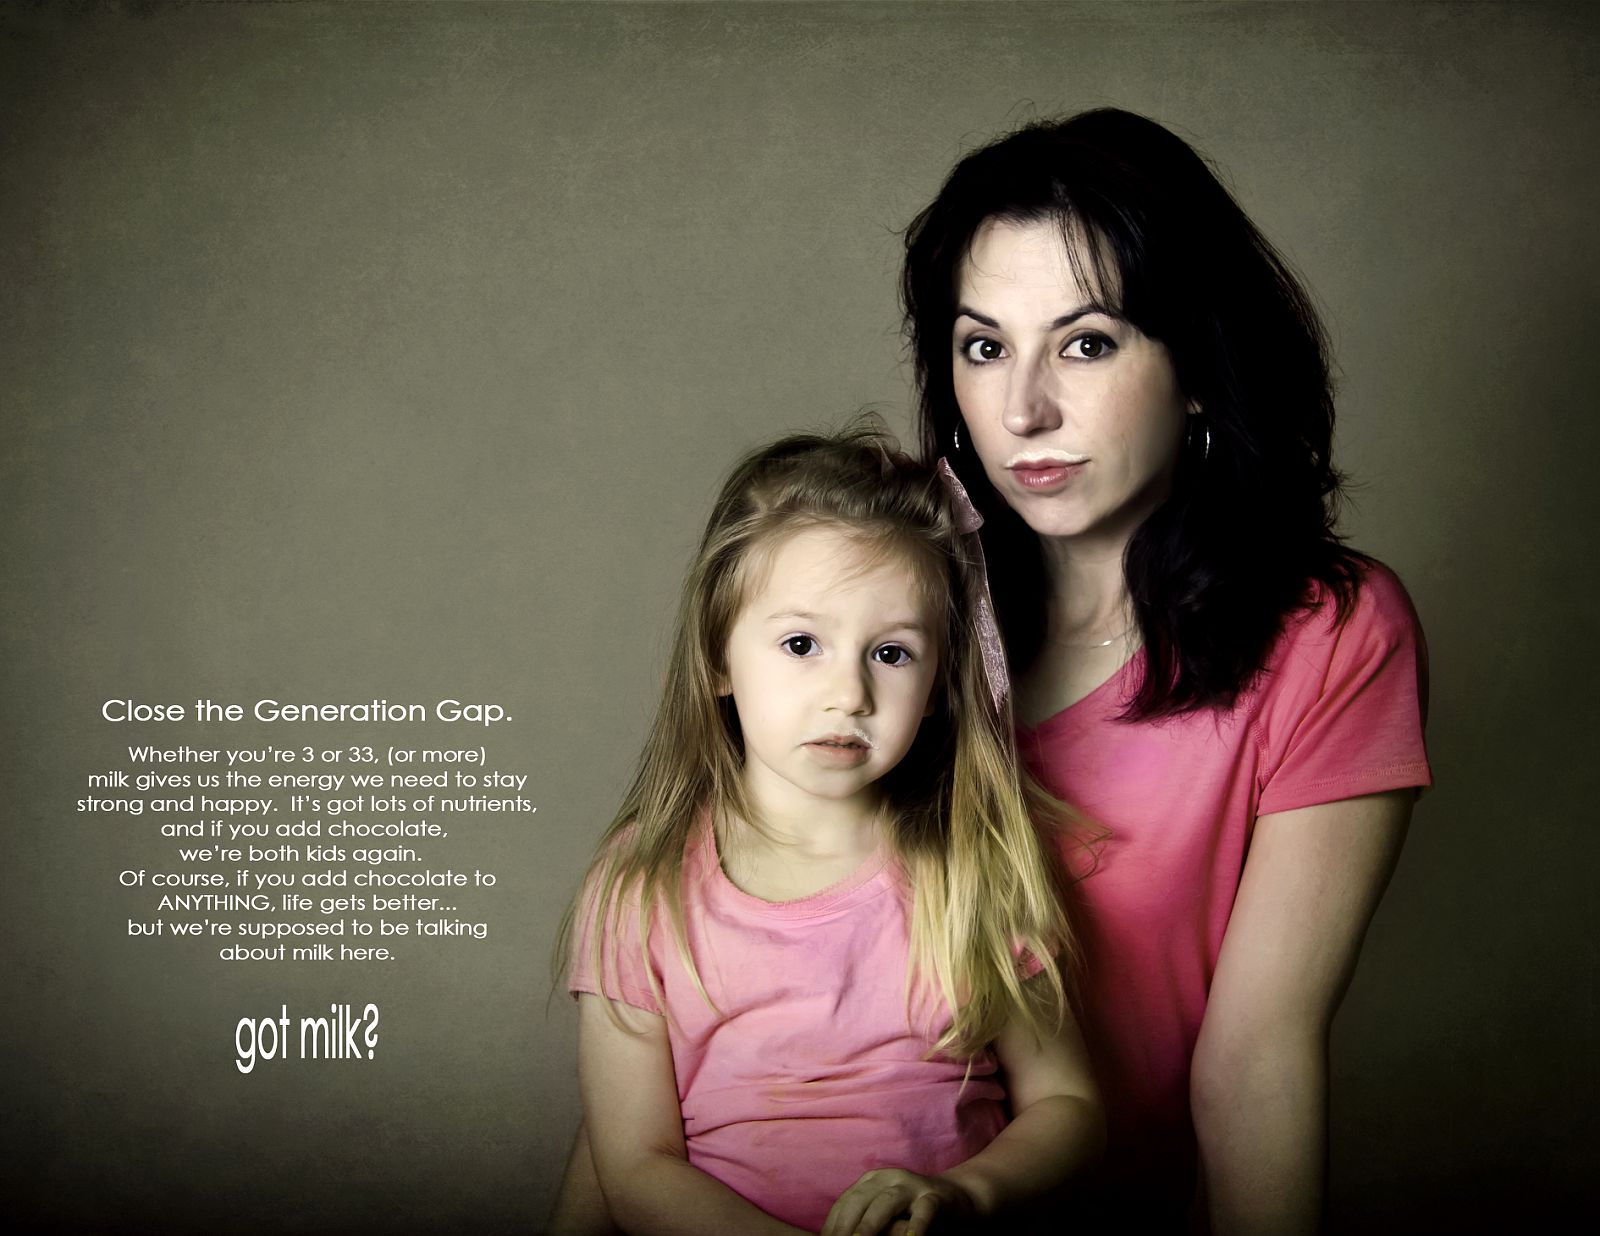
So now that I’ve got that out of the way–I will get off my soapbox. Let me tell you about my friend, Julie. She is an amazing photographer who constantly pushes herself to learn just because she wants to get better. She doesn’t even do it for money, just for fun! Do you want to know why I will forever LOVE her? Because she took these for me:


**Grab a button and you will have access to all of Kristen’s posts in one click!

<a href="https://www.theidearoom.net/search/label/Kristen%20Duke%20Photography" target="_blank"><img border="0" alt="Photobucket" src="http://i285.photobucket.com/albums/ll45/huntleygang/idearoom/idearoomkristendukebutton.jpg"/></a>
JOIN OUR NEWSLETTER
Would you like more Recipes, DIY, Printables and Organization Ideas?
Subscribing to the newsletter will enable us to periodically send you creative content exclusively for Idea Room subscribers.
*View our Privacy Policy here.


What a fun idea! Merging photos for that reason. I think I will do it tomorrow.
sorry this is late but you were featured here:
http://cupcake-mommie.blogspot.com/2010/06/sunday-blog-swop_20.html
have a great day!!!
I did a whole post on the same soapbox – moms are never in pictures!
http://craftedition.blogspot.com/2010/05/she-left-proof.html
And now I'm got to try the whole merging photos thing – looks so fun!
That skirt is SO cute and very flattering, looks like fun ideas! Love your blog :)
Love the photoshop tutorials and this one is great! I am always the one taking the photos and most of the time left out of them. What a fun idea!
This tutorial is great!! Thank you! Love the tips
What a fun challenge! I would love to submit a photo, but do not have a blog. When I tried to submit a photo it wouldn't let me since I left the "URL" blank. Any ideas for those of us who would like to submit but don't have blogs?! Thanks so much!!
Yes! Email me your name and image to kristenduke AT gmail DOT com
That is really cool!!
Thanks for sharing.
Audrey
aka AudreyGardenLady
I love the Photoshop tutorial. As a self taught Photoshop person, sometimes I get a tip I didn't know (but probably should have) and I'm so excited! (I didn't know the "shift" move thing. That would make things a great deal easier!) I can't wait to try all this out.
And also, my father passed away in an airplane crash when I was 8. He was the photographer at our home and there are only a handful of photos of him. They are precious. And have taught me a great deal about trying to get in front of the camera every now and then. We never know. And I wish there were more of him.
Such an important concept!! Thanks!
My grandmother was a plump woman – but she had a beautiful face and always took pride in her hair. In her 50's she suffered some disfigurement in her face & her hair of course turned grey. She always lamented that she had no pictures of herself in her younger more beautiful years. She told me to always remember to get in pictures, too. Moms may forget to take pictures of themselves for their kids' sakes. But you're a WOMAN too and you never know where life will take you. I have no kids but I want to have pictures of ME when I'm a notstalgic old lady. And that's not selfish!!
I love this post. I totally agree that mom's should take more pictures of themselves. I read that someone did a 52 week challenge of getting pictures of themselves every week with someone they loved. I'm going to set that as my goal as well. And thanks for the merging technique.
Question: That 1st photo of your baby with the black background? How did your friend get a black background and spot light look to the picture? I'm assuming you didn't bring in a backdrop and spot light into the delivery room?
Vanessa–I'm not quite sure what Julie did, but that was right as the baby "came out." I think the spotlight was above for delivery and that made everything around darker. No backdrop:)
Thanks everyone for further stories/examples of the importance of being in pictures!
I had the perfect opportunity to try out this awesome idea yesterday. I was doing senior portraits and asked the girl if she would mind posing for me. So it's not a self portrait but I wanted to share how it came out. I love it! It's definitely not perfect but now I know what I need to tweak for next time.
http://www.flickr.com/photos/31291728@N05/4736839274/
wow! love julie's pics! very fun!
WHAT a FUN AWESOME post!!….like always, I'm running late, and need to come back to this post!!
I linked up a self portrait I did back early in my 365…I had fun doing something different than what I usually do!
I can't WAIT to try some of the other ideas!! LOVE IT!!!
(sorry, I just linked to my flickr page, I don't have time to blog this right now……but I will link to this post on my flickr page!)
What cute pics, love the merging ones and the ones Julie did were so good!! I'm going to have to try some funny ones with my girls. Thanks for the tips and the reminder.
Pink Crush body butter from Treebee – fabulous!!
Thanks for that great tutorial! It was so easy, in a matter of 5 minutes I took 3 quick photos of my hubby in the loungeroom, and had them merged! I can't wait to try this out tomorrow with my daughter on her outdoor play equipment!