




Learn how you can get your home organized with my easy step-by-step organization course. My course is full of organization ideas as well as home organization tips and tricks to get your life and home organized and keep it that way.

ONLINE DECLUTTERING COURSE
For the past several months I have been putting together my Online Organization Course, The Balanced Home. I am excited to teach you my decluttering and cleaning process. These processes also teach you how to create simple routines and cleaning schedules which allow you to naturally maintain your clean and organized home.
No need to hire a professional organizer, or live with the clutter because you will have the skills and learn how to overcome any mental barriers or fears you might have to get started!
Stop Drowning in Household Clutter
Transform your space without the overwhelm. Join The Balanced Home Course for a step-by-step system to get your home organized and keep it that way for good.
Learn More & Join Today →

WHAT DOES THE ORGANIZATION COURSE COVER?
The Balanced Home Organization Core
($1,000 Value)Contains my core Decluttering and Organization Processes, which shows you how to:
- Learn how to declutter and organize your home–by learning processes and techniques that really work!
- Deal with stuff you don't know how to get rid of
- Understand what qualifies as hoarding
- Understand how to overcome hoarding tendencies
- Deal with your junk room or junk drawer
The Tools
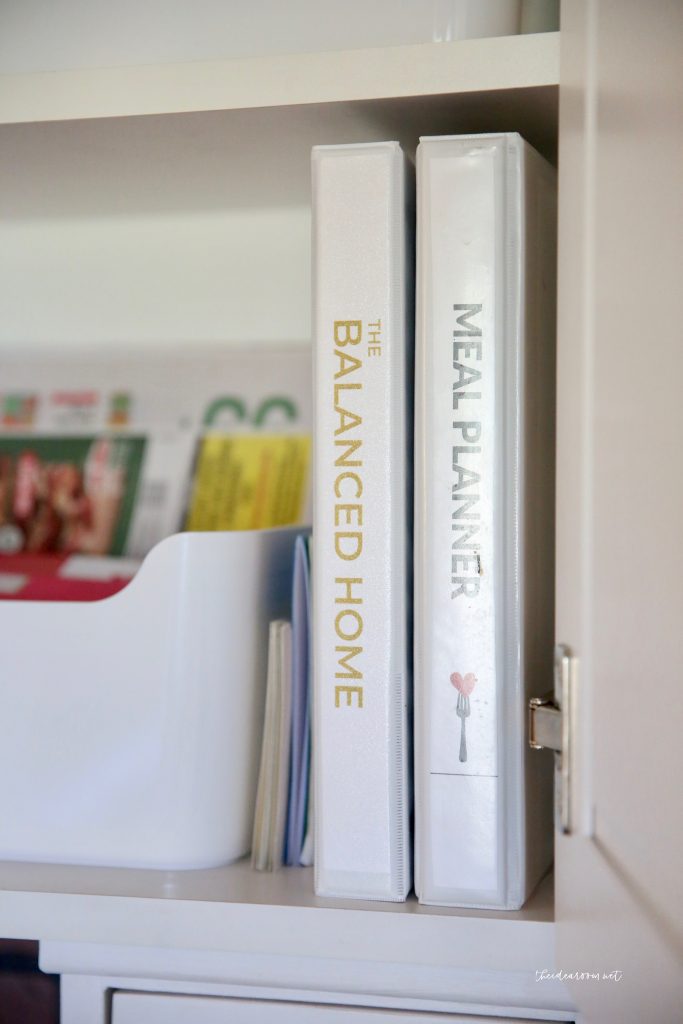
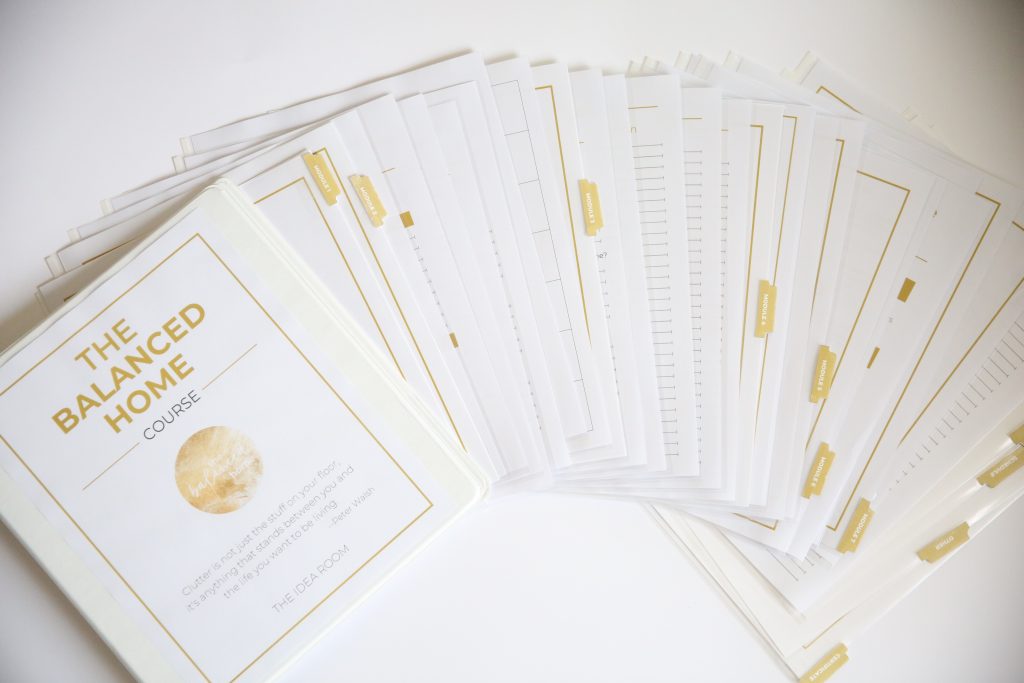
- Workbook, Resources, Labels, and More ($250 Value). Contains everything you need to help guide you through each lesson, including:
- An easy-to-follow workbook to guide you step-by-step through the lessons
- Printable Labels
- A vision sheet for your home
- A working checklist of tasks you can accomplish in 30 minutes or less
- Shopping and To-Do Lists
- Monthly Calendar and Weekly Schedule
The Mental Foundation
The best processes to overcome mental barriers from Tony Robbins and Dean Graziosi's Mastermind Course ($200 Value). Helps you to find the time, the energy and the motivation to organize your home by:
- Discovering your “true, internal why” -> what motivates you to want an organized home
- Helping you clearly identify what is holding you back from success
- Teaching you how to organize your schedule to create new pockets of time
- Helping you discover what is most important for you to accomplish with your time, as opposed to just urgent or habit
- Helping you cut out the things that aren't important and identify gaps in your schedule you can dedicate to working on your home
Your Ideal Home
The best processes to set and achieve your vision by breaking it down into actionable steps ($300 Value). Teaches you how to break down an overwhelming project into small, manageable steps, by:
- Clearly defining your goal and vision for your home
- Learning how to evaluate specific rooms and identify what you want to be improved
- Identifying specific, easy to complete tasks in each room that will contribute to your overall goal without overwhelming you
- Getting your family or others involved in the process
Cleaning and Maintaining
The best processes to clean and maintain your home after it has been organized ($200 Value).Teaches you how to maintain your home once it is clean and keep it organized, by:
- Providing you with the basic cleaning routines you need to naturally stay in control of your home
- Teaching you my amazing “Ten-Minute Clean-up” process, which allows you to clean an entire floor / room in ten minutes or less!
- Showing you how to establish routines with your kids and other members of the family
- Sharing important resources such as chore cards, favorite cleaning products, and a deep-cleaning checklist, and more
- Explaining the laundry routine we use in our home to get our laundry done every week without even thinking about it
- Teaching you how to deep clean your home after it has been decluttered and organized
- Showing you how to help the other members of your household be on the same page and not “unclean” your home
During the course, we will:
- Show you the process of how to go throughout your home decluttering, cleaning, and organizing. Then you can take this process and go throughout all the rooms in your home–including the bathrooms, kitchen, craft room, home office, basement, entryway, playroom, garage, attic, and all other rooms in your home–cleaning and organizing.
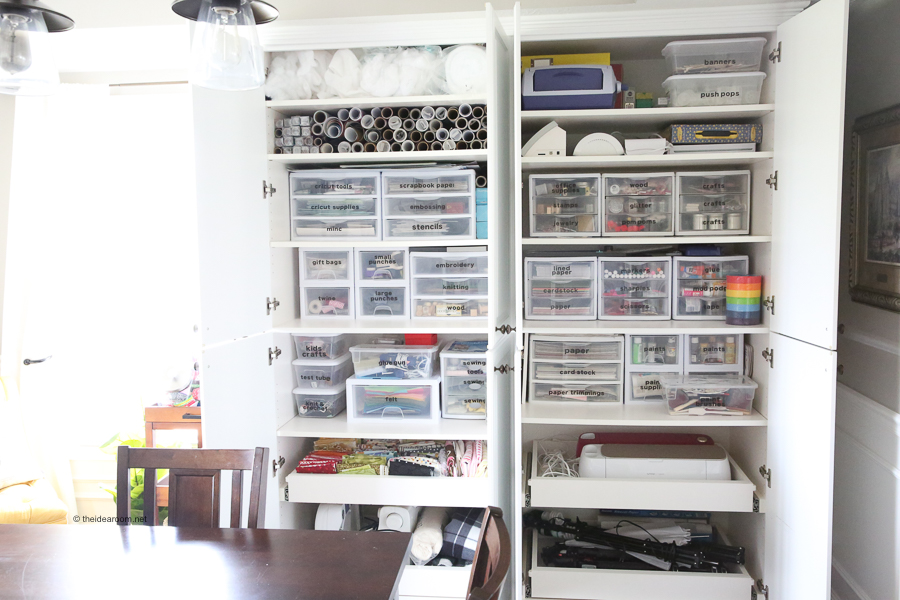
- Clean out and organize not just the rooms themselves, but organization spaces such as closets, shelves, drawers, and bookshelves.
- Learn how to properly use organization equipment, such as bins, drawer organizers, storage bins, food storage containers, lids, and baskets.
The Private Balanced Home Community
(BONUS – Priceless). Provides a community that you can go to whenever you need a place where you…
- Seek inspiration and ideas from others
- Receive support and motivation from others
- Share your successes and see the successes of others as we all work towards finding balance and clarity in our homes.
- Can ask questions and let me know what you may still need help with so that I can continue to cater the course to your needs


What Do People Have To Say About My Organization Course?
“This course was instrumental in helping me organize my space as well as my time. As a busy mom, I have a better grasp on what my days need to include so that I can enjoy my family rather than spend my time spinning my wheels cleaning up after everyone.”
“The Balanced Home Course helped me to be the “professional organizer” for my family! Simple steps to follow, check lists, printable labels, suggestions and worksheets will keep you on track to successfully maintain your own balanced home.”
“I am pretty sure I have solved more issues with the seven layers and clarity tool than I have in 6 months of therapy!! I think this course is going to help much more than my home. Thanks Amy!!!!”
When I realized I had been overcomplicating the idea of organization, that simplifying was a key component, then things really started to fall into place!”
When I realized I had been overcomplicating the idea of organization, that simplifying was a key component, then things really started to fall into place!””
HOW TO GET MOTIVATED TO ORGANIZE YOUR HOME
HOW TO OVERCOME FEARS AND MENTAL BARRIERS
I asked and these are the things that are holding you back from getting started! I made sure my course helped you overcome your specific fears and developed processes to address each of the concerns below. Have you ever had any of the same concerns?
- “I don't have the time.”
- “I don't know how to break it down into manageable chunks.”
- “How do I balance other activities?”
- “I don’t have enough energy / motivation.”
- “I'm overwhelmed and don't know where to start.”
- “I'm scared / unable to commit.”
- “I don't trust myself.”
- “I don't have the confidence I will finish.”
- “How do I maintain / keep on top of it?”
- “I have a hard time with inconsistency / finding balance.”
- “I'm afraid of quitting too soon and having it be a mess.”
- “How do I build the habits and routines?”
- “Keeping it clean and organized”“Staying focused and not getting distracted.”
- “What if I have physical limitations.”
- “I don't have the supplies / resources / money (i.e. containers etc.) / storage space.”
- “I don't want to part with things.”
- “What Do I do with all the stuff? Donate? Kids?”
- “What if I need it later?”
- “My family has stuff they want to keep.”
- “Family is not being helpful or even counterproductive… How do I get my family on board?”
- “No sense of design / vision for what I want.”
- “Lack of knowledge.”
- “Afraid of not doing it right.”
- “Being okay with not having it perfect.”
STILL NOT READY TO BUY?
Because I know that sometimes it can be difficult to take that initial leap of faith, I wanted to give you something that would allow you to get your feet wet a little, something that you could access RIGHT NOW. I think you'll like it. I've opened up a “sneak peek” section of my course, where you can access one or two of the lessons that are a part of The Balanced Home Course. If you click the button below you will be able to create your own personal account / log in for the course and access the “sneak peek” videos.

OTHER ORGANIZATION PROJECTS
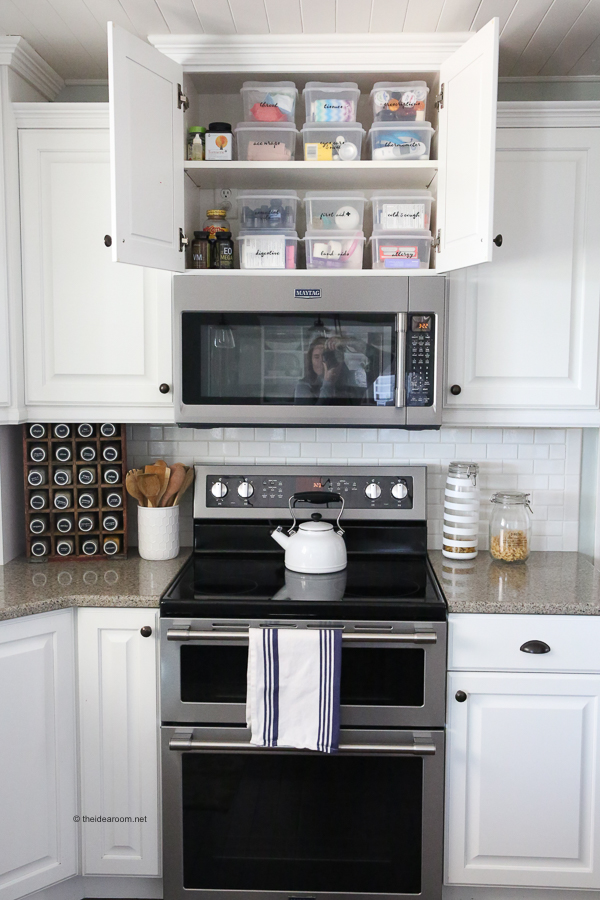
If you are interested in taking a deeper look into some of the spaces in my home, check out the following posts!





)
These look delicious, thank you for the recipe. Yes, I have another Peanut Butter Cup recipe for you. Our family friend left a cute jar of these on our doorstep one winter day and she called them Santa Snacks. They are similar to Peanut Butter Blossom cookies but prepared in a mini muffin tin. Here's an online recipe for them … http://allrecipes.com/Recipe/Peanut-Butter-Cup-Cookies-II/Detail.aspx
We've been making something similar for years. We consider it our family cookie. We just fill mini muffin pans with a small amount of cookie dough and press the Reeses in them. Might be similar to what Missy is describing. Anyway, they're a combination of 2 of my all time favorite treats!!
This looks SO yummy! I tried copying so I could paste onto a document but your blog doesn't let me do that. The pictures you have just make it so desirable!!!
yourstorybookending.com
Chocolate Peanut Butter Cake Recipe
For the cake:
2 cups sugar
1 stick unsalted butter, cut into pieces
1 vanilla bean, cut in half and seeds removed
2 eggs
3/4 cup unsweetened cocoa powder
1 cup brewed coffee
2 cups cake flour
2 teaspoons baking soda
1 teaspoon salt
1 tsp baking powder
1 cup milk
Preheat the oven to 325 degrees. Butter two 8-inch round pans (do not use springform pans for this recipe — they will leak!). Line the bottom of each pan with a cutout layer of parchment.
Mix the butter and sugar in a stand mixer until well combined. Add the eggs, salt and vanilla bean seeds and mix thoroughly. Dissolve the cocoa powder in the cup of coffee and add to the sugar mixture. Meanwhile, sift together the baking powder, baking soda and cake flour. Add half the dry ingredients to the batter, and then add 1/2 cup of the milk. Add the other half of the dry ingredients and then the other 1/2 cup of milk. Mix to combine, and pour the batter into the two cake pans, tapping them to eliminate air bubbles in the batter.
Bake the cakes for 50 to 60 minutes, or until a toothpick inserted in the center comes out clean or with crumbs attached. Allow the cakes to cool completely, and then freeze them briefly for about an hour (this is a new cake trick I’ve learned and it makes them SO much easier to work with!).
For the frosting:
1/2 cup peanut butter (not the crunchy or all-natural kind)
1/2 stick unsalted butter, cut into pieces, softened
1 egg yolk
1/2 cup confectioners’ sugar
1/2 cup heavy cream
2 cups confectioners’ sugar, sifted
Reese’s Peanut Butter Cups, mini size, roughly chopped
Bring a pot of water to a simmer on the stovetop. In a separate bowl over the simmering water, beat together the egg yolk and 1/2 cup of confectioners’ sugar, until the mixture is hot to the touch, about 5 minutes. Allow to cool for a few minutes (or transfer the mixture to a new bowl), and then beat in the peanut butter, and then the butter. Beat in 1 cup of confectioners’ sugar and set aside.
In a separate bowl, whip the heavy cream with 1 cup of confectioners’ sugar until the whipped cream forms stiff peaks. Add the whipped cream to the rest of the frosting and beat until combined. Chill in the fridge until the cake is ready to be frosted.
To frost the cake, place one layer on a cake stand, and spread a generous half cup of the frosting on top of it, not allowing the frosting to come quite to the edges of the cake. Place the second layer on top and frost the entire cake with a thin crumb coat. Frost the cake with the remaining frosting, and press the chopped peanut butter cups into the sides to decorate. Serve!
Serves 12-16, depending on how thin you cut the slices.
pictures of this amazing cake here:
http://www.sugarlaws.com/chocolate-peanut-butter-cake
Chocolate Peanut Butter Cake Recipe
http://www.sugarlaws.com/chocolate-peanut-butter-cake
For the cake:
2 cups sugar
1 stick unsalted butter, cut into pieces
1 vanilla bean, cut in half and seeds removed
2 eggs
3/4 cup unsweetened cocoa powder
1 cup brewed coffee
2 cups cake flour
2 teaspoons baking soda
1 teaspoon salt
1 tsp baking powder
1 cup milk
Preheat the oven to 325 degrees. Butter two 8-inch round pans (do not use springform pans for this recipe — they will leak!). Line the bottom of each pan with a cutout layer of parchment.
Mix the butter and sugar in a stand mixer until well combined. Add the eggs, salt and vanilla bean seeds and mix thoroughly. Dissolve the cocoa powder in the cup of coffee and add to the sugar mixture. Meanwhile, sift together the baking powder, baking soda and cake flour. Add half the dry ingredients to the batter, and then add 1/2 cup of the milk. Add the other half of the dry ingredients and then the other 1/2 cup of milk. Mix to combine, and pour the batter into the two cake pans, tapping them to eliminate air bubbles in the batter.
Bake the cakes for 50 to 60 minutes, or until a toothpick inserted in the center comes out clean or with crumbs attached. Allow the cakes to cool completely, and then freeze them briefly for about an hour (this is a new cake trick I’ve learned and it makes them SO much easier to work with!
For the frosting:
1/2 cup peanut butter (not the crunchy or all-natural kind)
1/2 stick unsalted butter, cut into pieces, softened
1 egg yolk
1/2 cup confectioners’ sugar
1/2 cup heavy cream
2 cups confectioners’ sugar, sifted
Reese’s Peanut Butter Cups, mini size, roughly chopped
Bring a pot of water to a simmer on the stovetop. In a separate bowl over the simmering water, beat together the egg yolk and 1/2 cup of confectioners’ sugar, until the mixture is hot to the touch, about 5 minutes. Allow to cool for a few minutes (or transfer the mixture to a new bowl), and then beat in the peanut butter, and then the butter. Beat in 1 cup of confectioners’ sugar and set aside.
In a separate bowl, whip the heavy cream with 1 cup of confectioners’ sugar until the whipped cream forms stiff peaks. Add the whipped cream to the rest of the frosting and beat until combined. Chill in the fridge until the cake is ready to be frosted.
To frost the cake, place one layer on a cake stand, and spread a generous half cup of the frosting on top of it, not allowing the frosting to come quite to the edges of the cake. Place the second layer on top and frost the entire cake with a thin crumb coat. Frost the cake with the remaining frosting, and press the chopped peanut butter cups into the sides to decorate. Serve!
Serves 12-16, depending on how thin you cut the slices.
Chocolate Peanut Butter Cake Recipe
http://www.sugarlaws.com/chocolate-peanut-butter-cake
Yum! These cookies look so good! I LOVE, LOVE Reese's Peanut Butter Cups! I will be making these ASAP! Thanks for sharing!
These look dangerously delicious.
Yum! I need these!
Yummy! I have a nephew that dreams in Reeces Peanut Butter cups! I wil make these and he will think I am the best Aunt in the world!
Thank you so much!
Nancy
oh my yum! My husband and I LOVE reeses, this will be a perfect treat. I checked out the link for your cake…umm heaven!!!!
I struggle with making a good cookie, but want to give this a try. Looks delicious! Too bad its still over 100 degrees here…
I don't have a recipe using PB cups, but here's one to make your own at home!
http://www.peterandrewryan.com/baking/2009/02/dark-chocolate-peanut-butter-cups/
I've made 'em and the whole house loves them. Simple and easy to make, and I think, much better than the ones you can buy!
I just gained 10 lbs. reading the recipe. Delish!
Um, yum!!! I need some of those right now! Those look so good. I will be giving them a try very soon :)
Hope you are having a great week Amy! thanks so much for being our fabulous guest judge on the CSI Project! We are thrilled to have you!
xoxo
Jen
OMG I ♥ Reese Cups! Our block party is the is weekend and I might just have to take these! Thanks for sharing!! ;)
mmm i love me some peanut butter cups! I'm going to have to try these!! I agree about fall and baking.. I'm totally in the mood to bake!!
Thanks for both recipes Amy!
I've had two yummy looking recipes in my springpad for a bit now and still need to try them: Magic Peanut Butter Middles (says they're "better than a peanut butter cup") and a simple Reese's Brownie.
Now I'm really hungry for chocolate and p.b.!!
I LOVE me some put butter cups too! Have you tried this trifle from Paula Deen? It is a wonderful peanut butter overload!http://www.pauladeenmagazine.com/recipe_results.php?id=1692
Um, Amy, these are AWESOME! My husband is not a huge sweets person, but he LOVED these. Thanks for sharing the recipe!
And I'm definitely going to have to try some of these recipes posted in the comments. YUM!
made these…they were a big hit!
Can anyone advise how many reece mini cups are in a 12 oz pkg? I bought a big bag!