
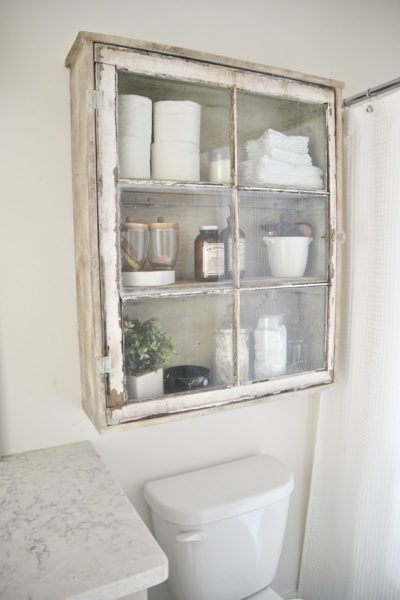
How to Repurpose with Old Window Ideas
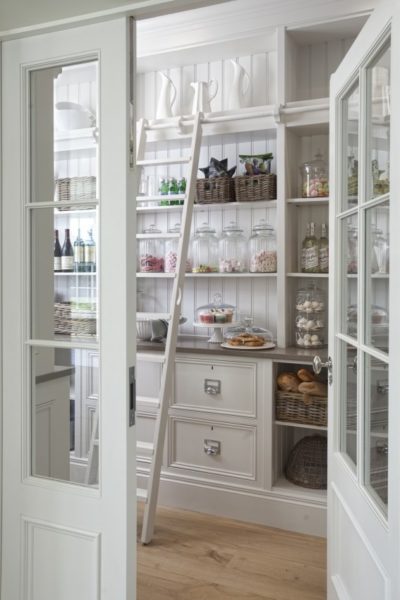
How to Organize: Pantry Room Ideas
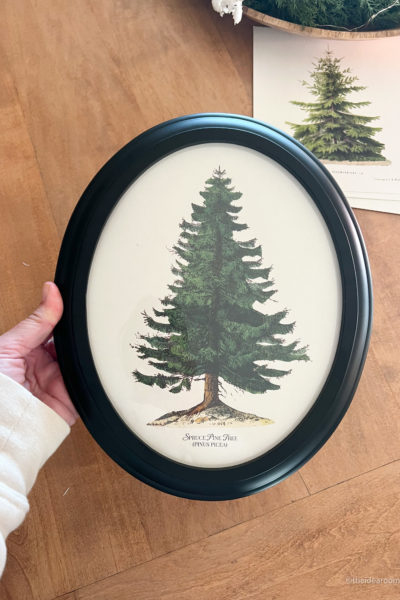
How to Make Picture of a Tree: Evergreen Art Dupe
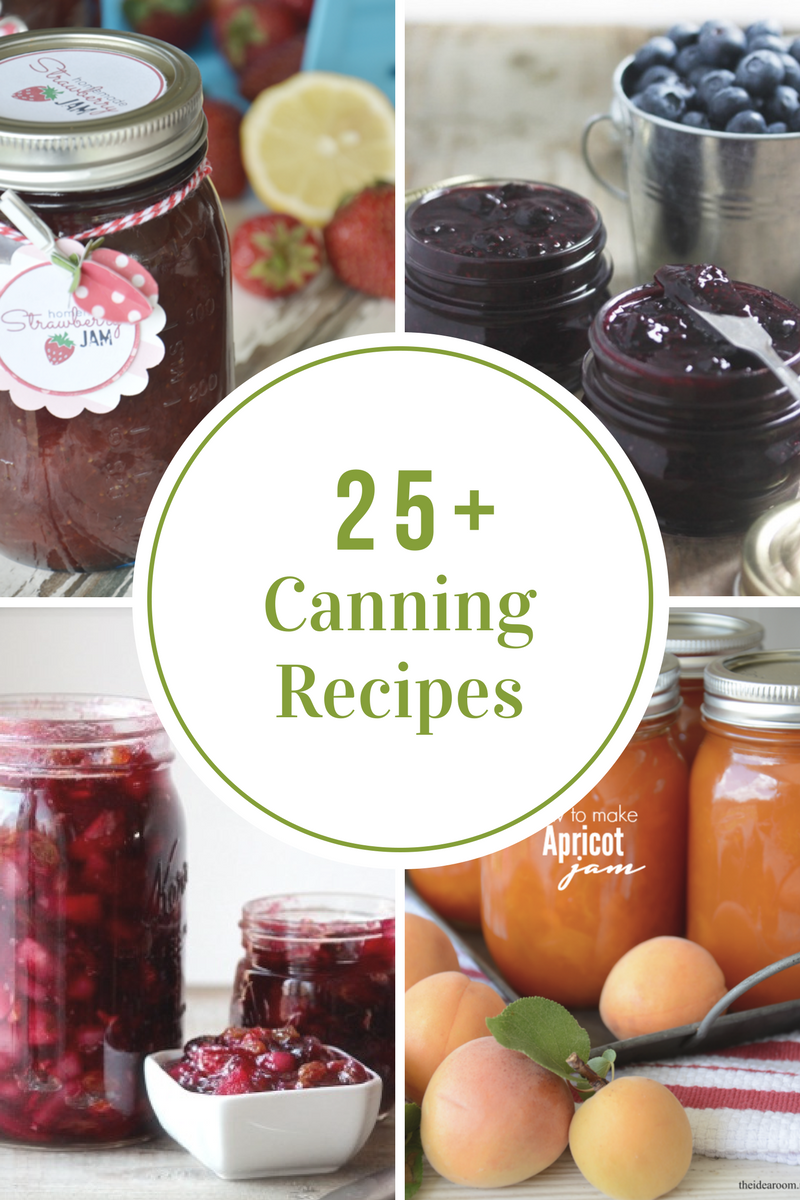
Canning Recipes
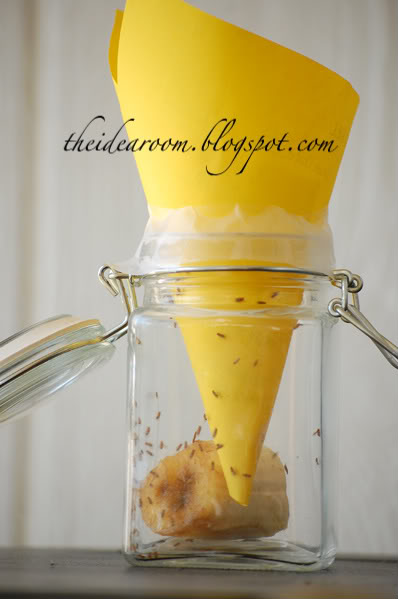
Fruit Fly Trap

Fourth of July: DIY Doormat
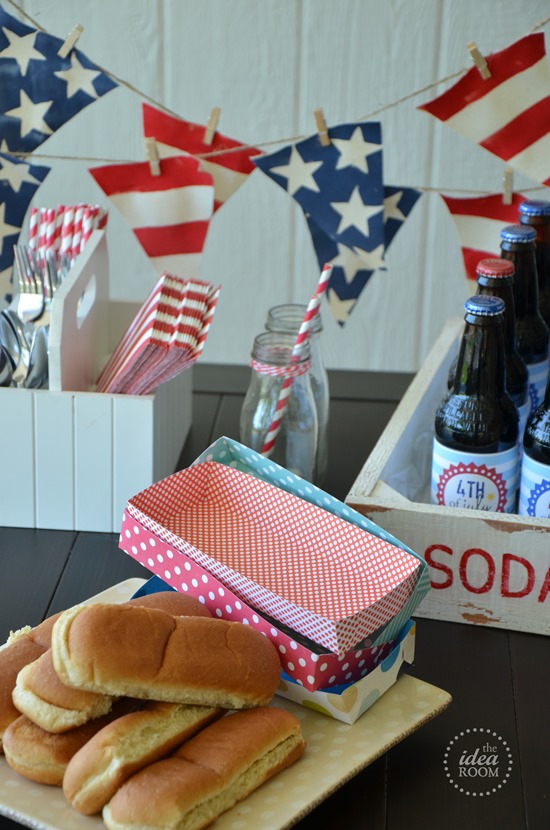
Fourth of July Banner
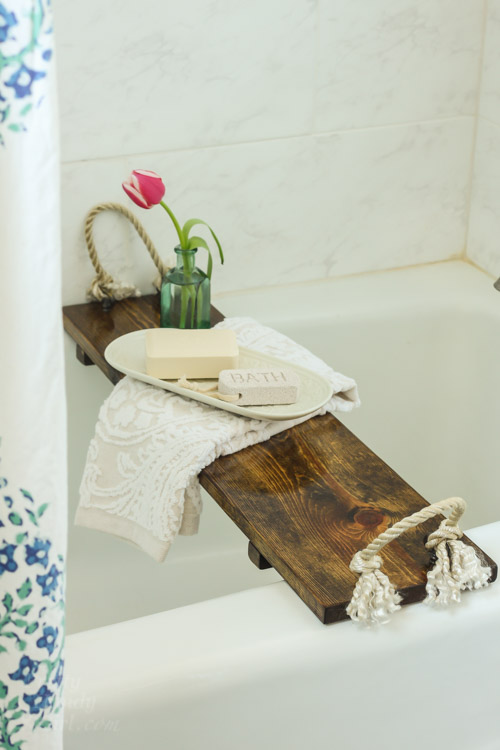
Bath Tub Tray
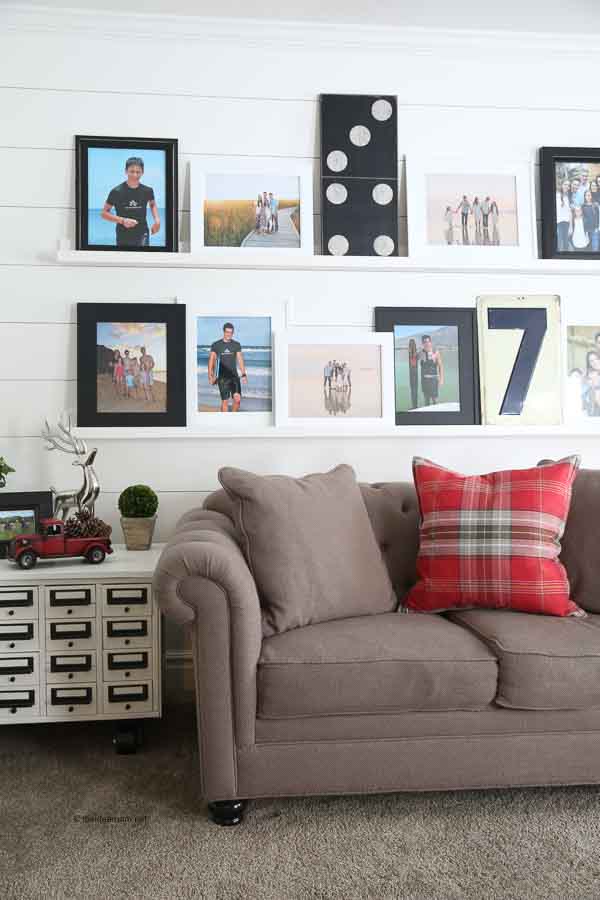
How to Make DIY Photo Ledges
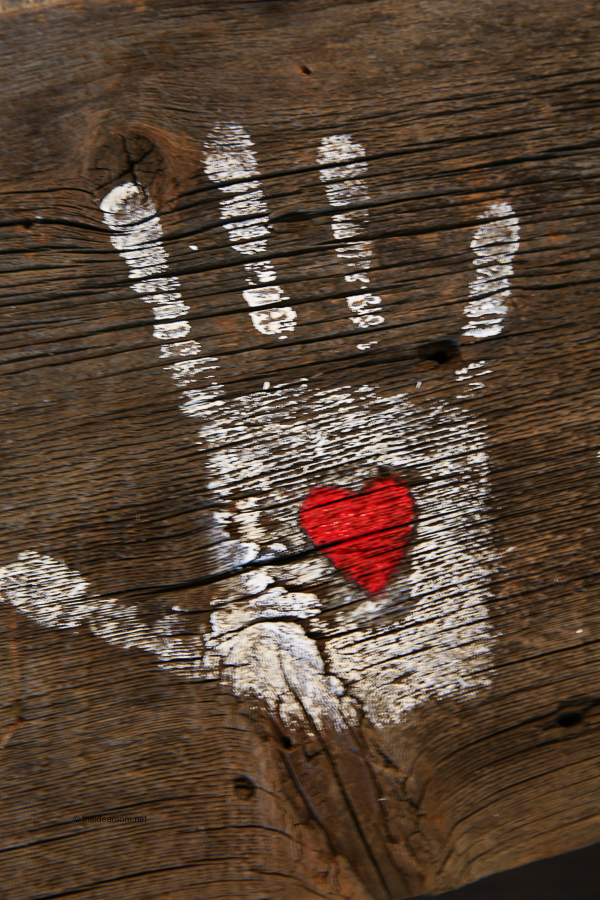
Mother’s Day Gift: Handprint Art
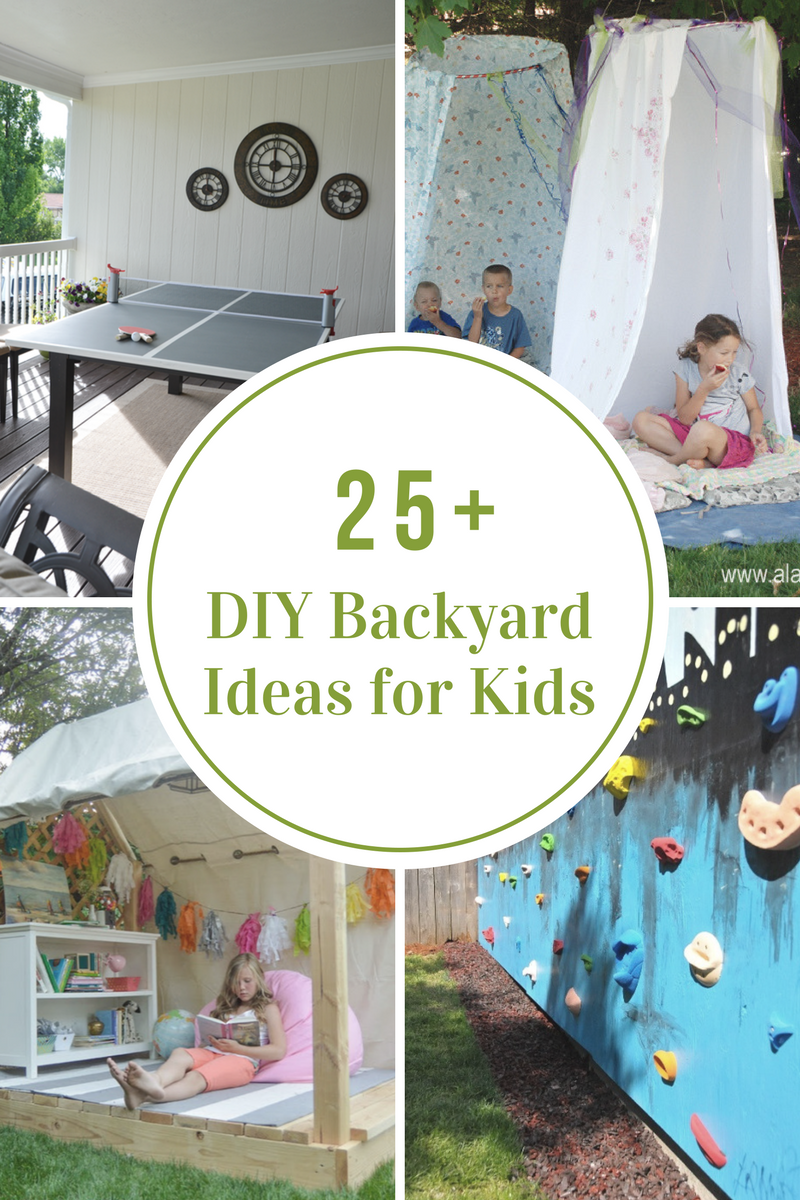
DIY Backyard Ideas for Kids
- 1
- 2
- 3
- …
- 9
- Next Page »


