
Learn how to make your own DIY Monogram Initial Sign. It is easier than you think! Follow this step-by-step tutorial with photos to make your own!
MONOGRAM SIGNS
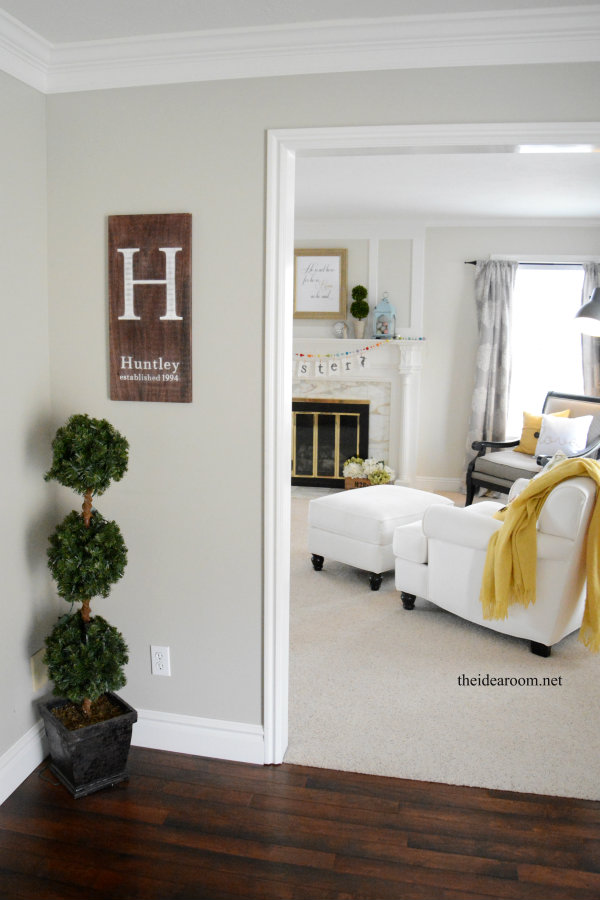
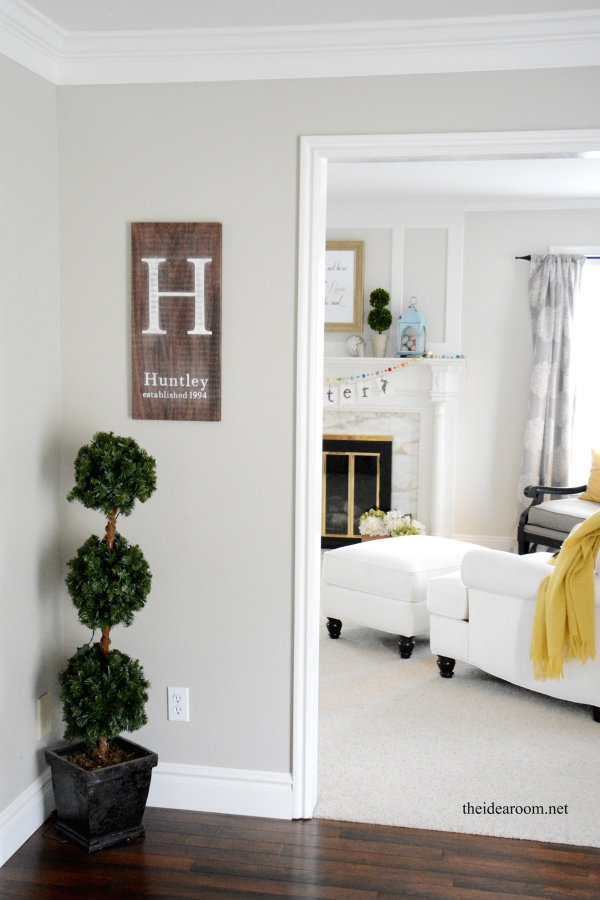
I have had this DIY Monogram Initial Sign project on my “to do” list for months. Last year, my Christmas JOY Sign that I hang in this spot stayed up for a whole year because this spot was waiting for a non-holiday sign that could be up year round. It just always seemed that other projects kept pushing this one to the bottom of the list.
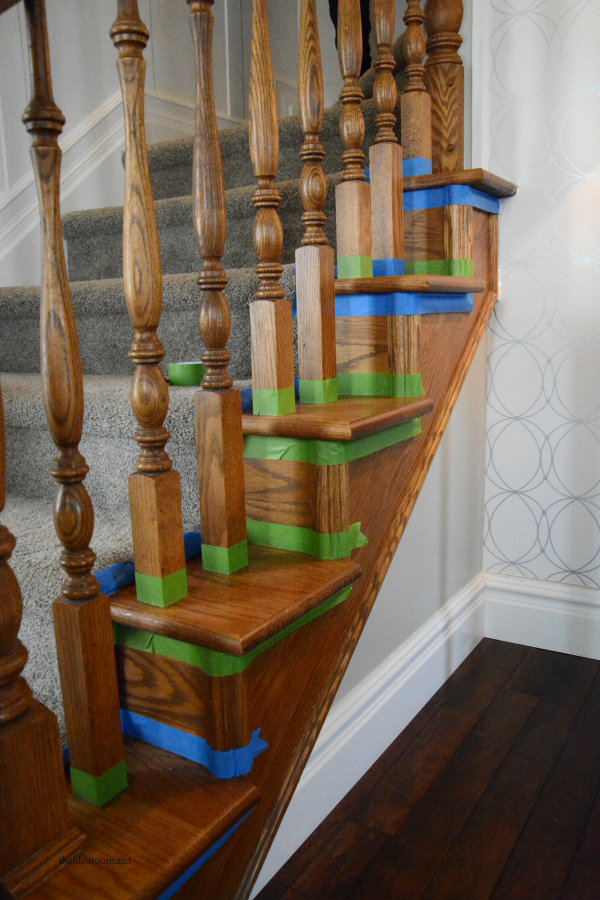
I finally got the push I needed to make it because we FINALLY started (and are almost finished) staining our Oak Banister in our entry way. We are staining it a dark color similar to our floor and painting the spindles, skirt board and risers white. I am so excited to finish it up! It is one of the last “big” projects we have on our main floor! Hallelujah!
DIY WOOD SIGNS
So…naturally, when I had a little bit of time for a project, I finally made the Monogrammed Initial Sign so that this entry could be officially finished! It’s funny that I put it off for so long because it is actually a pretty easy and quick project.
You will need the following materials:
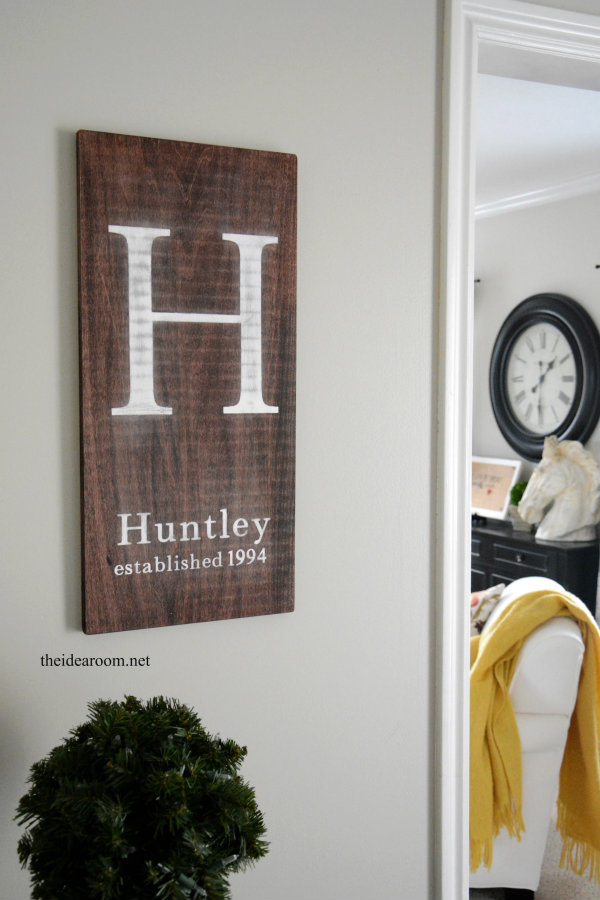
- piece of wood (mine was 12 in. x 24 in.)
- Stain (I used Minwax Red Mahogany)
- clean cloth or brush for your stain
- white paint (I used house paint)
Instructions:
1. Take your wood and cut it (if needed) to the size you need for your space.
2. Lightly sand the edges so that it is smooth.
3. Wipe off any excess dust with a damp cloth.
4. Stir (don’t shake) your stain if it has been sitting for a while.
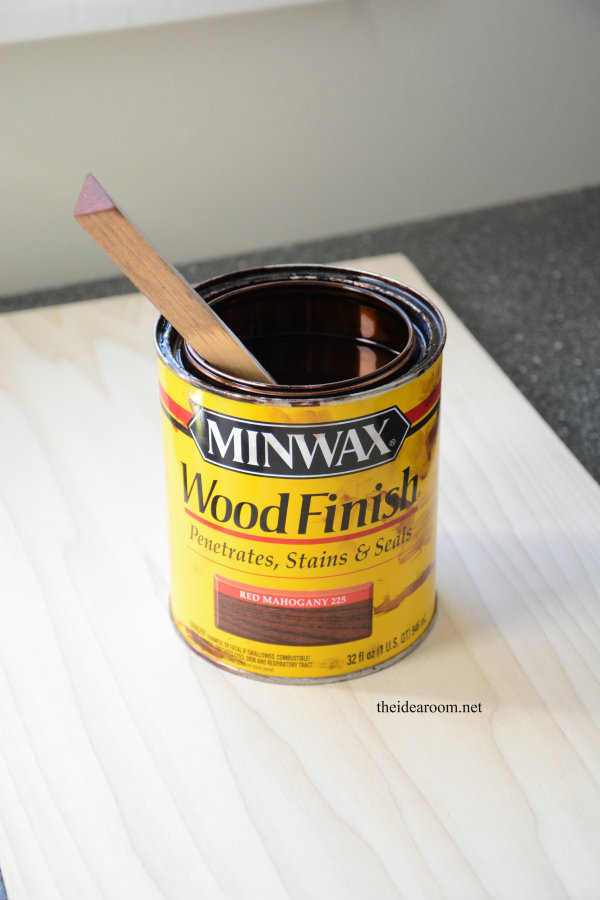
5. Dip a clean rag or a brush into the stain and cover your board with it. Wipe off any excess.
6. Mine took only one coat for it to be the color I wanted. You may need to do another coat.
7. Let it dry overnight.

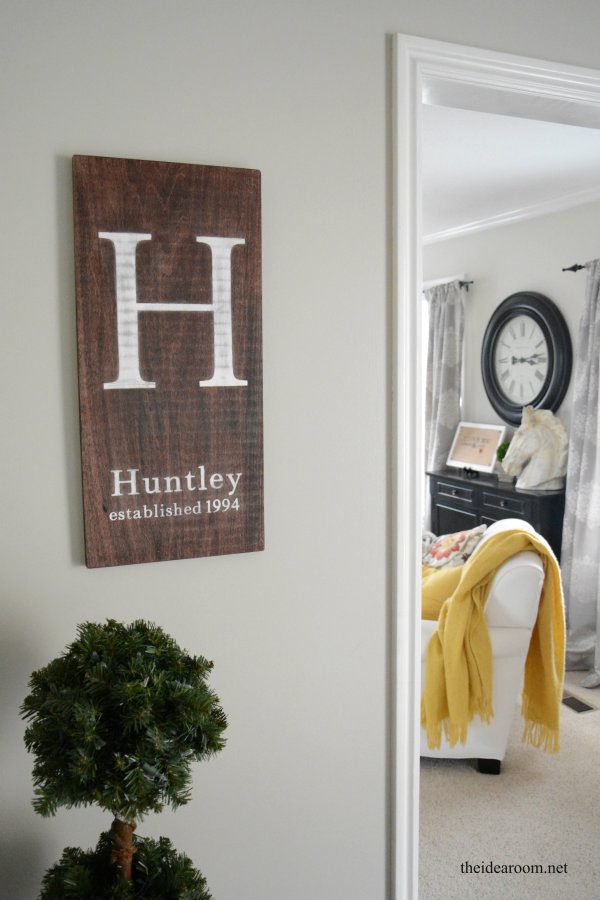
8. Cut your vinyl so that you have your initial monogram. I also added the date my hubs and I were married as the established date…along with our last name. *If you do not have a cutting machine you can still make this easily! Just type out your monogram on your word program as large as you want it on your sign. Then print it out. Trace it onto some thick card stock and make yourself a stencil. Do the same for your last name.
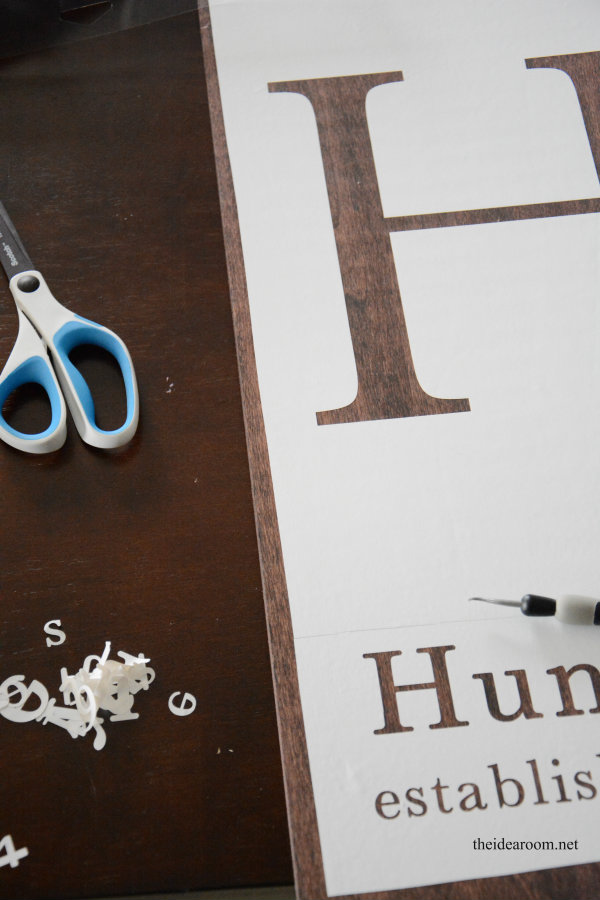
9. Stencil the sign with your white paint and stencil brush.
10. Let the sign dry for at least 24 hours if you are going to distress it. Longer if you can.
11. If distressing, take your fine grit sand paper and light buff up the white paint to give it a more rustic look.
DIY SIGNS
Yay! It’s nice to have it finished because it is a space I see everyday. Not to mention everyone who comes to our front door. I think this would be a great gift to give to a newlywed couple for a wedding gift! A great way to personalize some home decor for the young couple in their new home!
You may be interested in some other DIY Wood Signs that I have made in the past. You can find them below:
- DIY Thanksgiving Sign
- DIY Fourth of July Sign
- Halloween Sign
- Halloween October Sign
- Fall Pumpkins Sign
- Laundry Sign
- Oh Holy Night Sign
- Land of the Free Sign
- Thankful Sign
Do you have a project that keeps moving to the bottom of your to do list? What keeps you from getting it finished?


I love this idea … I have an old worn out
wooden oar that I’m going to try this on.
I LOVE that! How fun to have it on the oar!!
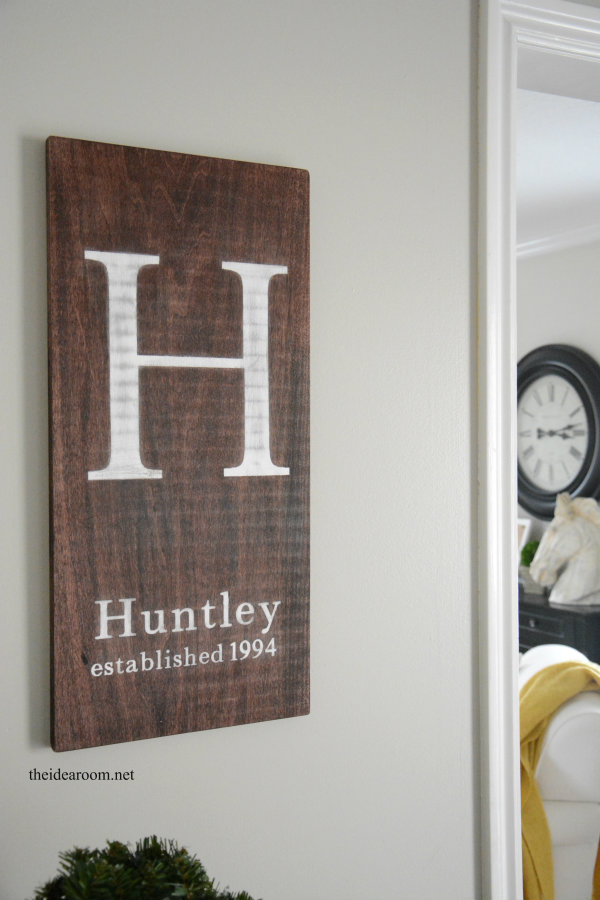
What type of wood did you use? I’m the type of crafter that needs specifics! I also like the look of the dimples with the grain.
I just picked up a pine board from Lowes!
What font did you use for your sign
Love it! What sort of wood did you use? I want to do a nail art project with my kids (the project that keeps moving to the bottom of the list) but I am stuck on what sort of wood I want to use. I love the grain on your piece. Of course, once you share that info, I’ll go back to thinking I should use colored paint instead of stain ;-)
I just used a pine board from Lowes and just had to cut it the length I needed…24 inches.
Are you going to do a tutorial post for the stairwell? Please do, as I’ve been wanting to stain/paint ours but it’s so expensive to hire someone and I’m not crafty at all.
Yes! We are actually finishing the painting on the spindles today. Life with 5 kids makes our projects run a LOT slower these days LOL! I will post the tutorial when we have it ready!! Hopefully by next week!!
Amy,
Would you be willing to make one of these for me? I love the sign but don’t have the time or skills to make one myself.
I wish I had the time as well. So sorry. But they really are easy to make.
Beautiful sign. What did you use for a stenciling machine? What would you recommend?
Thanks
I used my Cricut Explore and Love it!