
Create this Laundry Room Sign to hang on the wall in your Laundry Room. A simple way to add a new wood sign to your Laundry Room Decor. Use our tutorial and pattern to create your own wood sign.
LAUNDRY ROOM SIGNS
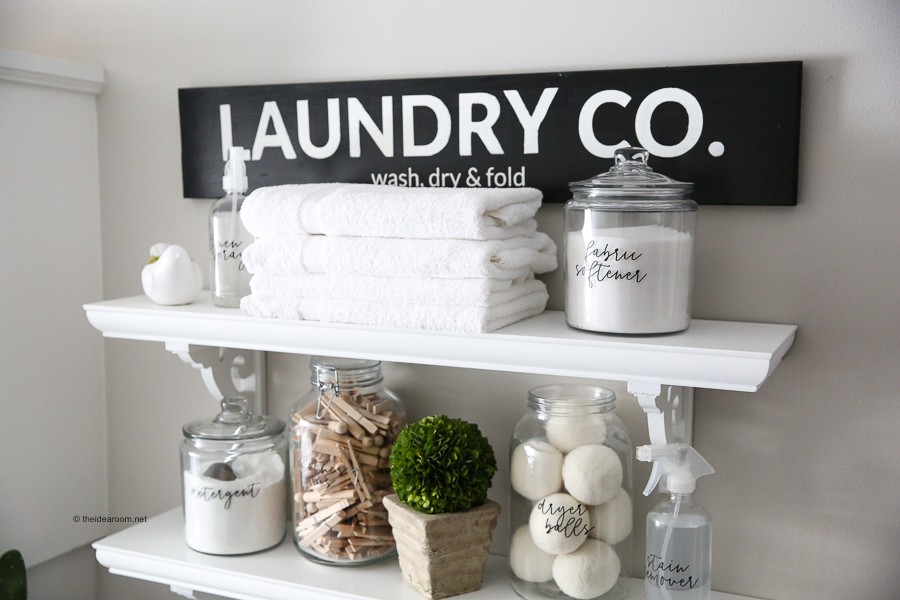
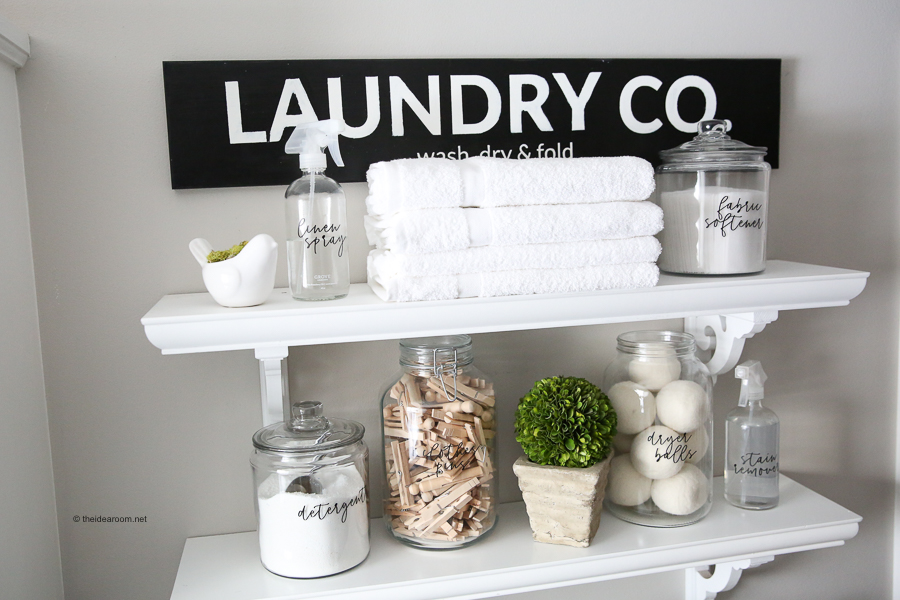
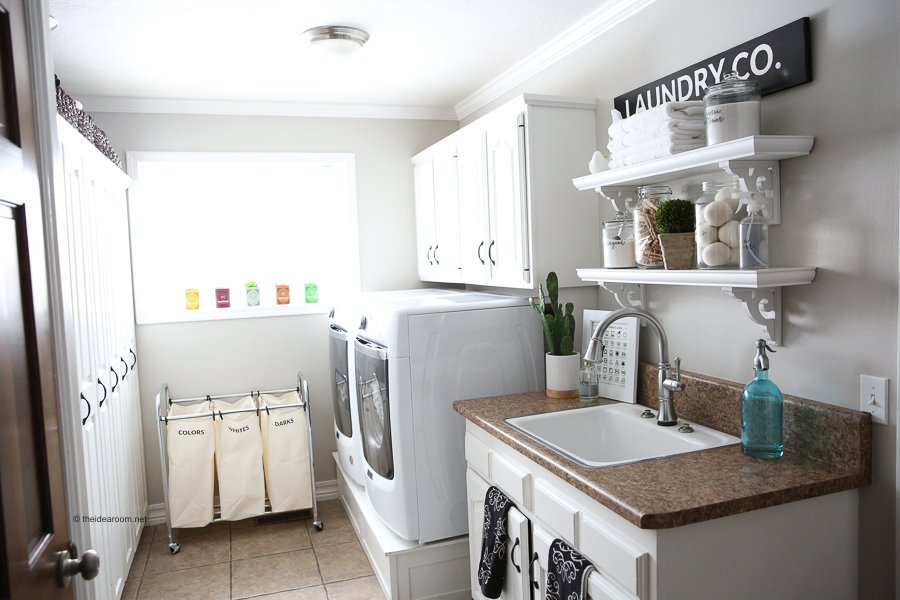
Looking for laundry room signs that would be perfect to add to your laundry room? I created this one after not being able to find a laundry room sign that I really loved. The color was wrong, or the style was different than what I wanted in this room…so I decided to make my own.
I love being able to create just what I am looking for! I used my Cricut Maker to cut out the vinyl for this stencil that I designed. If you don’t have a cutting machine, don’t let that stop you from making one!
You can use our stencil template on your own sign! I will share the .png file with you. Then you can print it out and cut it with scissors or an exacto knife and make a stencil the old fashioned way. Or you can convert it into an .svg file online and then use that .svg to cut the file out on a machine.
I actually designed two different styles of laundry room signs and ended up only using one. So I am happy to share the other design here with you in case you like one more than the other. Here are the two sign options. You will be able to download which one you like the best a little farther down in this post.


HOW TO MAKE A WOOD SIGN
You will need the following materials to make this laundry room sign.
- wood plank (mine measured 35 inches by 6.5 inches)
- black paint
- sand paper
- paint brushes
- picture hanger


Directions:
- Cut your wood to the size you want it, or purchase a piece of wood that is pre-cut. They have several sizes at Lowe’s.
- Gently sand around the edges of the board and the front of the board if needed.
- Wipe off excess dust.
- Paint your sign the color of your choice (I chose black) and let the paint dry. Drying times will depend on the weather, humidity and paint that you used.
- Place your stencil onto the sign so that it is centered and evenly spaced. Use them as your template or your stencil.
- Paint the letters white (or color of your choice). You may need two coats of paint to cover over the black paint. Let your paint dry between each coat.
- Let the paint cure for at least 24 hours.
- Gently sand and rough up the surface and edges of the sign if you want a more rustic, farmhouse look to your sign.
- Add a picture hanger to the back making sure it is centered.
- Hang on the wall and enjoy!

Pretty simple right? It’s fun to be able to make and design your own signs! You can do it too! Just use a design program and your favorite fonts! Create the image large enough so that you can use it on a longer piece of wood! You can use any photo or word program really! My favorite free ones are Canva.com and Picmonkey.com!

Hope you have a great day! Thanks for stopping by!
xoxo
WOOD SIGNS
Looking for some other sign inspiration? Here are some of the other wood signs I have made over the years!
- Farmhouse Pumpkin Sign
- Thankful Sign
- Wooden Flag
- Salem Broom Co. Sign
- Fall Pumpkin Sign
- Thankful Sign
- Tune My Heart Fall Sign
- JOY Sign
- Oh Holy Night Christmas Sign
- Lighted Believe Sign
- Initial Monogram Sign
- Kitchen Grocery Sign
- Fourth of July Sign


can you tell me the size of your letters???
Barbara- I believe they are about 1-1.5 inches.