
Homemade Caramels are so easy to make with this simple step by step tutorial. Cook for 6 minutes in the microwave for amazing homemade caramels perfect for eating and sharing.
With the Christmas and Holiday Season upon us, I am always looking for great recipes and gift ideas to share with family and friends. These Homemade Caramels are so easy to make and better yet…are so yummy!
The best thing about this Homemade Caramel Recipe is that they only take about 6 minutes to make…in the microwave! Can you believe it? These Homemade Caramels could NOT be any easier to make.

EASY HOMEMADE CARAMELS
If you are new to making Homemade Candy, this should be your first Candy Recipe. They can be eaten almost immediately if you want to dip some apples in it (it hardens quickly) or wait for them to harden.
TIPS FOR MAKING HOMEMADE CARAMELS
- As always, do NOT double the batch if you are wanting to make more. Candy recipes in my experience need to be made in single batches for best results. So make one batch at a time if you want them to turn out correctly.
- Do NOT substitute margarine, or a butter spread for Butter.
- Use fresh high quality ingredients.

HOW TO STORE HOMEMADE CARAMELS
These caramels will soften if left out in room temperature. I find they last better if you store them in the refrigerator until you are ready to use them or gift them to friends and family. They can be left out at room temperature if you are going to be eating them soon.
HOW LONG WILL HOMEMADE CARAMELS LAST
These caramels should last up to three weeks if you store them in the fridge. You can also freeze them so they can last up to 2 to 3 months in the freezer before using them. Thaw before eating them.
WHAT CAN I USE CARAMEL FOR?
You can use this caramel recipe for several different things if you don’t plan on eating it plain.
- in our homemade turtles recipe
- in our bear claw candy recipe
- serve with ice cream
- dip in chocolate or drizzle chocolate over them
- dip apples or pretzels into it when it is warm
- as a caramel sauce
WHAT TO WRAP CARAMELS IN
You can wrap your homemade caramels in a few different things to keep them fresh and to serve them individually. Here is what I would recommend.
- parchment paper
- wax paper
- plastic wrap
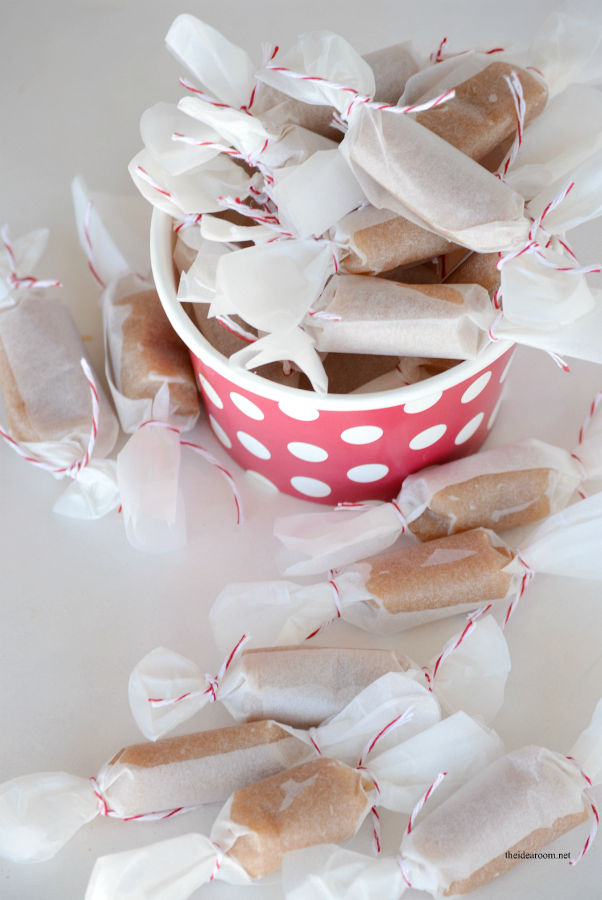
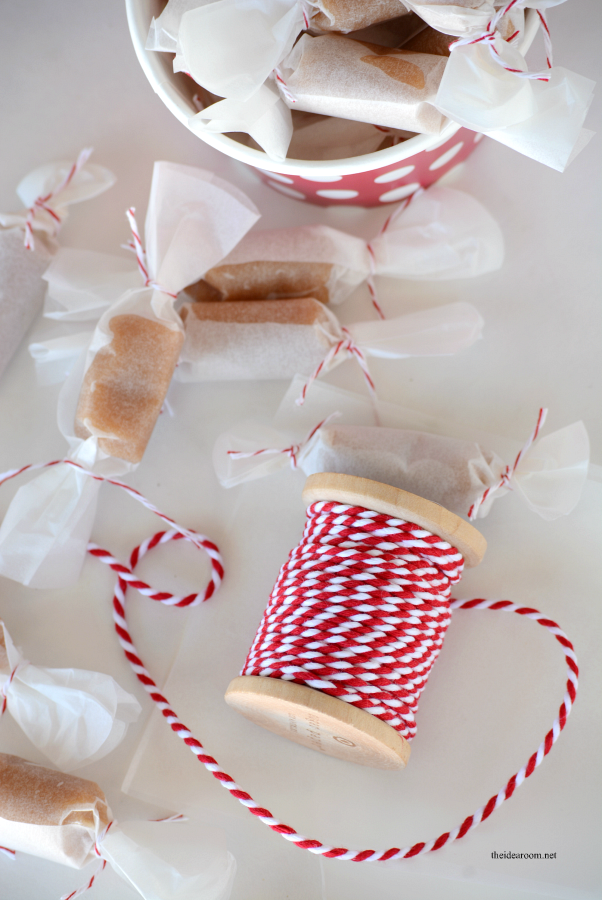
HOW TO WRAP HOMEMADE CARAMELS
- Use a sharp knife to cut your cooled and hardened caramels into small bite size pieces.
- Cut your wrapping material in squares or rectangles that are larger than your cut caramels.
- Wash your hands well with a soap that is not scented. Scented soap can transfer onto your caramels.
- Use plastic or latex gloves if giving away and serving to others.
- Spray a little cooking oil on your hands or gloves to prevent the caramels from sticking to your fingers.
- Take one caramel at a time and wrap the wrapping around it so the caramel is completely covered in the middle of the wrapping.
- Take each end and pinch it together by twisting it around until it is tight.
- Repeat this process on the other side of the caramel.
- Take a small piece of string or baker’s twine and tie a bow so that the wrapping end stays tight and in place.
- Repeat with tying a bow on the other side.
SUPPLIES FOR HOMEMADE CARAMELS
- Wooden spoon
- Large bowl (microwave safe)
- 8×8 baking dish
- Hot Pads
- Parchment Paper
- bakers twine
- measuring cups
- measuring spoons
- hand towel
- cooking spray
- latex gloves
- scissors
- sharp knife
- Saucepan (if cooking on stove see directions below)
- candy thermometer (if cooking on stove see directions below)
INGREDIENTS FOR HOMEMADE CARAMELS
- 1/4 cup Butter
- 1/2 cup Brown Sugar
- 1/2 cup Sugar
- 1/2 cup Light Corn Syrup
- 1/2 cup Sweetened Condensed Milk
- 1/8 tsp vanilla extract (optional)
- sprinkle of sea salt flakes (optional)
HOW TO MAKE 6 MINUTE HOMEMADE CARAMELS
- Combine all ingredients into a large microwaveable bowl.
- Microwave ingredientmixture for two minutes. The butter will begin to melt and will mix in nicely when your stir it.
- Remove the bowl and stir the mixture together well.
- Microwave for another two minutes.
- Remove from the microwave and stir again.
- Microwave for two minutes more. (6 minutes total).
- Stir together the caramel candy.
- Pour into an 8×8 greased and prepared pan.
- Let set. I like to throw them into the refrigerator to help the caramels set.
- If you want you can sprinkle a little sea salt over the top of the caramels.
- When ready cut into squares and roll in wax paper (parchment paper) squares tied off with baking twine.
- Or serve as Caramel squares or dipped in chocolate or used as a caramel dip.
6 MINUTE HOMEMADE CARAMELS RECIPE
Here is the recipe for our favorite Homemade Caramels!
6 Minute Homemade Caramels
With The Christmas And Holiday Season Upon Us, I Am Always Looking For Great Recipes And Gift Ideas To Share With Family And Friends. These Homemade Caramels Are So Easy To Make And Better Yet…Are So Yummy!
Ingredients
- 1/4 cup Butter
- 1/2 cup Brown Sugar
- 1/2 cup Sugar
- 1/2 cup Lt. Corn Syrup
- 1/2 cup Sweetened Condensed Milk
Instructions
-
1. Combine all ingredients into a large microwaveable bowl.
-
2. Microwave ingredients for two minutes.
-
3. Remove the bowl and stir together well.
-
4. Microwave for another two minutes.
-
5. Remove from the microwave and stir again.
-
6. Microwave for two minutes more. (6 minutes total).
-
7. Stir together.
-
8. Pour into a greased 8x8 pan.
-
9. Let set. When ready cut into squares and roll in wax paper (parchment paper)
squares tied off with baking twine. Or serve as Caramel squares or dipped in
chocolate. -
10. Or use immediately to dip pretzels or apples in.
HOMEMADE CARAMELS RECIPE VIDEO
I created a quick video to show you how to make homemade caramel candies with our simple recipe. They are so easy to make.
CAN I MAKE THIS RECIPE ON THE STOVE TOP?
Yes! This homemade caramels recipe can be made on the stove top. Combine all the ingredients and cook on the stovetop in a sauce pan over medium heat. Use a candy thermometer and stir constantly until your mixture is in a steady boil. Remove from heat when the caramel mixture reaches the soft ball stage. You can do a cold water test to make sure the caramels have the right texture and consistency but aren’t too hard or sticky. Pour into a prepared pan and cool. Then cut and serve as you would the other recipe.
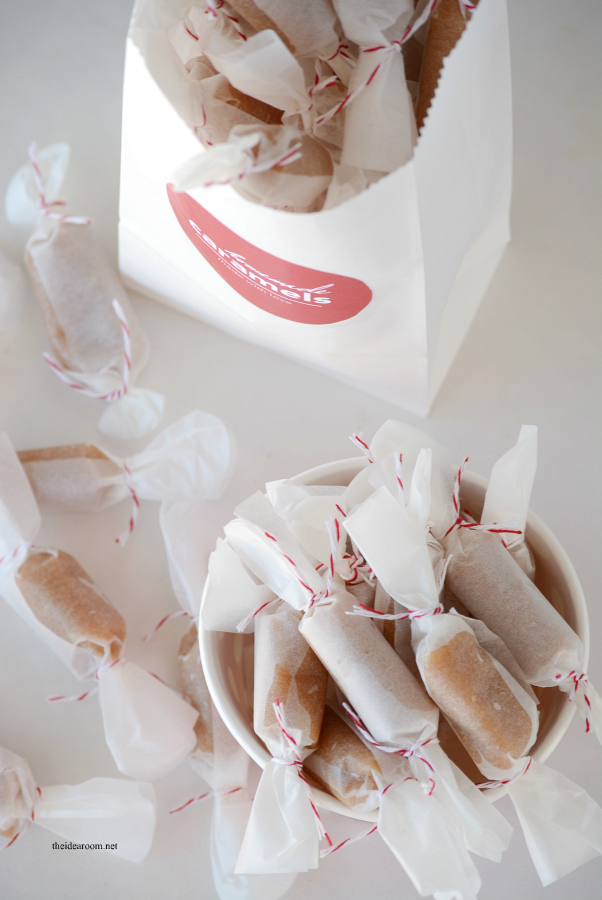
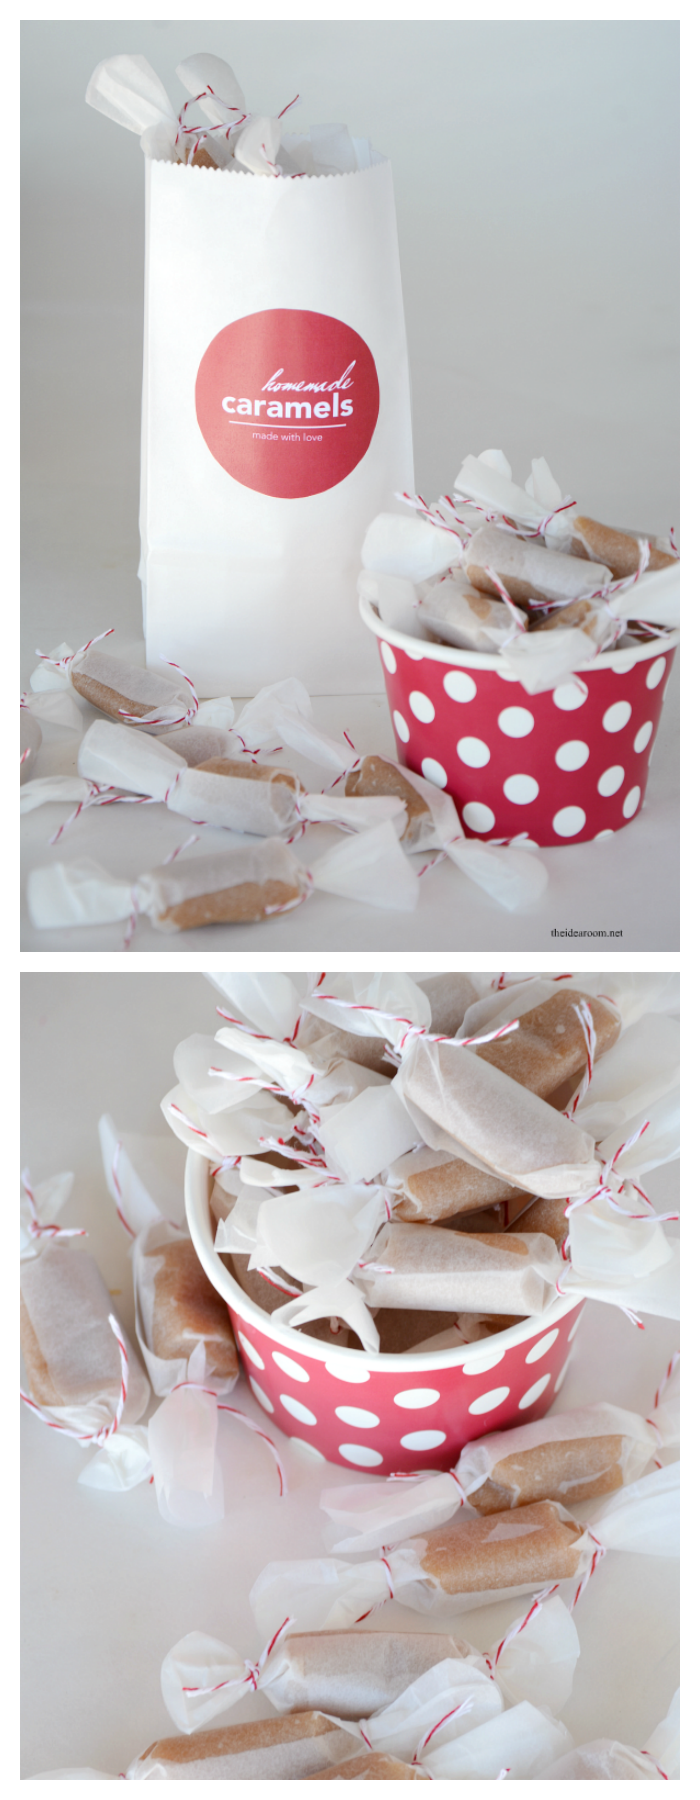
GIVE HOMEMADE CARAMELS AS CHRISTMAS GIFTS
Wrap them up in some parchment paper and give them to your friends and family for a special Christmas gift…or take the caramel squares and dip them in chocolate. They last for up to a month if wrapped or stored in the refrigerator. They will get soft if left at room temperature.
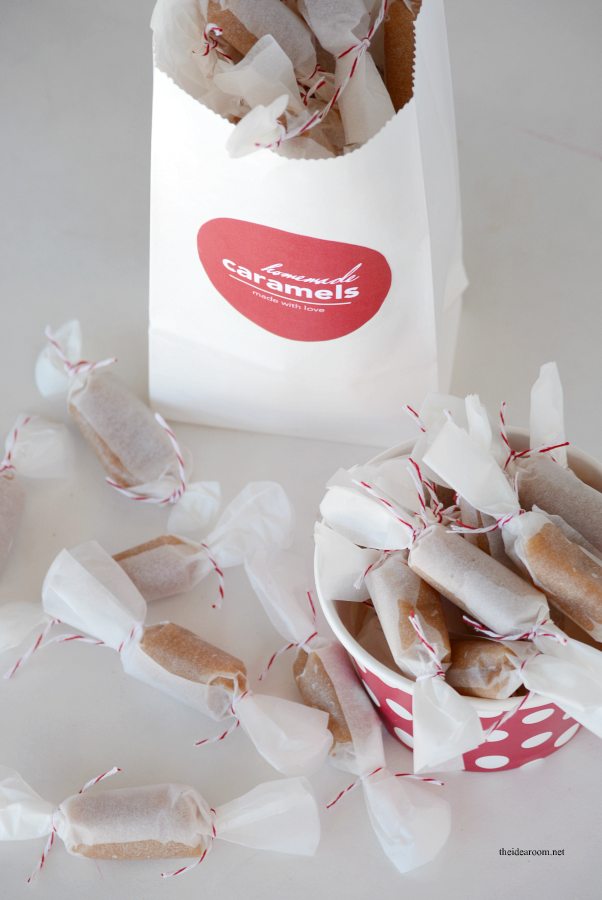
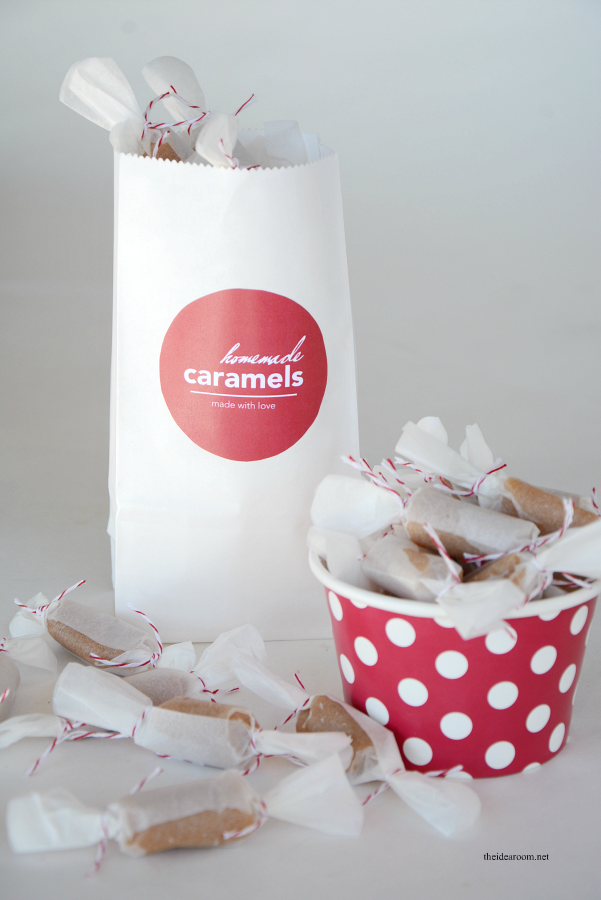
PRINTABLE LABELS FOR HOMEMADE CARAMELS
I created some FREE Printable Labels if you want to make some and give them as a gift this Holiday Season. To access the Homemade Caramels Printable Label, simply click on the link below.
Homemade Caramels Printable Label
omemade Caramels Printable Label (“made with love”)
*As always, these printable labels are for your personal use only. Please do not repost them or sell them on your sites or craft fairs, etc. This is how I am able to continue to share free content with you.
HOLIDAY EBOOK RECIPES AND HOLIDAY RECIPES BINDER
You might be interested in our Homemade Candy Recipes and Holiday Cookie Recipe ebooks and our Holiday Recipe Binder. You can check them out by clicking on the button below.

HOMEMADE CHRISTMAS CANDY RECIPES
- Homemade Turtles
- 6 Minute Caramels
- Homemade Toffee
- Truffles
- Old Fashioned Divinity
- Pretzel Rolos
- Homemade Fudge Recipe
- Chocolate Covered Bear Claws
- Chocolate coconut nut bites
- Saltine Cracker Toffee
- Chocolate Dream Balls
- Gingerbread Cheesecake Bites
JOIN OUR NEWSLETTER
Would you like more Recipes, DIY, Printables and Organization Ideas?
Subscribing to the newsletter will enable us to periodically send you creative content exclusively for Idea Room subscribers.
*View our Privacy Policy here.


Thank you for the recipe and printables! I usually order mine from a local gal. But, WOW, how easy. I like mine rolled in sea salt. Thanks again.
You are so welcome! What a great idea to roll it in salt! I hadn’t thought of that!
I grease the pan with butter. To “unseat” the caramels, after they’re cool, put your pan inside another pan with about a 1/2 inch of hot hot tap water. Wait 3 minutes or more, then remove your caramel pan from the water. .Run a knife around all the edges. It should slide easily. I cut and remove one row, then I remove the entire slab with a baker’s blade, aka dough scraper. You can also cut rows and remove.
Great tips!
Hi thanks but what are cups in oz or grams would love to make these
1 cup = 8 ounces
Dee-Thank You!
Hi there, quick question: should the pan be ‘greased’ with butter or shortening? Thanks, T
Butter or a spray like Pam.
How long do they take to set?
About 2 hours. I put mine in the refrigerator to speed it up.
Hi,
I’m excited to try with my daughter. Can this recipe be cooked on the stove? We don’t use a microwave?
Please provide cook times.
Thanks and Merry Christmas!
Yes. Enjoy
You will need to cook it to a Firm-Ball Stage which will be about 245° F–250° F on a candy thermometer.
Are those mini white paper bags? Where can you find those?
I just found those at a local craft store. They are similar to these on amazon. http://amzn.to/1Nd2NMj
I just made these. The recipe is unbelievably easy…especially compared to the way I’m used to making them…standing over a double boiler, stirring, and watching the thermometer for the right “stage” Thank you!!
So glad you liked them. Yes! They are so easy!!
If I was to make these on the stove top, what would be the cooking time and heat? Does it have to come to a certain temperature? I don’t have a microwave.
Thanks for your help, sounds yummy and fun, can’t wait to try them!
You will need to cook it to a Firm-Ball Stage which will be about 245° F–250° F on a candy thermometer.
This is a wonderful gift idea! Can these be re-heated and then used as a dip? Thanks!
They can be reheated and melted, but the caramel gets hard fairly quickly so it isn’t great as a dip unless used right away while warm.
Just an FYI – if you have a 1200 watt microwave 6 minutes is too long.
How long are these good for after making them? How should they be stored?
They should last up to a month in an air tight container.
Is there a substitute for Corn Syrup? Honey Maybe?
unsalted butter? or regular?
can brown rice syrup be used in place of corn syrup? We have allergies to corn.
I would think it would work but I have not tried it. So not sure.
Oh my goodness~ you saved Christmas! I made this last night and it turned out perfect. I’m used to standing over the stove every year making it the old way and it’s so time consuming. I make millionaires, which is caramel w/nuts dipped in chocolate. When I tried it last night I added nuts to it and it turned out wonderful! 6 minutes saves me sooo much candy making time! And no one knows how easy it is. It tastes just like my old one. Thank you so much for sharing!
If you microwave varies, how do you know when the caramel is ready to be taken out?
It will be bubbly and a nice dark yellow (brownish) caramel color!
Can you add chocolate, like chocolate chips, to make chocolate caramels?
I have not tried that. Not sure if that would work or not. Sorry.
Ok, thanks :)
Looks yum!! What effect is the microwave ??
Helle- The microwave speeds up the process.
Hi ! Thank you very much for the recipe and pintables. It is a good idea for a Christmas gift. Big kiss from Portugal
Thank you for this lovely recipe, just a quick question. If the caramels is still very grainy did I cook it for too long or too short ? I live in South Africa so we don’t have corn syrup but google said to use maple syrup instead ??
Would a 9×9 pan work?
Kelsey, yes that should work just great.
I made these today and they taste great! Thank you for the recipe. The one issue that I have is the caramel sticks to the 8 x 8 pan even though I sprayed it with coconut oil. Do you have any suggestions as to how I can avoid the caramel sticking to the pan?
Beth- Have you ever tried parchment paper. It seems to work great.
So I never make replies to these things, ever. This is a first! But these are dangerous! They are so easy and tasty! Caramels are my favorite ever and I’m picky about them. These are perfect!
Thank you! I am so glad you love them! They are super dangerous! This is why we only make them at the holidays! :)
Below is a Dairy Free Substitute for Sweetened Condensed Milk
Dairy-Free Sweetened Condensed Milk
1½ cups non-dairy milk (I used homemade coconut milk)
½ cup sweetener (I used this coconut sugar and this evaporated cane juice)
1 tsp vanilla extract.
Thank you so much for this easy recipe! I love Caramel but do not want to stand over the stove for them to maybe come out right, at least if I don’t get it right, hardly any time has been invested, though I don’t think thee will be a problem with these. Thank you for printable labels as well! Have a wonderful Holiday…
Ginger- Thank you!
Hi Amy – How large did you cut the pieces and how many did you get in an 8 x 8 pan?
Joan- I cut then into about 1.5 inch squares. You can get about 12-16 pieces.
Are these labels compatible to an Avery label? Then I would just need to peel and stick.
Thanks!
Lisa- They should work just fine.
Thank you, I love the labels!
Brooke-Thank you!
I was hesitant to try these because I was concerned about the caramels sticking. When using parchment paper, do you spray or butter that parchment paper or is the parchment paper by itself fine?
Margaret- The parchment paper is all you need. It’s the BEST!
Homemade Caramels are the best! Can’t wait to make these and add them to our Christmas Plates!
Jenny- Thank you!
Amy, you are amazing! I don’t know when you have time to come up with all of your ideas, but I love them. I’ve printed so many of your recipes. Thank you so much for sharing. I’m definitely going to make some.
Penny- Thank you!
Wow, I love how easy these are!!
Lauren, Thank You!
Homemade caramels are the best!! They are so soft & chewy & the best!
Thank you!
You had me at 6 minutes! Perfect for holiday gift giving!
Becca- Thank you.
Can you put nuts in them?Darleen
Darleen-I would say that would be fine. Sounds delicious!
Easiest & quickest recipe ever!! We love these all year round!
Kristyn- They really are so quick to make!
Love that these are soft & chewy!! There is nothing worse than biting into a hard caramel.
Natalie- I love that they are soft too!